Blog
Maximize Small Spaces with a Clever Wall Busy Board
Hey there, space savers and organization ninjas! If you’ve clicked on this post, chances are you’re on the hunt for innovative ways to declutter and maximize your living area. Whether you live in a cozy apartment or a tiny house—let’s be real—our homes get crowded fast. In the hustle and bustle of modern life, it can feel like there’s never enough room for anything. Luckily, there’s a nifty little solution to help you reign in the chaos and make the most of your space: a wall busy board!
What Is a Busy Board?
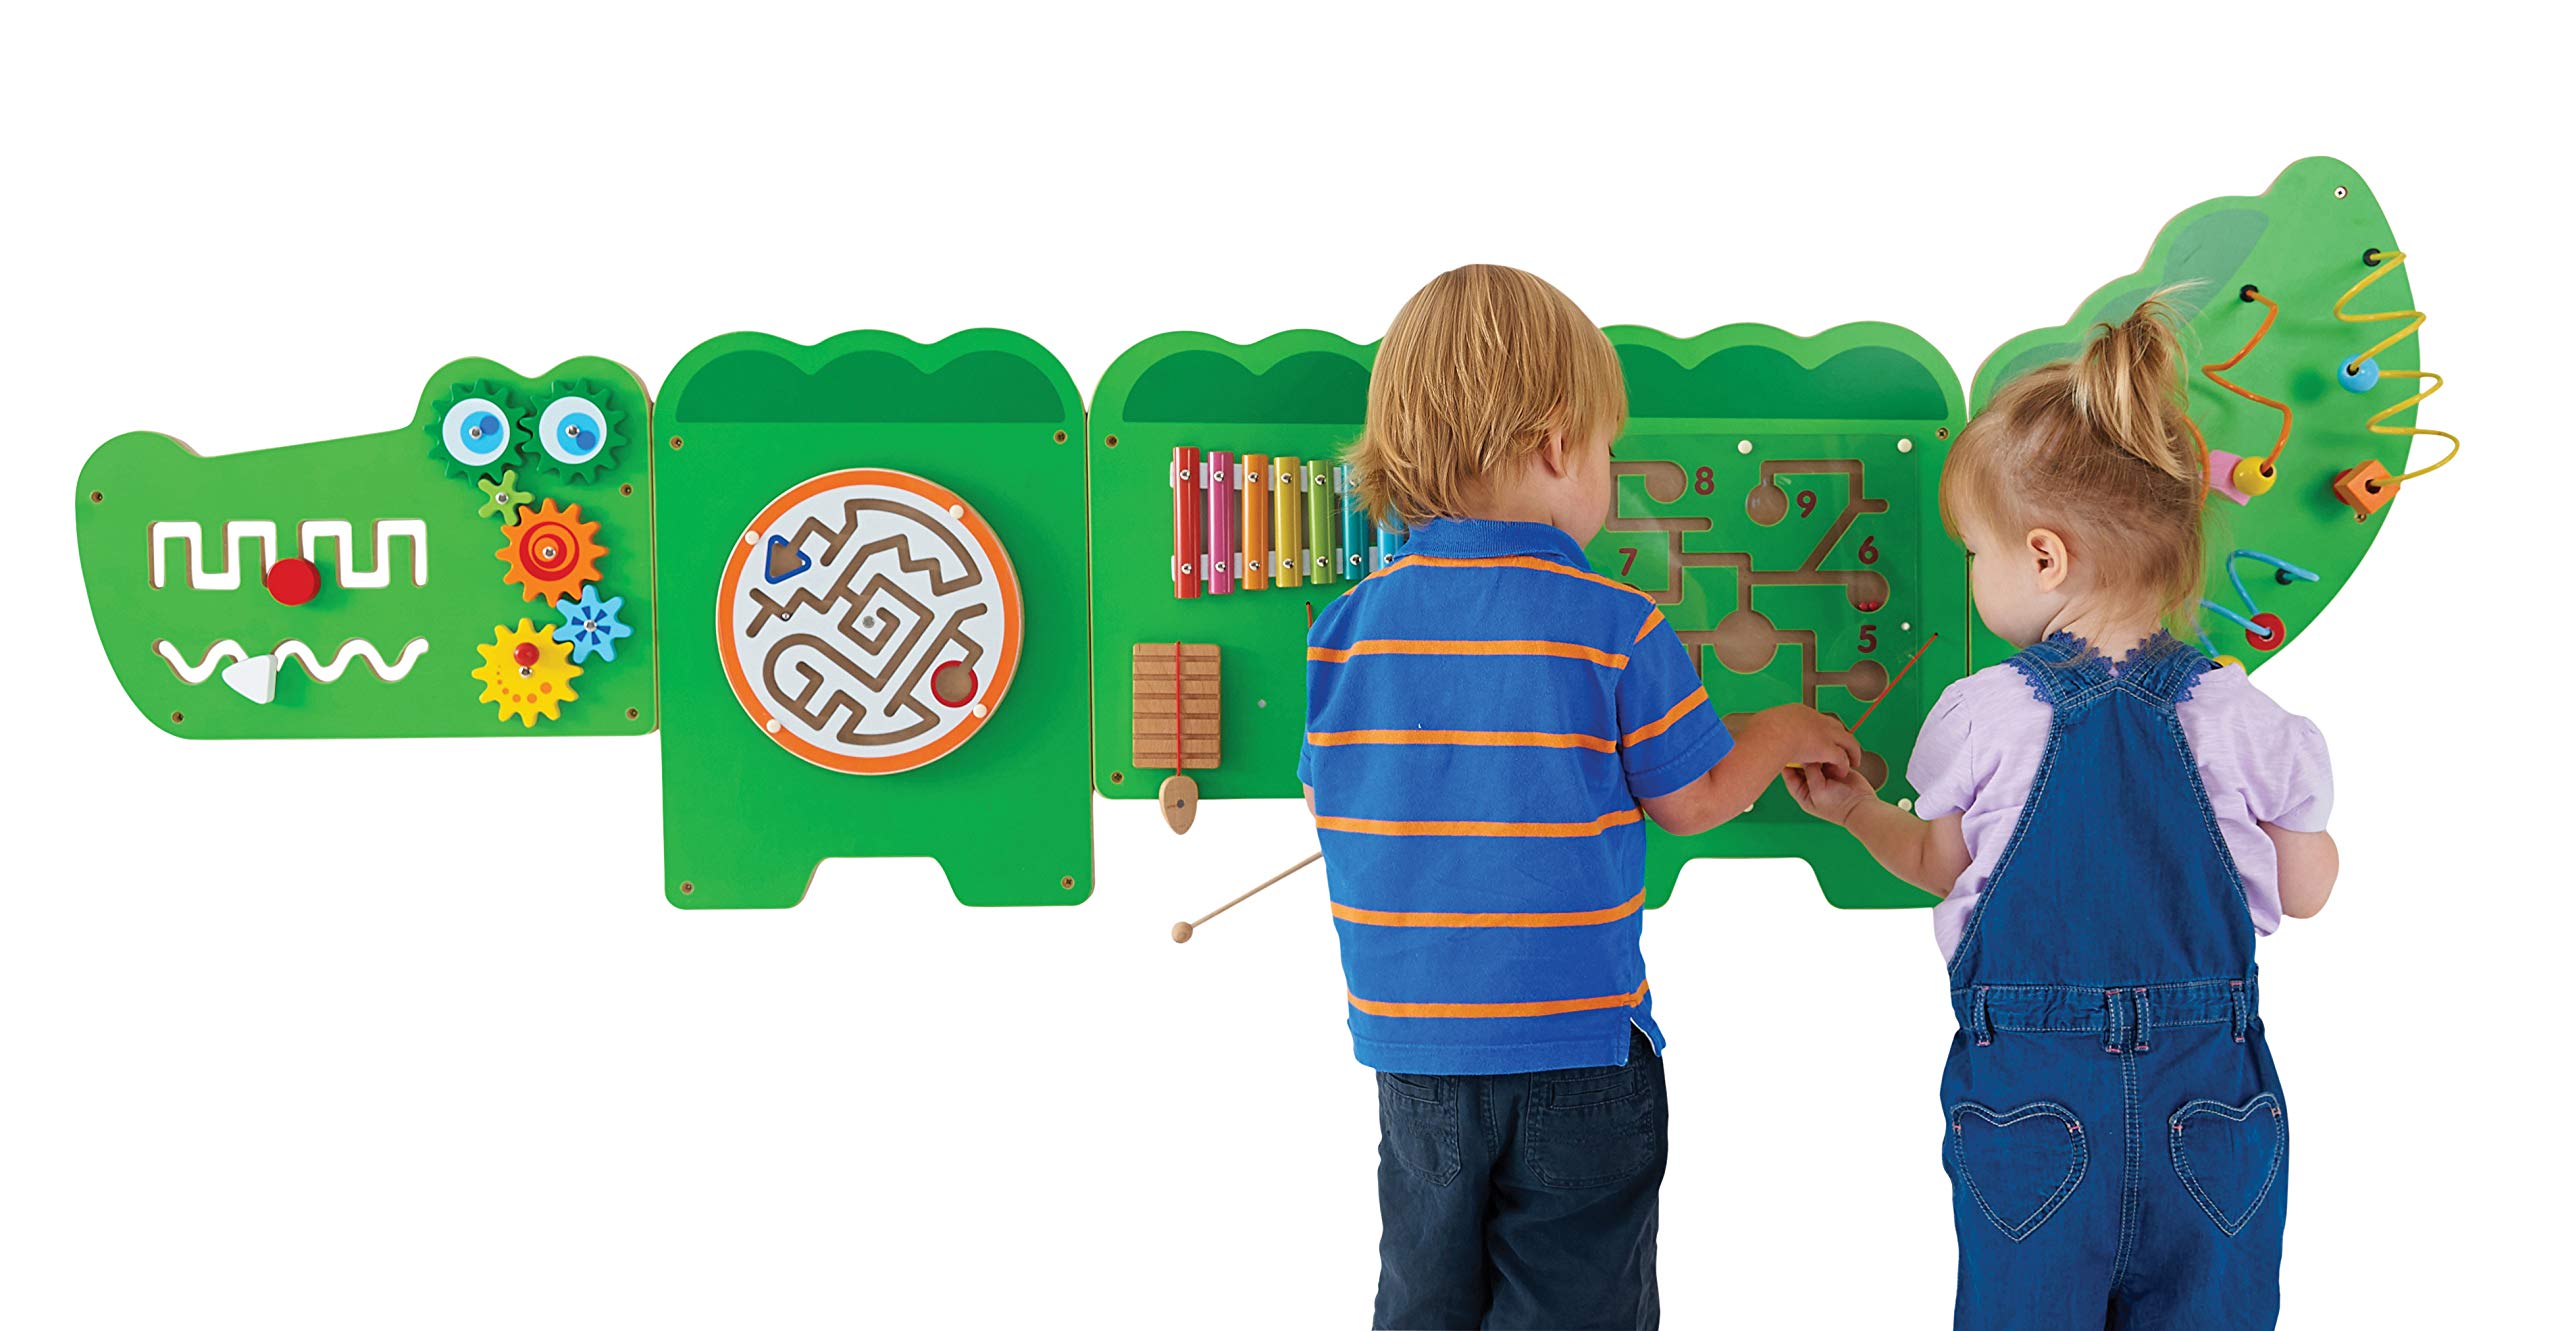
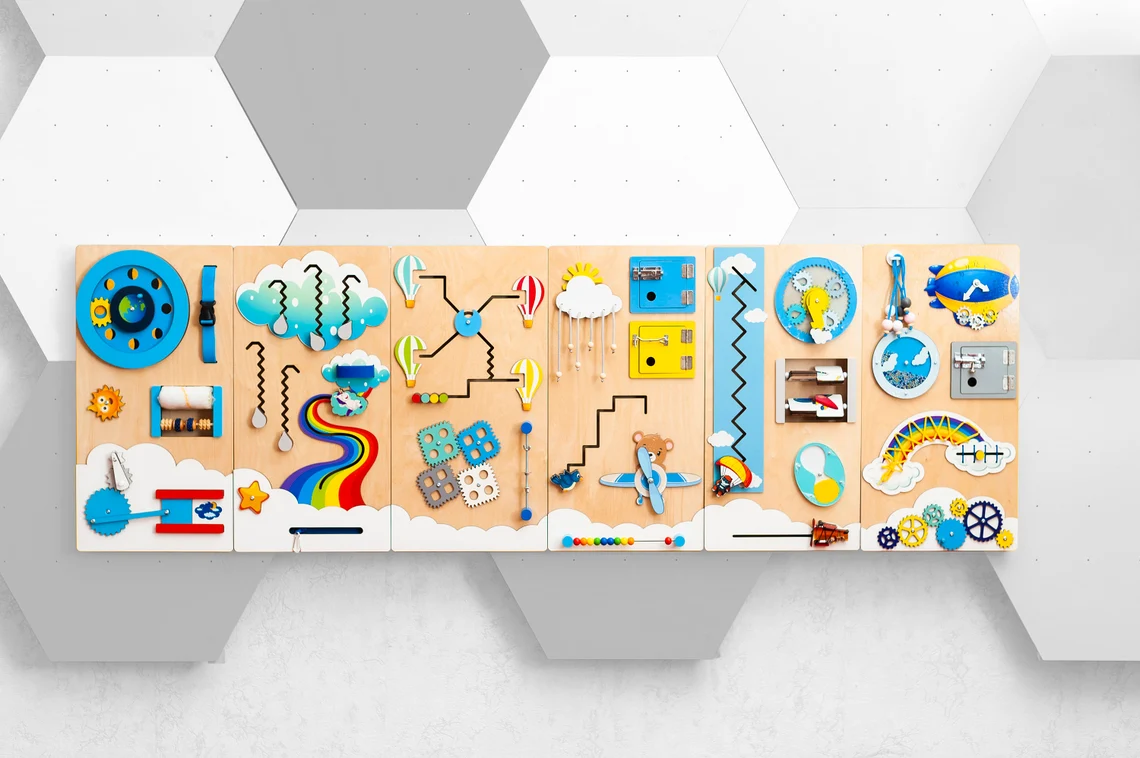
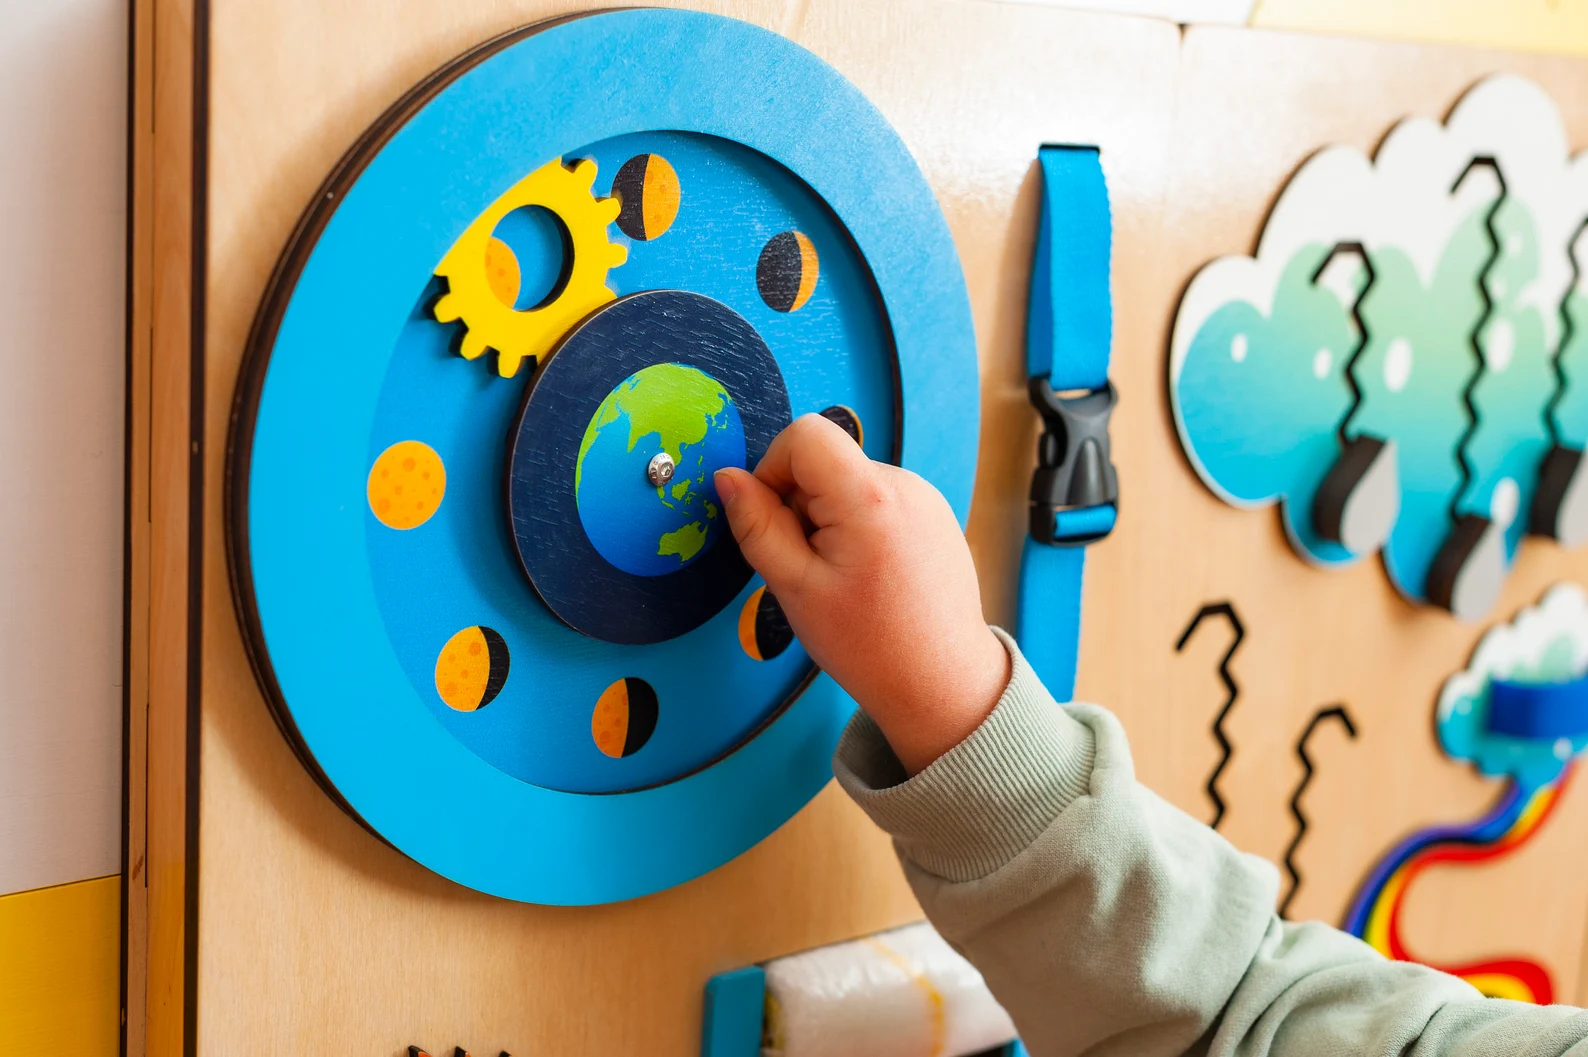
Before we dive into the nitty-gritty, let’s talk about what a wall busy board actually is. Originally, busy boards started as sensory tools for babies and toddlers, filled with various textures, latches, buttons, and activities to stimulate their fine motor skills and keep them engaged. However, this idea has skyrocketed in versatility and has become an awesome solution for anyone looking to optimize small spaces.
These boards can be customized for your needs, from functional art pieces that hang on your wall to practical organizers that help keep your belongings in check. Think about it: why not turn your wall into a hub of creativity and functionality?
>>>Buy now:
Why Wall-Mounted Busy Boards?
- Space-Saving Wonder
The most obvious benefit of wall busy boards is that they save precious floor space. In small homes or apartments, every square inch counts, and having items that take up vertical space instead of horizontal territory can be a game-changer. Imagine using your walls wisely while keeping your surfaces clutter-free. You’ll feel like you’ve just gained an extra room!
- Customization Galore
Maybe you’re someone who loves DIY projects or simply wants to add a personal touch to your space. A wall busy board gives you the creative license to design it how you want. Choose the materials, colors, and textures that speak to your vibe. Whether you’re into a minimalist aesthetic, quirky boho, or industrial chic, the only limit is your imagination.
- Multi-Functional Magic
Wall busy boards can serve a multitude of purposes—think of them as Swiss Army knives for your walls! Need a spot to keep your keys, bills, and mail organized? Want to showcase family photos and reminders? How about a little space for art supplies or a nook for your favorite plants? With a wall busy board, all these functions can coalesce into one charming, wall-mounted station.
- Encourage Creativity
If you have kids at home, a wall busy board is a fantastic way to encourage creativity and learning. Fill it with interactive elements like chalkboards, puzzles, or art supplies. Not only does it keep them busy, but it also nurtures their growth and development—talk about win-win!
>>>Read more: Teach Your Child Responsibility and Boost Confidence with this Simple Daily Task: Folding Napkins and Clothes
How to Create Your Own Wall Busy Board
Ready to roll up your sleeves and get crafting? Here’s a step-by-step guide to make your very own wall busy board!
Materials You’ll Need:
- A base board: This could be a plywood sheet, cork board, or any flat surface you can attach items to.
- Paint or stain: Get creative with colors that match your decor.
- Mounting brackets or wall hooks: Make sure your board can be securely attached to the wall.
- A variety of items: Think about textures, colors, and functionality. You can use things like:
- Hooks or pegs for hanging items
- Small baskets or trays for holding supplies
- A chalkboard area for notes and drawings
- A whiteboard section for easy erase messages
- Shelves to showcase your favorite decor or plants
Step-by-Step Guide:
- Choose Your Location: First, pick a well-lit spot on the wall that you think would work best for your wall busy board. Avoid areas with heavy foot traffic to prevent unintended collisions.
- Prep the Base Board: Cut your base board to the desired size and paint or stain it to match your decor. Let it dry completely before moving on to the next step.
- Attach Your Elements: Start arranging the items on your board before securing them. Play with placement to find what feels right. Once you’re satisfied, use glue or screws to attach everything.
- Mount It Up: Secure the board to the wall using brackets or hooks. Make sure it’s sturdy enough to hold all your elements and whatever you plan to hang on it.
- Add Personal Touches: Once it’s securely mounted, feel free to go wild with personal touches. Add photos, notes, or even fun quotes that inspire you.
- Enjoy and Update: The best part? You can change it up whenever you want. Take items off, add new ones, or simply redecorate it to reflect your current style.
Stylish Ideas for Your Wall Busy Board
Now that you’re well on your way to creating your wall busy board, let’s explore some stylish ideas for elements you can incorporate:
- Art Supplies Station: Clip in containers for brushes, pencils, and paints along with a small roll of butcher paper for endless creative possibilities.
- Gardening Nook: Mount small pots for succulents or herbs, and enjoy a little green without sacrificing space.
- Magnetic Board: Paint a section with magnetic paint and use magnets to hold notes, lists, or even artistic artwork.
- Calendar and Planner Area: Dedicate a portion of your board to a family calendar where everyone can see upcoming events, chores, and due dates at a glance.

Final Thoughts
A wall busy board could be just the solution you need to maximize your space while adding a personal artistic flair to your home. By merging creativity and functionality, you can turn any wall into a practical and beautiful feature. Don’t let small spaces dictate your lifestyle—embrace the opportunity to innovate and adapt. Whether you’re crafting an organized haven for daily essentials or a creative sanctuary for your artistic spirit, the journey of building your wall busy board can be as rewarding as the end result.
So, what are you waiting for? Grab those tools and let your imagination soar—your walls are waiting for a makeover! Happy crafting!