Montessori Activities
Empower Your Child’s Independence with Dressing Frame: Safety Pins
As parents, we all want our children to grow up to be independent and self-sufficient. We want to instill in them the skills they need to navigate the world around them with confidence and ease. One area where this can be particularly challenging is in dressing themselves. Learning to manipulate buttons, zippers, and snaps can be a frustrating experience for little ones. But there is a tool that can help: the dressing frame. By using a dressing frame, children can practice their fine motor skills and gain confidence in dressing themselves. In this blog post, we’ll explore one type of dressing frame in particular: the safety pin frame.
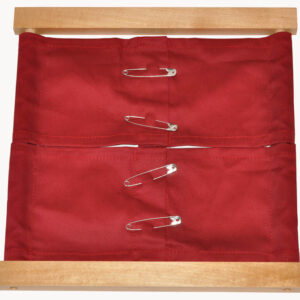
Dressing Frame: Safety Pins
Suitable Age: 4 1/2+
Materials:
- The safety pin dressing frame
Direct Aim:
- To use a safety pin independently
Indirect Aim:
- Refining of the muscles in the hand
- Concentration
- Hand-eye coordination
- Independence
- Fine motor skills
- Order of sequence

Presentation/ Child instruction:

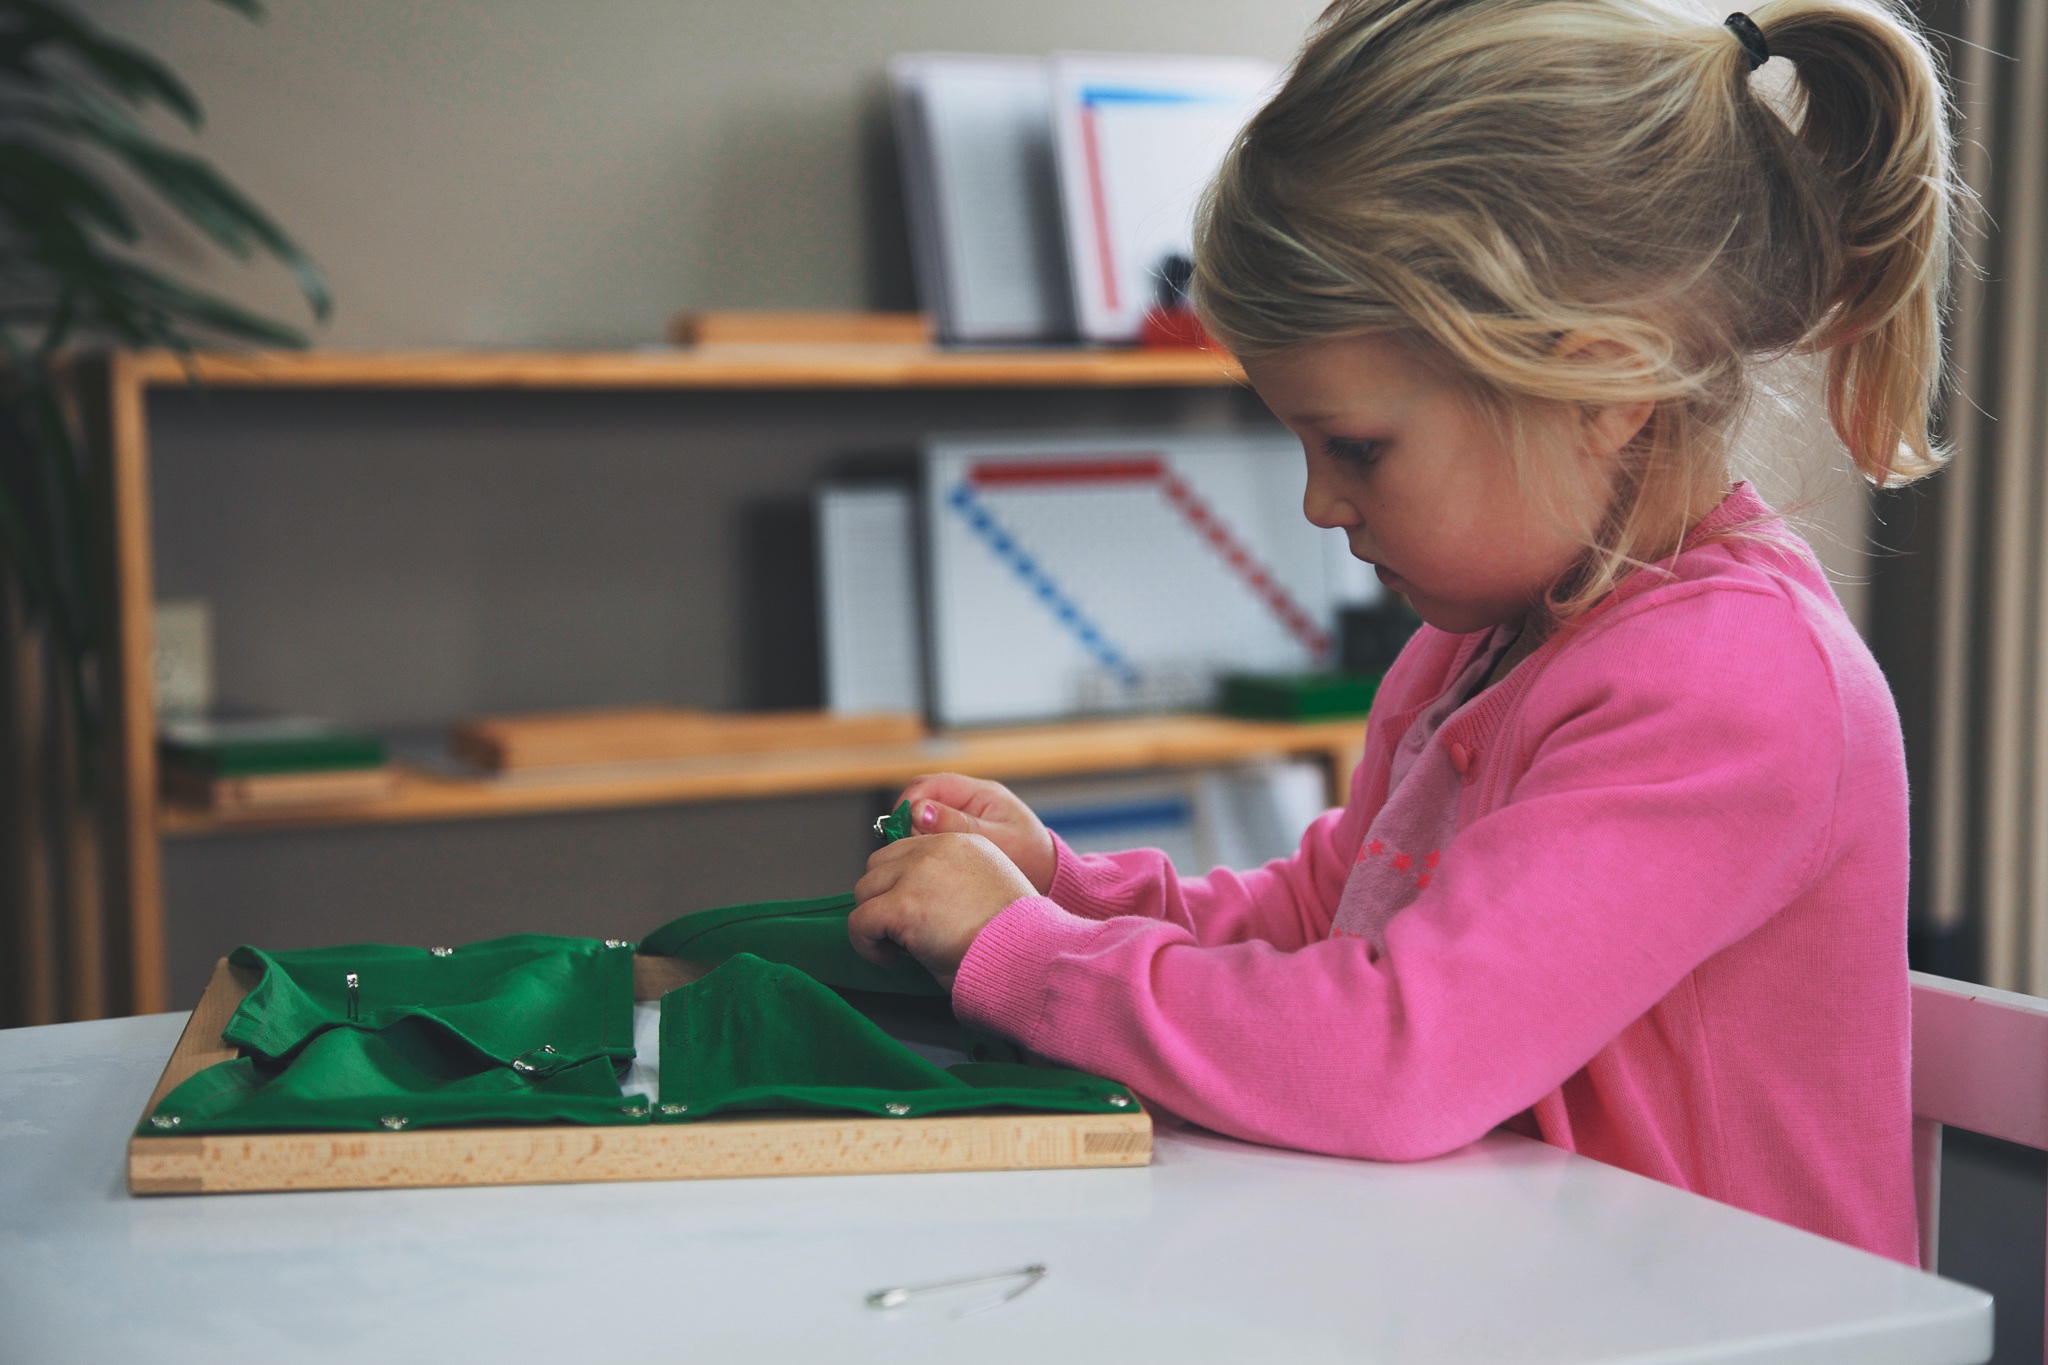
- Once seated, reach for the very top safety pin. This process is done in two steps. First, release the pin from the safety latch (making sure not to block the visibility of the child).
- After one or two are done, give the child an opportunity to try. Once the child has removed all the pins from the safety latches, begin to remove the pin from the fabric (starting at the very top) and place it on the table, to the top of the frame from left to right.
- Again, after one or two, invite the child to try. Once the child has finished, indicate to her to open the fabric in two (she will know how to do this from previous dressing frames). This will show the child that once all safety pins have been released, the fabric will open up easily.
- Once the child has closed the fabric, begin with the top safety pin ( starting with the first pin in the row to the left) and put the safety pin through the fabric.
- Give the child an opportunity to try once one or two are complete.
- When all the pins have been put through the piece of fabric, begin to push the pin into the safety latch (beginning from the very top).
- The child may continue after one or two have been completed. Now that the frame is finished, invite the child to do it again independently.
Point of interest:
- The safety pins, the colorful fabric, and becoming independent
Control of Error:
- Unable to open/close the safety pins
- Being pricked by a pin
- Unable to remove/replace the pin through the fabric
- Difficulty following the sequence
>> Read more: Empower Your Child’s Independence with Washing Hands
