Chưa được phân loại
Creating a DIY Sensory Board for Autism: A Fun and Therapeutic Project
Hey there! Whether you’re a parent, educator, or simply someone looking to support a loved one, you’ve probably come across the idea of sensory boards. They’re all the rage these days for a good reason. They can be incredibly beneficial for kids with autism, helping them engage their senses and develop fine motor skills while also having a blast. So today, I’m here to guide you through the process of making your very own DIY sensory board. Let’s dive in!

What Exactly is a Sensory Board?
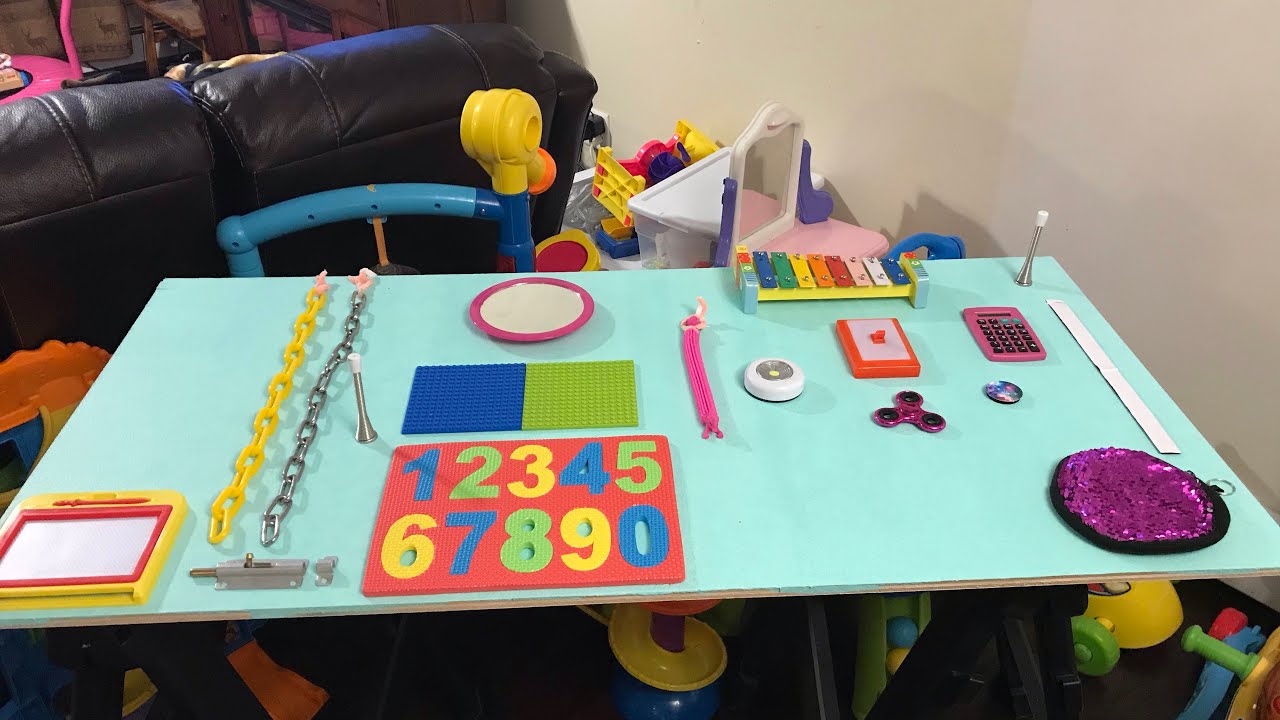
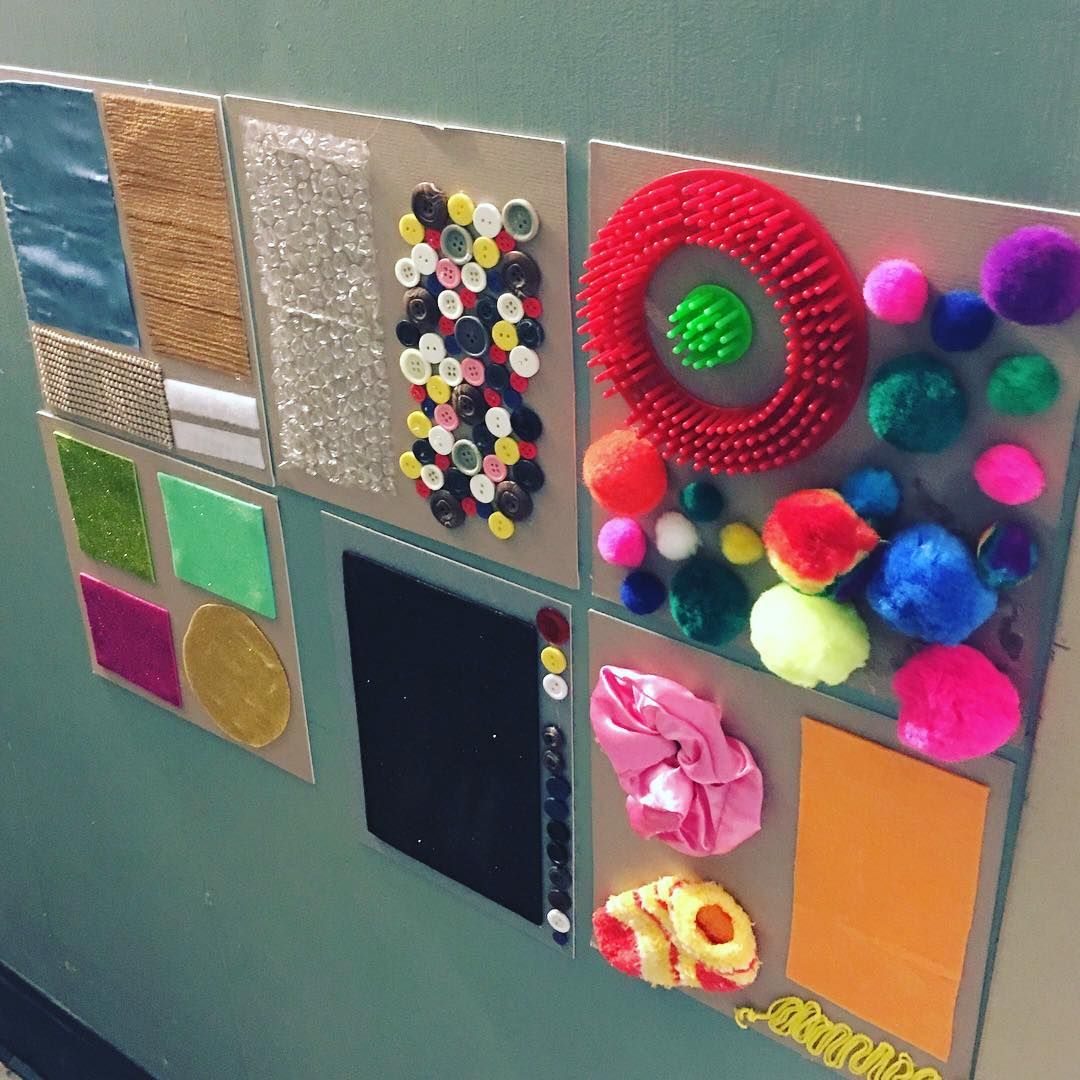
First off, let’s clarify what a sensory board is. It’s essentially a board filled with different textures and sensory items that encourage exploration and provide sensory feedback. For kids with autism, sensory boards can help calm and focus them, offering a comforting outlet for their sensory needs. These boards can include a variety of materials—think buttons, snaps, fabric, and more—so they can touch, manipulate, and play to their heart’s content.
>>>Read more: Unlock Your Child’s Motor Skills with a Fun Montessori Activity: Screwing and Unscrewing with different screwdrivers
Why Make Your Own?
Sure, you can buy sensory boards ready-made, but there’s something incredibly rewarding and meaningful about creating your own. By making a DIY sensory board, you can:
- Customize it to fit a child’s specific needs: Every child is unique! You can select textures and items that resonate with the individual’s preferences.
- Adjust it over time: As children grow and change, so can your board. You can easily swap things out or add new elements.
- Create a bonding experience: Building a sensory board can be a fun project that you can do together with your child, enhancing your connection.
- Control your budget: Custom boards can actually save you money compared to buying high-end sensory products.
Materials You’ll Need
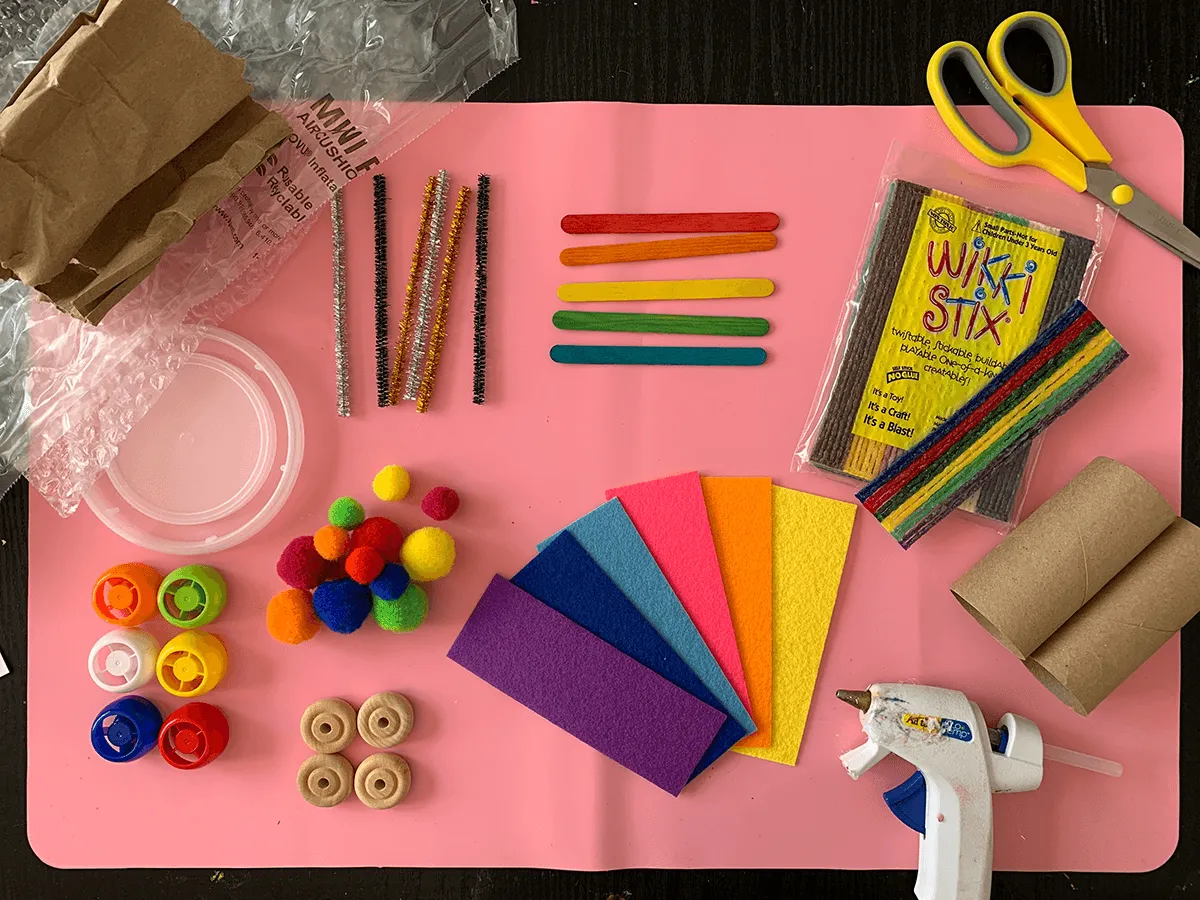
Alright, let’s gather our supplies! You don’t need a lot here, but the choices can be as diverse as your imagination. Here’s a list to get started:
- Baseboard: A sturdy piece of wood or a canvas board. Size doesn’t really matter, but something like 2ft by 3ft is a good starting point.
- Textures: Look for various materials such as:
- Soft fabrics (felt, fleece, or cotton)
- Ribbons or strings
- Sandpaper for a rough texture
- Bubble wrap for that satisfying pop!
- Interactive Elements:
- Zippers (from old clothes)
- Mirrors (plastic or safety mirrors)
- Bells or chimes for sound
- Velcro for sticking items
- Fake flowers or nature items
- Different size buttons (a great tactile element)
- Adhesives and Fasteners:
- Hot glue gun
- Strong adhesive (like E6000) for heavier items
- Rivets or screws if you want to attach larger things like knobs or handles.
- Other Add-Ons:
- Light switches or game controllers for a fun twist
- Small containers or tubs filled with different materials (like rice, beans, or water beads)

Step-by-Step Guide to Building Your Sensory Board
Step 1: Plan Your Design
Before diving in, it’s good to sketch out how you want your sensory board to look. Think about the textures and interactive elements you want to include and their layout. Maybe you want a section dedicated entirely to fabrics, or you want to create a musical corner with chimes and bells. Having a plan will help streamline the construction process.
Step 2: Attach the Textures
Starting with the textures, begin to glue or attach your materials to the baseboard. Use your hot glue gun for lighter materials and a stronger adhesive for heavier items. Make sure everything is securely attached—no one wants a piece coming loose during playtime!
Step 3: Add the Interactive Elements
Once your textures are in place, start adding the interactive parts. This could include zippers, buttons, mirrors, or any of the other fun items you’ve chosen. Remember to place items at different heights and positions so that sensory exploration is varied and dynamic.
Step 4: Test It Out
Before presenting it to your child, try it out yourself! Make sure everything is secure and works the way you envisioned. This is a great time to tweak anything that might not feel just right.
Step 5: Involve Your Child
Now comes the best part—introducing the sensory board to your child. Let them explore at their own pace. You can guide them, but allowing them the freedom to engage with the board their own way is key. You might find your child gravitating toward specific textures or elements, which can be a great conversation starter about their preferences!
Maintenance and Updates
Remember, your sensory board doesn’t have to be a static project. Kids grow and evolve, and so should your board! Keep an eye on what your child enjoys and what they might be less interested in. Be open to changing things up, adding new items, or even creating additional boards for different needs (like calming mechanisms versus more stimulating textures).

Final Thoughts
Creating a DIY sensory board can be a fulfilling project that combines creativity, functionality, and love. Not only does it enhance sensory exploration for kids with autism, but it also provides them with opportunities for growth and development in a fun and interactive way. So grab those materials, unleash your creativity, and start building a sensory board that’s uniquely tailored to someone special. Enjoy the process, and happy crafting!
