Practice Life
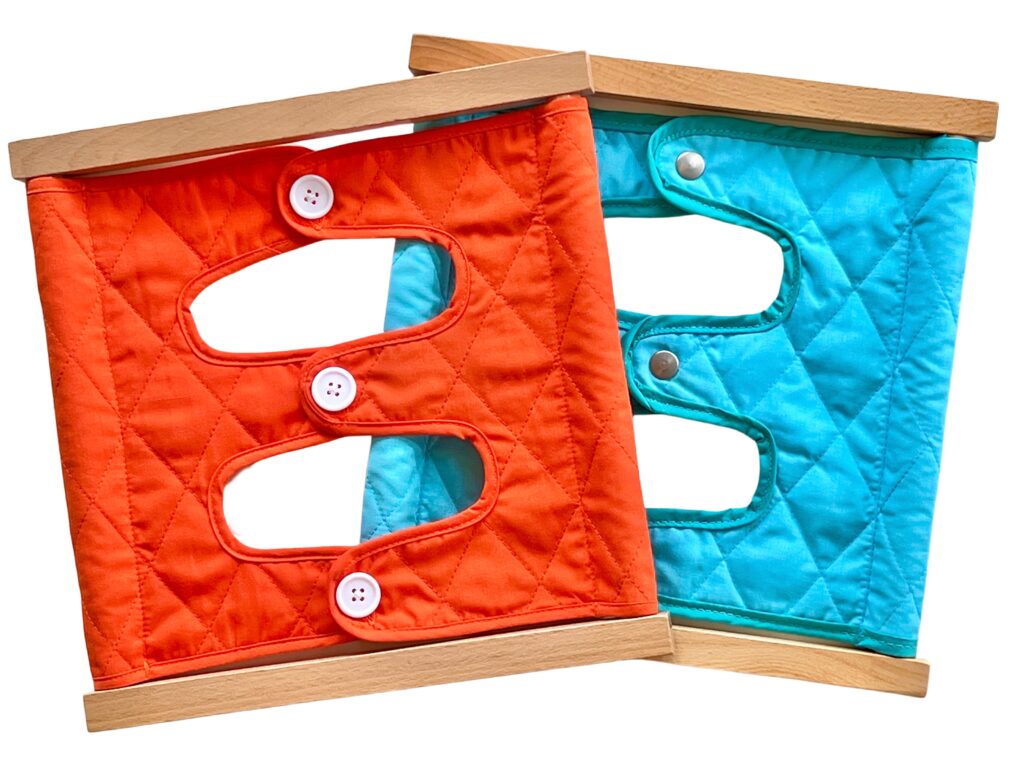
Empower Your Child’s Independence with Dressing Frame: Large Buttons and Small Buttons
As a parent, you want your child to grow up to be independent and capable of taking care of themselves. One important skill that can contribute to this is the ability to dress oneself. However, this is not always an easy skill to teach. That’s where dressing frames come in. These frames can help your child practice buttoning and unbuttoning, a crucial step in becoming self-sufficient in getting dressed. In this blog post, we’ll explore the benefits of using dressing frames, specifically those with large and small buttons.
Dressing Frame: Large Buttons and Small Buttons
Suitable Age: 2 1/2+
Materials:
- The large button dressing frame
Direct Aim:
- To button and unbutton button independently
Indirect Aim:
- Refinement of the muscles in the hands
- Concentration
- Hand-eye coordination
- Independence
- Fine motor skills
- Order of sequence

Presentation/ Child instruction:

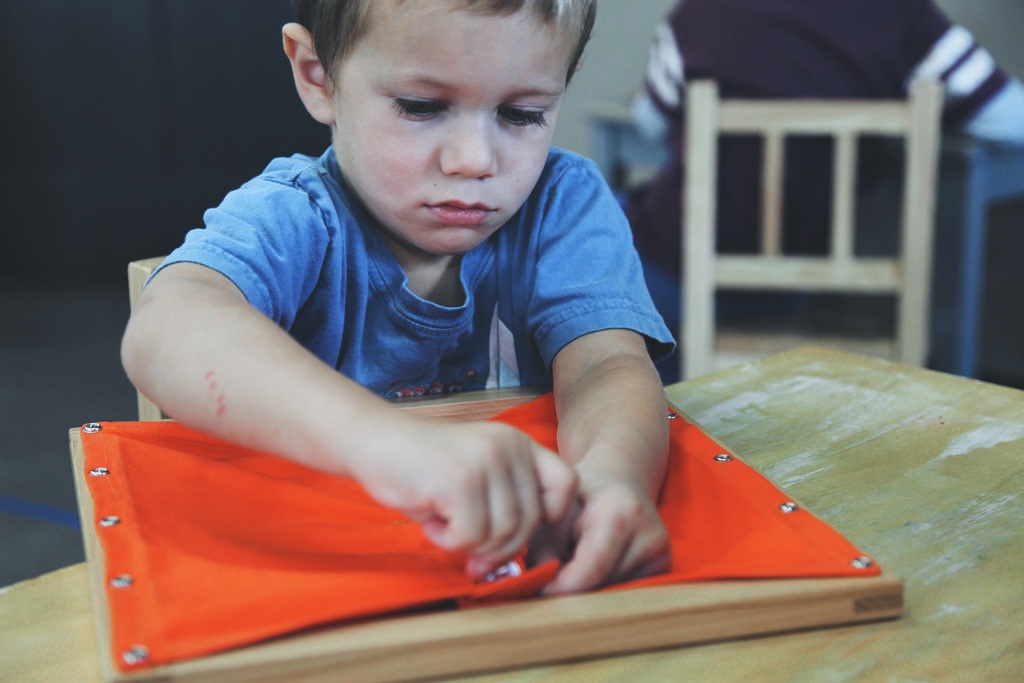
- Once you have both been seated, begin with the top button. (Making sure not to block the visibility of the child.) The button-dressing frame is unbuttoned in two stages: using two hands the first hand will gradually rug at the hole to help release the button and the second hand will try to slide the button halfway through the hole.
- When two or three buttons have been pulled halfway through the fabric, invite the child to try.
- Once the child has completed all the buttons, you will begin stage two. Again, using two hands, begin with the top button and slide the button completely through the opening.
- After two buttons are completely through the opening, invite the child to finish the remaining buttons. Once all buttons have been opened, indicate to the child that he may open the fabric and separate it in two. He will know how to do this using two hands to lift one side open grasping at the two corners of the fabric and then moving onto the other side. This will show him that once the buttons have been unbuttoned, the fabric will open easily.
- Indicate to the child that he can bring the fabric back together again in the same format.
- At this point, begin to fasten the buttons, starting at the very top. Again, in the same two stages as before.
- Once you have completed two buttons invite the child to continue, (this process should be carried out for both stages). Now that the buttons have been re-buttoned, give him an opportunity to try this frame again independently.
Point of interest:
- The appealing fabric on the dressing frame, the buttons, and becoming independent
Control of Error:
- Unable to slide the button through the opening
- Pulling at the buttons rather than sliding them through the hole
- Forgetting the sequence
Dressing Frame: Small Buttons
The small button dressing frame is carried out in the same format and procedure (except the buttons will not be pushed/pulled halfway through) It is a little more challenging for the child because the buttons are smaller. Use this dressing frame once the child has mastered the large button-dressing frame.
>> Read more: Empower Your Child’s Independence with Dressing Frame: Push Buttons (Snaps)
