Practice Life
Unlock Your Child’s Motor Skills with a Fun Montessori Activity: Screwing and Unscrewing with different screwdrivers
As parents, we all want our children to develop their skills and abilities to the fullest. And what better way to do that than through fun and interactive activities? Montessori education has long been known for its hands-on approach to learning, and one particular activity that can help your child unlock their motor skills is screwing and unscrewing with different screwdrivers. In this blog post, we will explore how this activity can benefit your child’s development and provide some tips on how to make it fun and engaging for them. So, grab your screwdrivers, and let’s get started!
Screwing and Unscrewing with Different Screwdrivers
Suitable Age: 3+
Materials:
- A tray
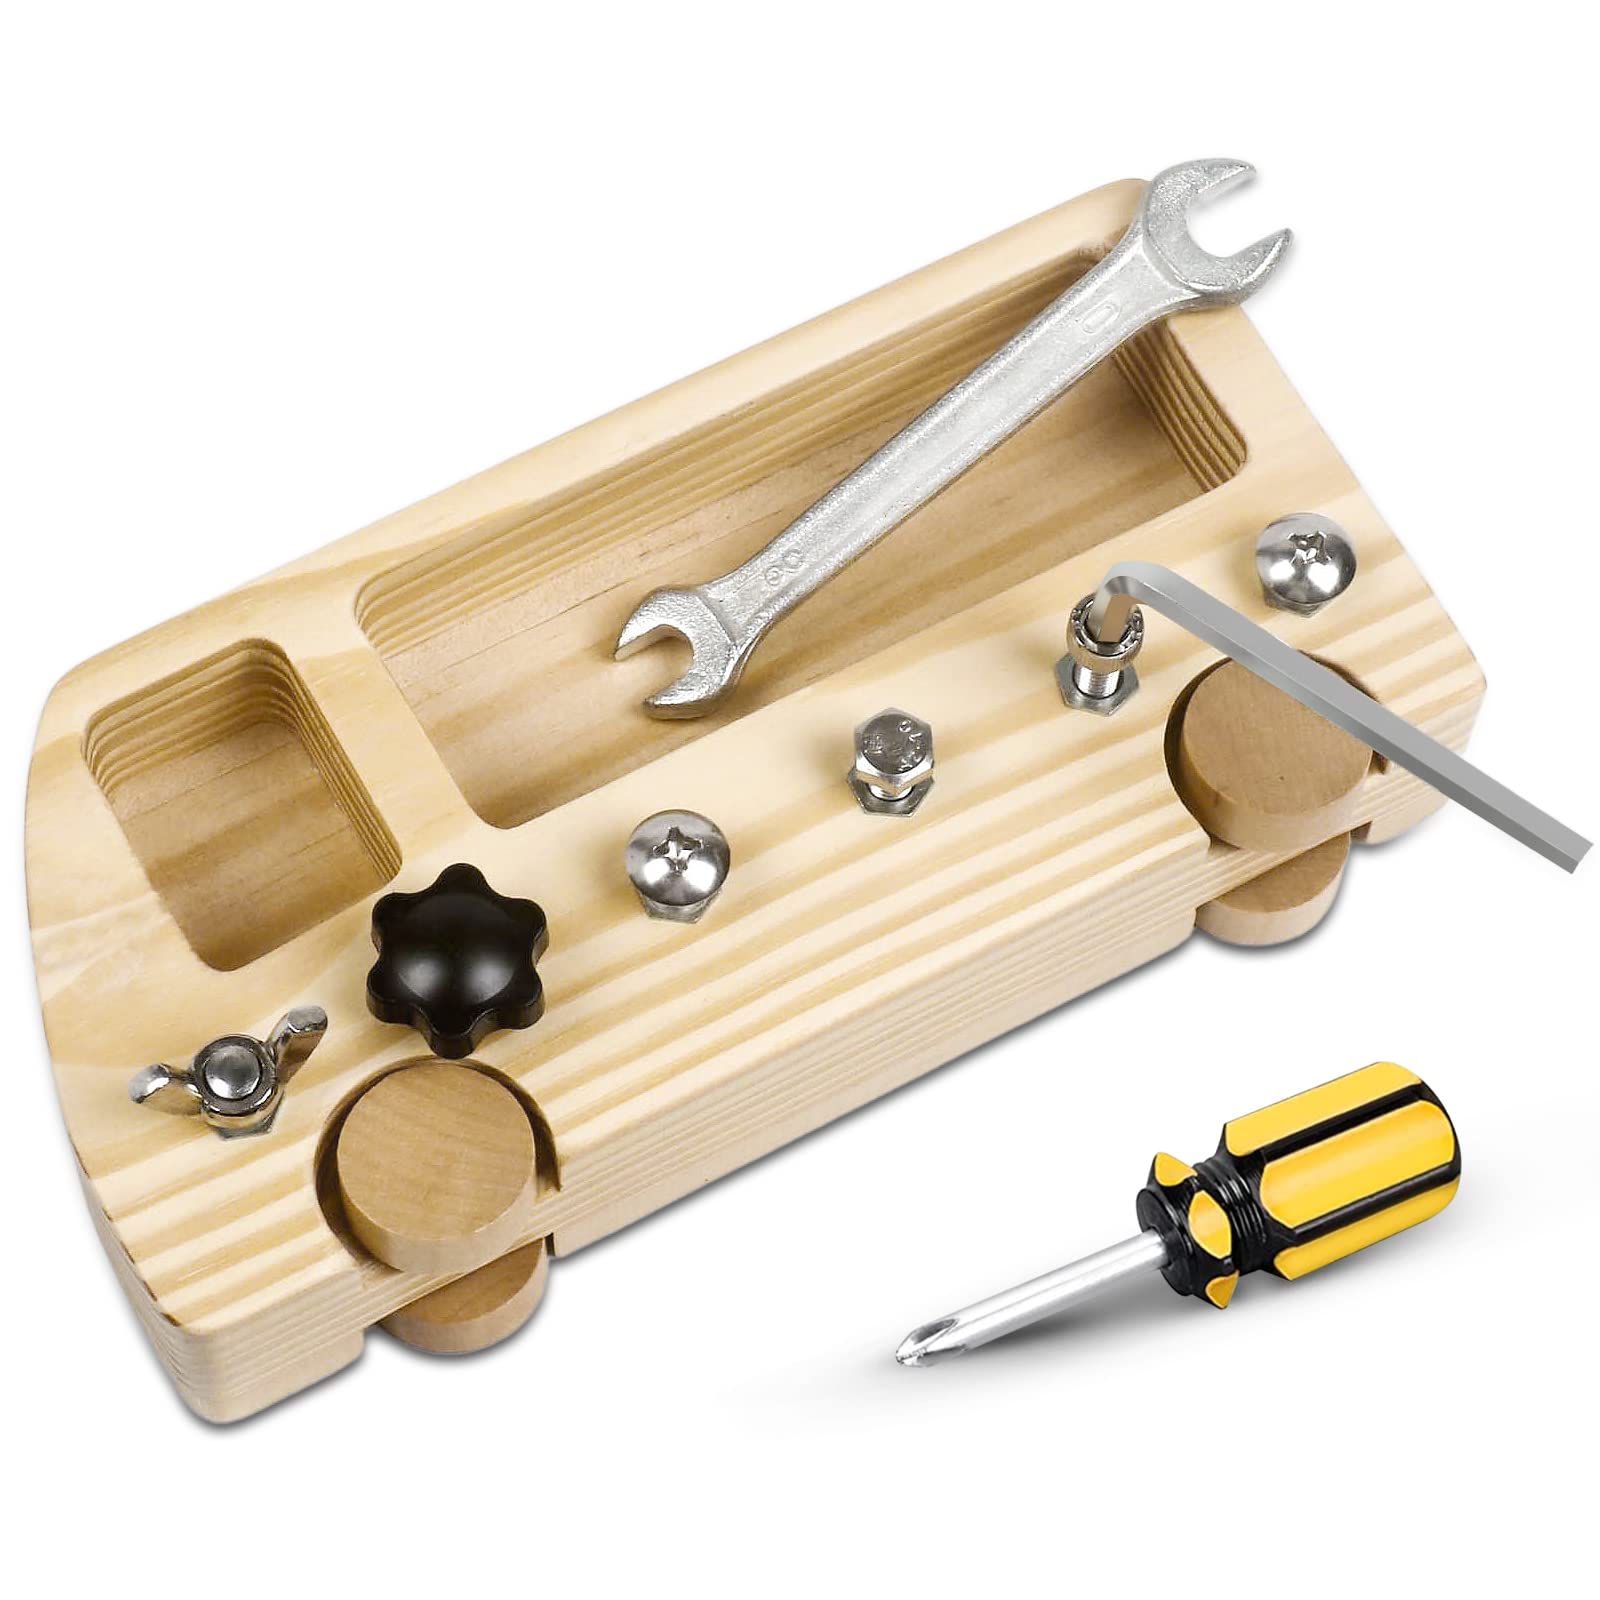
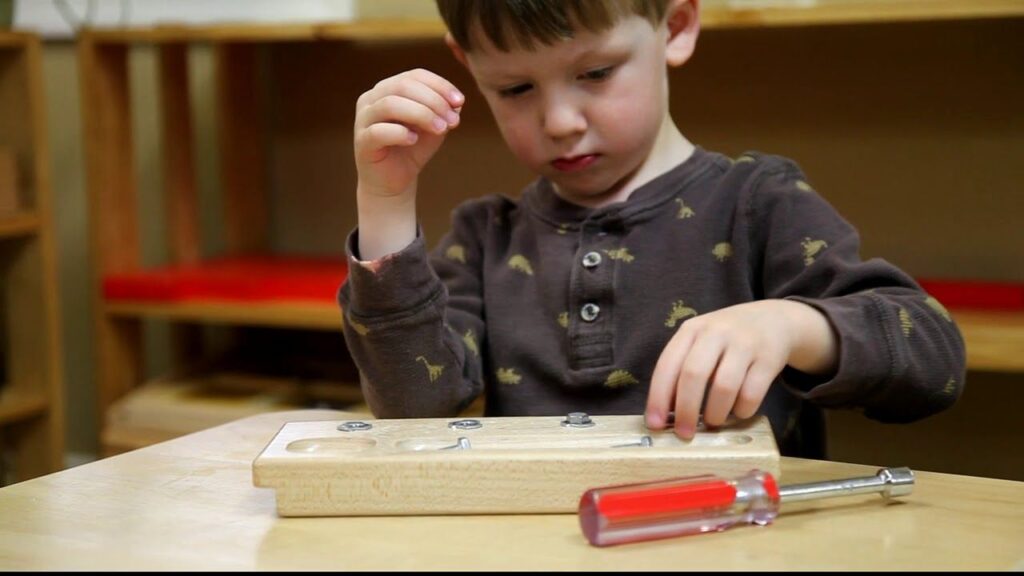
- A stout wooden board with 4+ predrilled screws
- 3 different screwdrivers
- A mat (optional)
Direct Aim:
- To screw and unscrew with different screwdrivers independently
Indirect Aim:
- Refined movement of the muscles in the hand
- Concentration
- Hand-eye coordination
- Independence
- Order of sequence

Presentation/ Child instruction:

- Once you have both been seated, invite him to remove the wooden board from the tray, and place it in front of the tray.
- Next, pick up the screw from the tray and show the child to match the screw tip with the correct screwdriver tip.
- After the first one is matched, place it in the first drilled hole to the left on the wooden board.
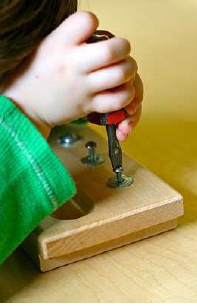
- Use one hand to hold the screw, and the second hand to pick up the screwdriver and place it inside the tip of the screw.
- Once in place, begin to turn the screwdriver onto the screw, allowing the screw to slowly invert inside the wooden board. The metal/plastic caps inside the pre-drilled holes allow the screw to be screwed inside the board to a minimum depth.
- Once the first screw has been screwed into place, invite the child to try. Using the same procedure of matching the screw tips to the screwdriver tips, he will screw all screws into the wooden board.
- After they are all matched and screwed into place, re-match the screwdriver to the proper screw, and slowly begin to unscrew the screws one at a time beginning with the one on the furthest left side of the board.
- After completing one, invite the child to finish.
- Now that they are all removed, invite the child to place the materials back onto the tray. Once the tray has been assembled back to its original condition, invite the child to try the task again.

Point of interest:
- The various screws and screwdrivers
Control of Error:
- Difficulty inserting the screwdriver into the screw properly.
- Using an inappropriate screwdriver
- Difficulty completing the activity in the sequence
- Forgetting to tidy up or unscrew the screws
