Chưa được phân loại
Sensory Board DIY for Autism: How to Create One and Why It’s Beneficial?
Hey there, fellow DIY enthusiasts and caretakers! Today, we’re diving into a subject that’s super important and incredibly rewarding: creating a sensory board for children with autism. If you’re looking for a fun project that not only keeps little hands busy but also plays a vital role in sensory development, you’re in the right place! So, grab a comfy seat and let’s chat about what sensory boards are, why they’re great for kids on the autism spectrum, and how to make one.

What Is a Sensory Board?
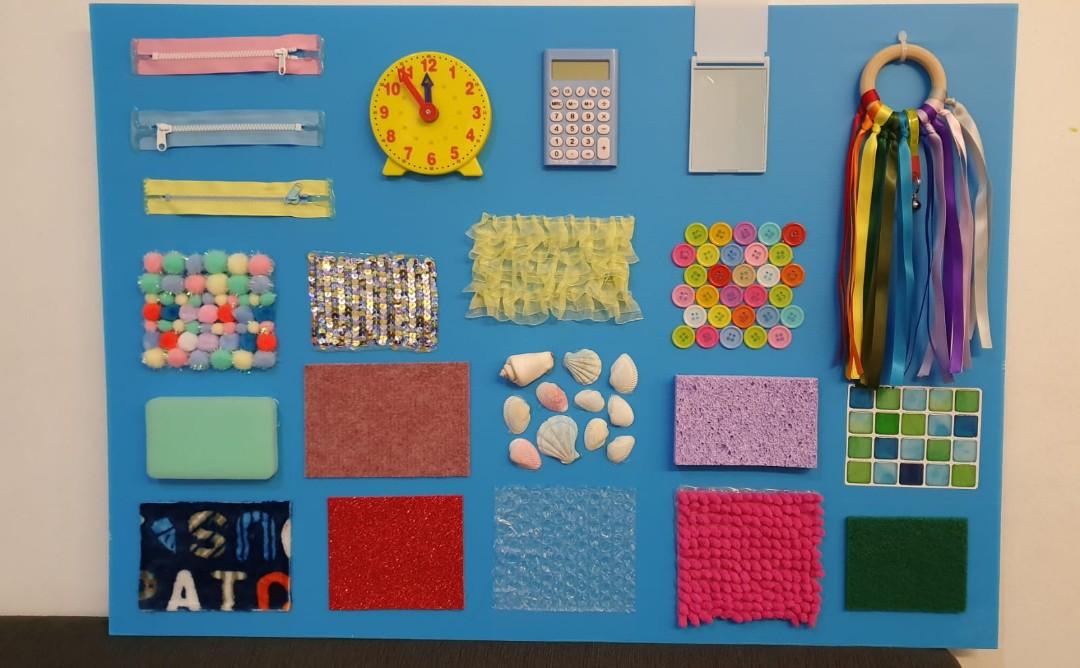
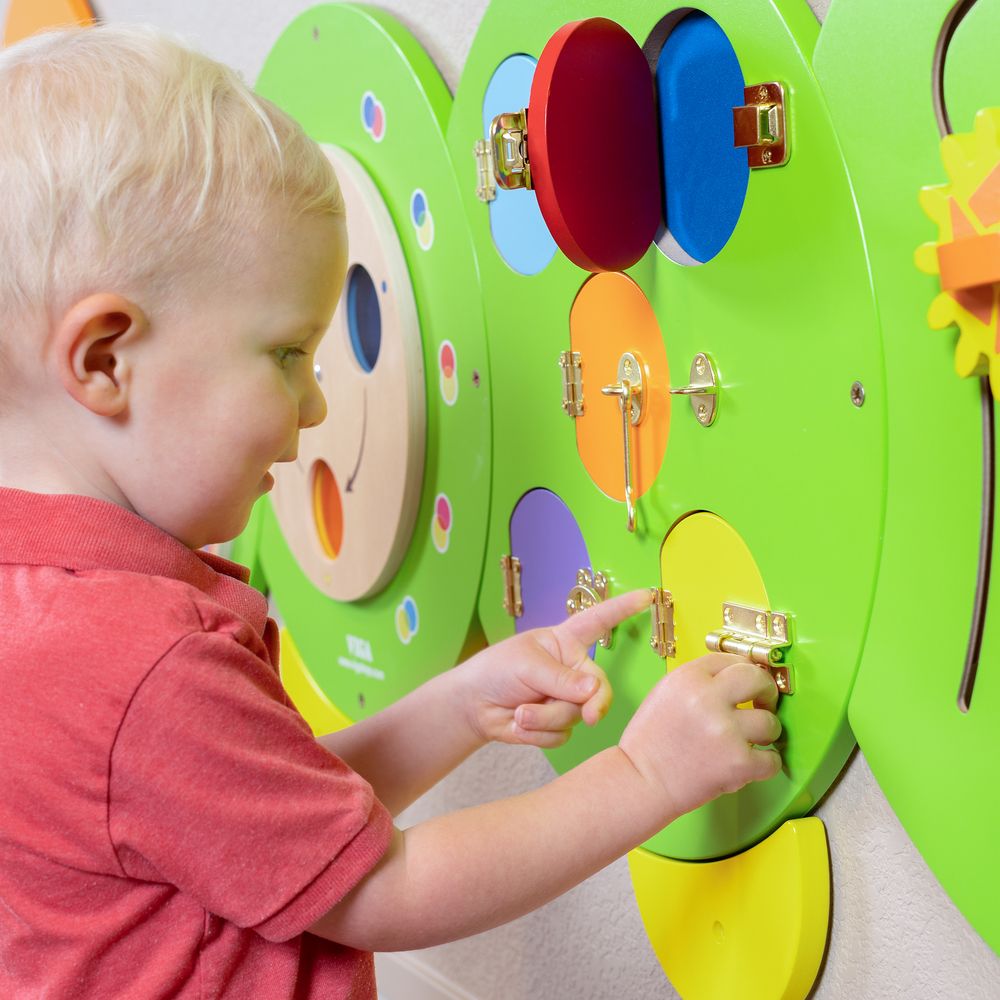
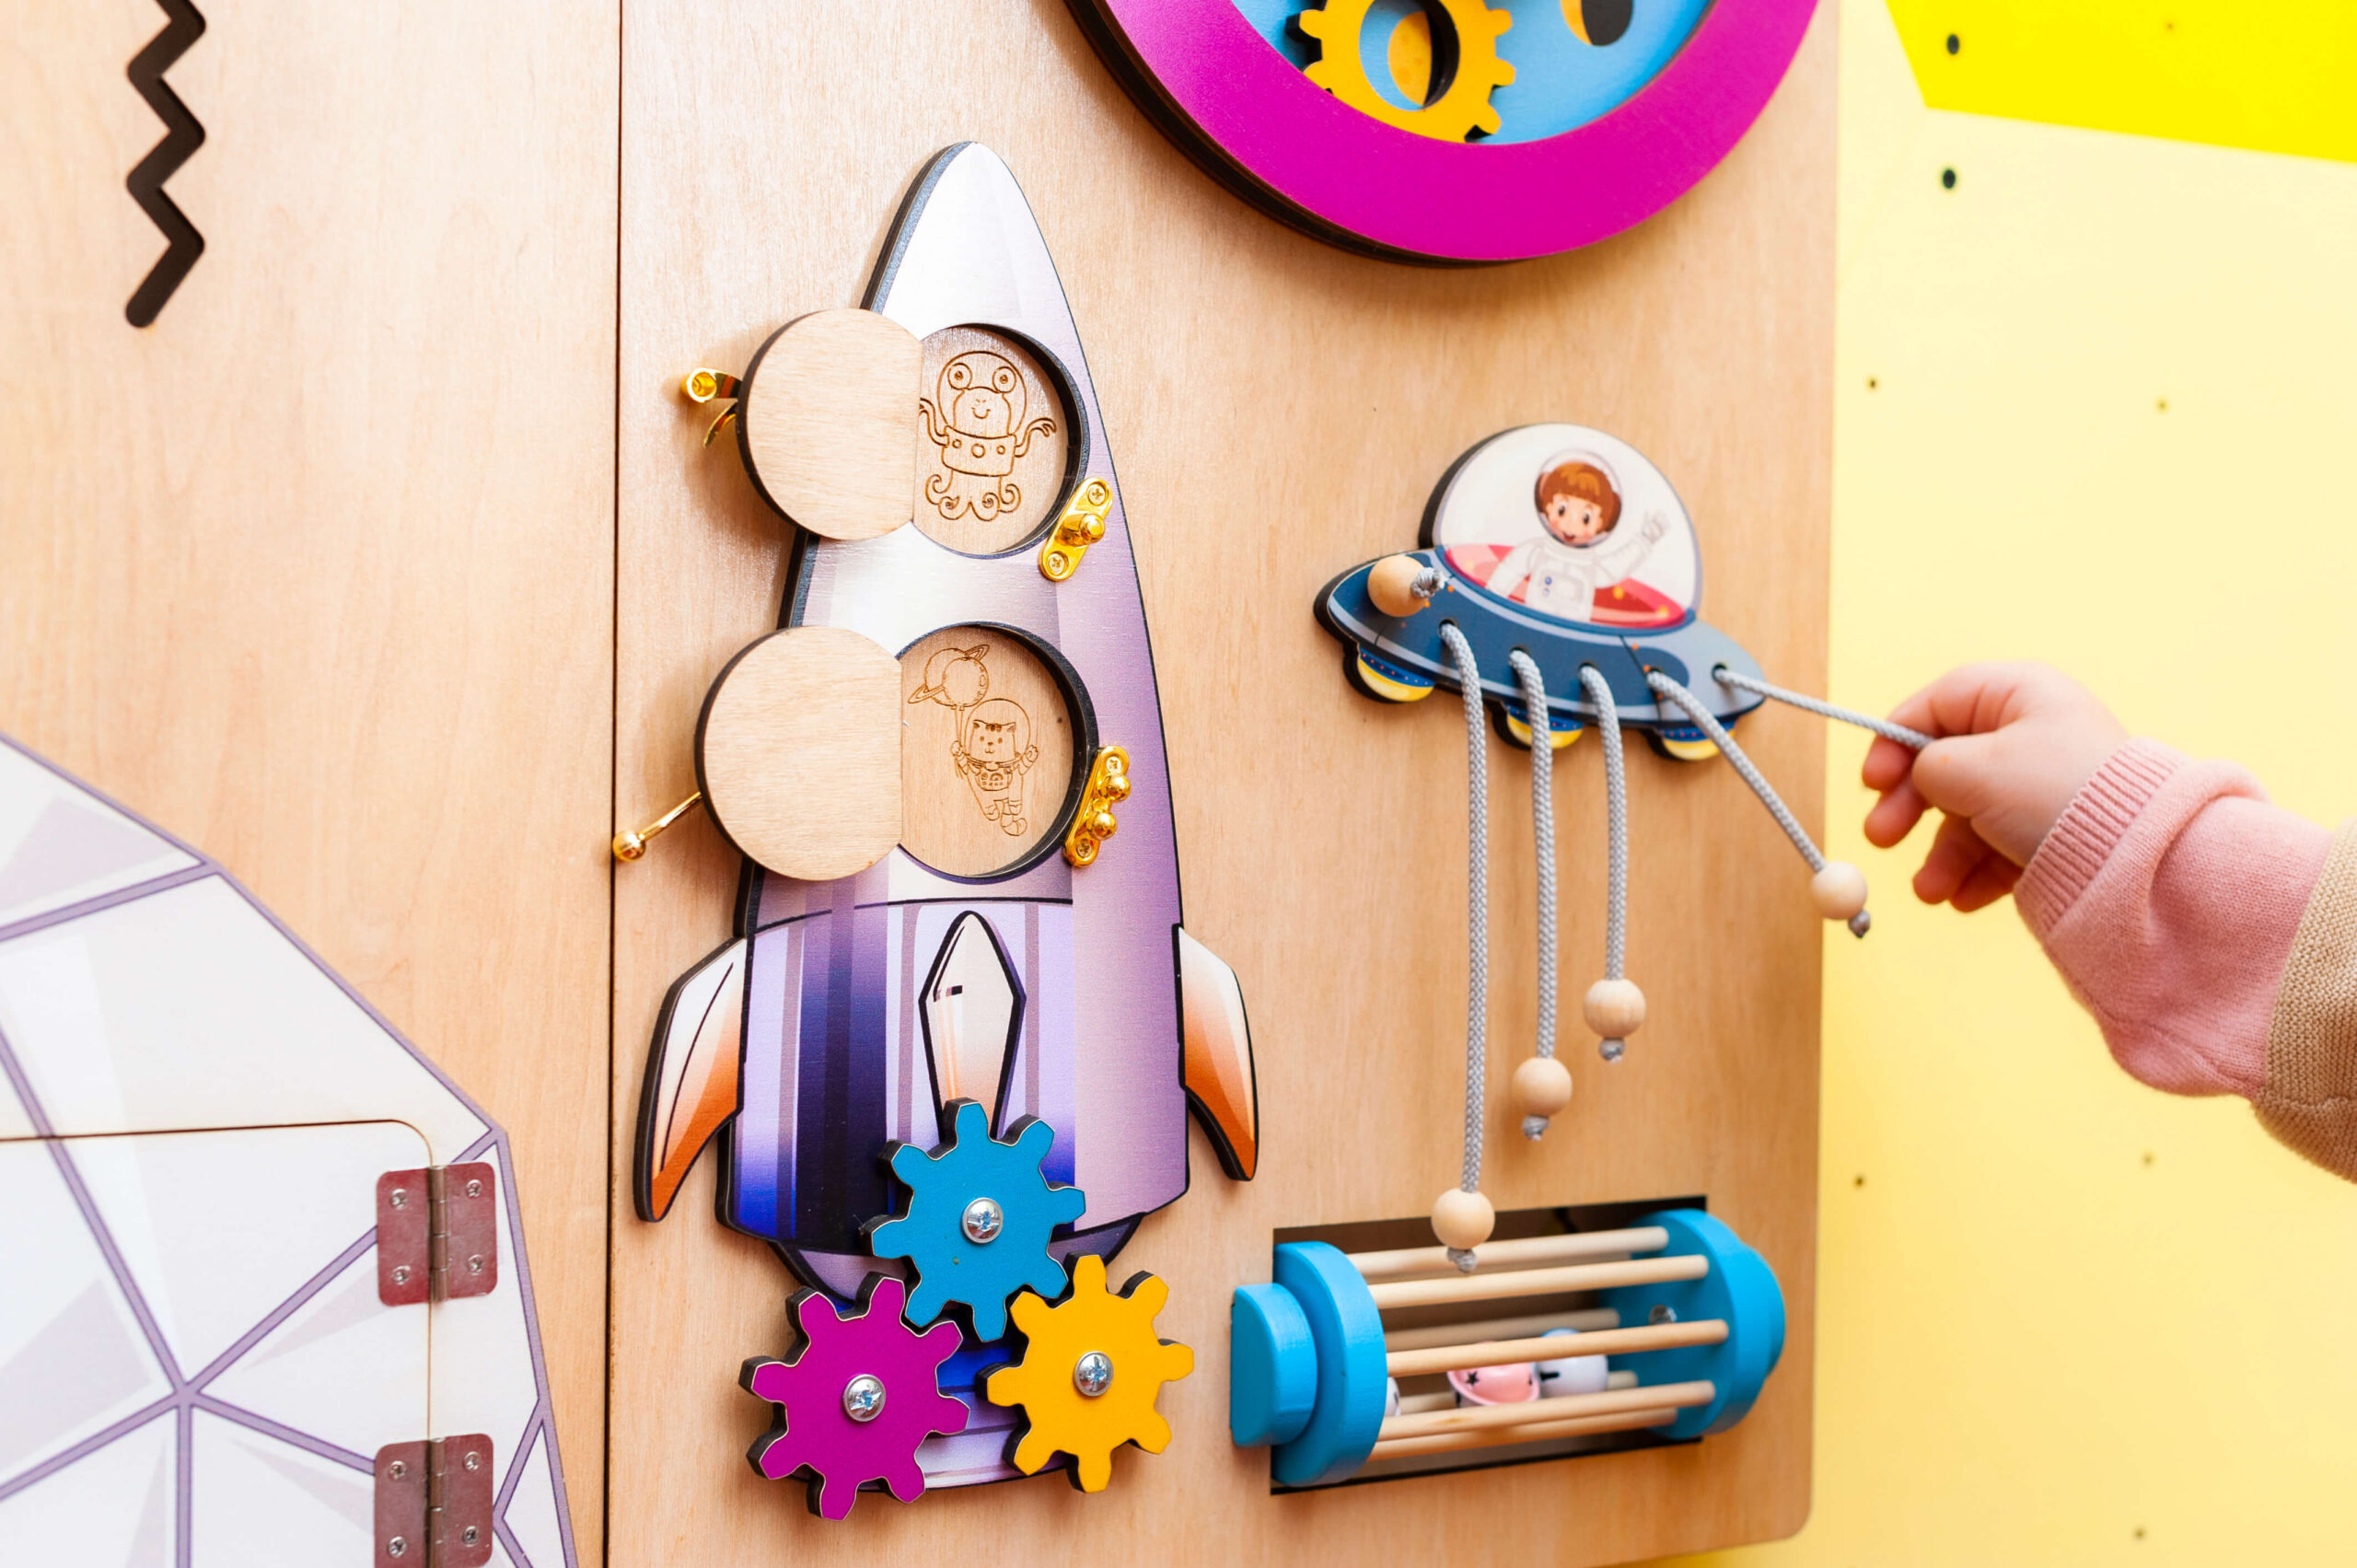
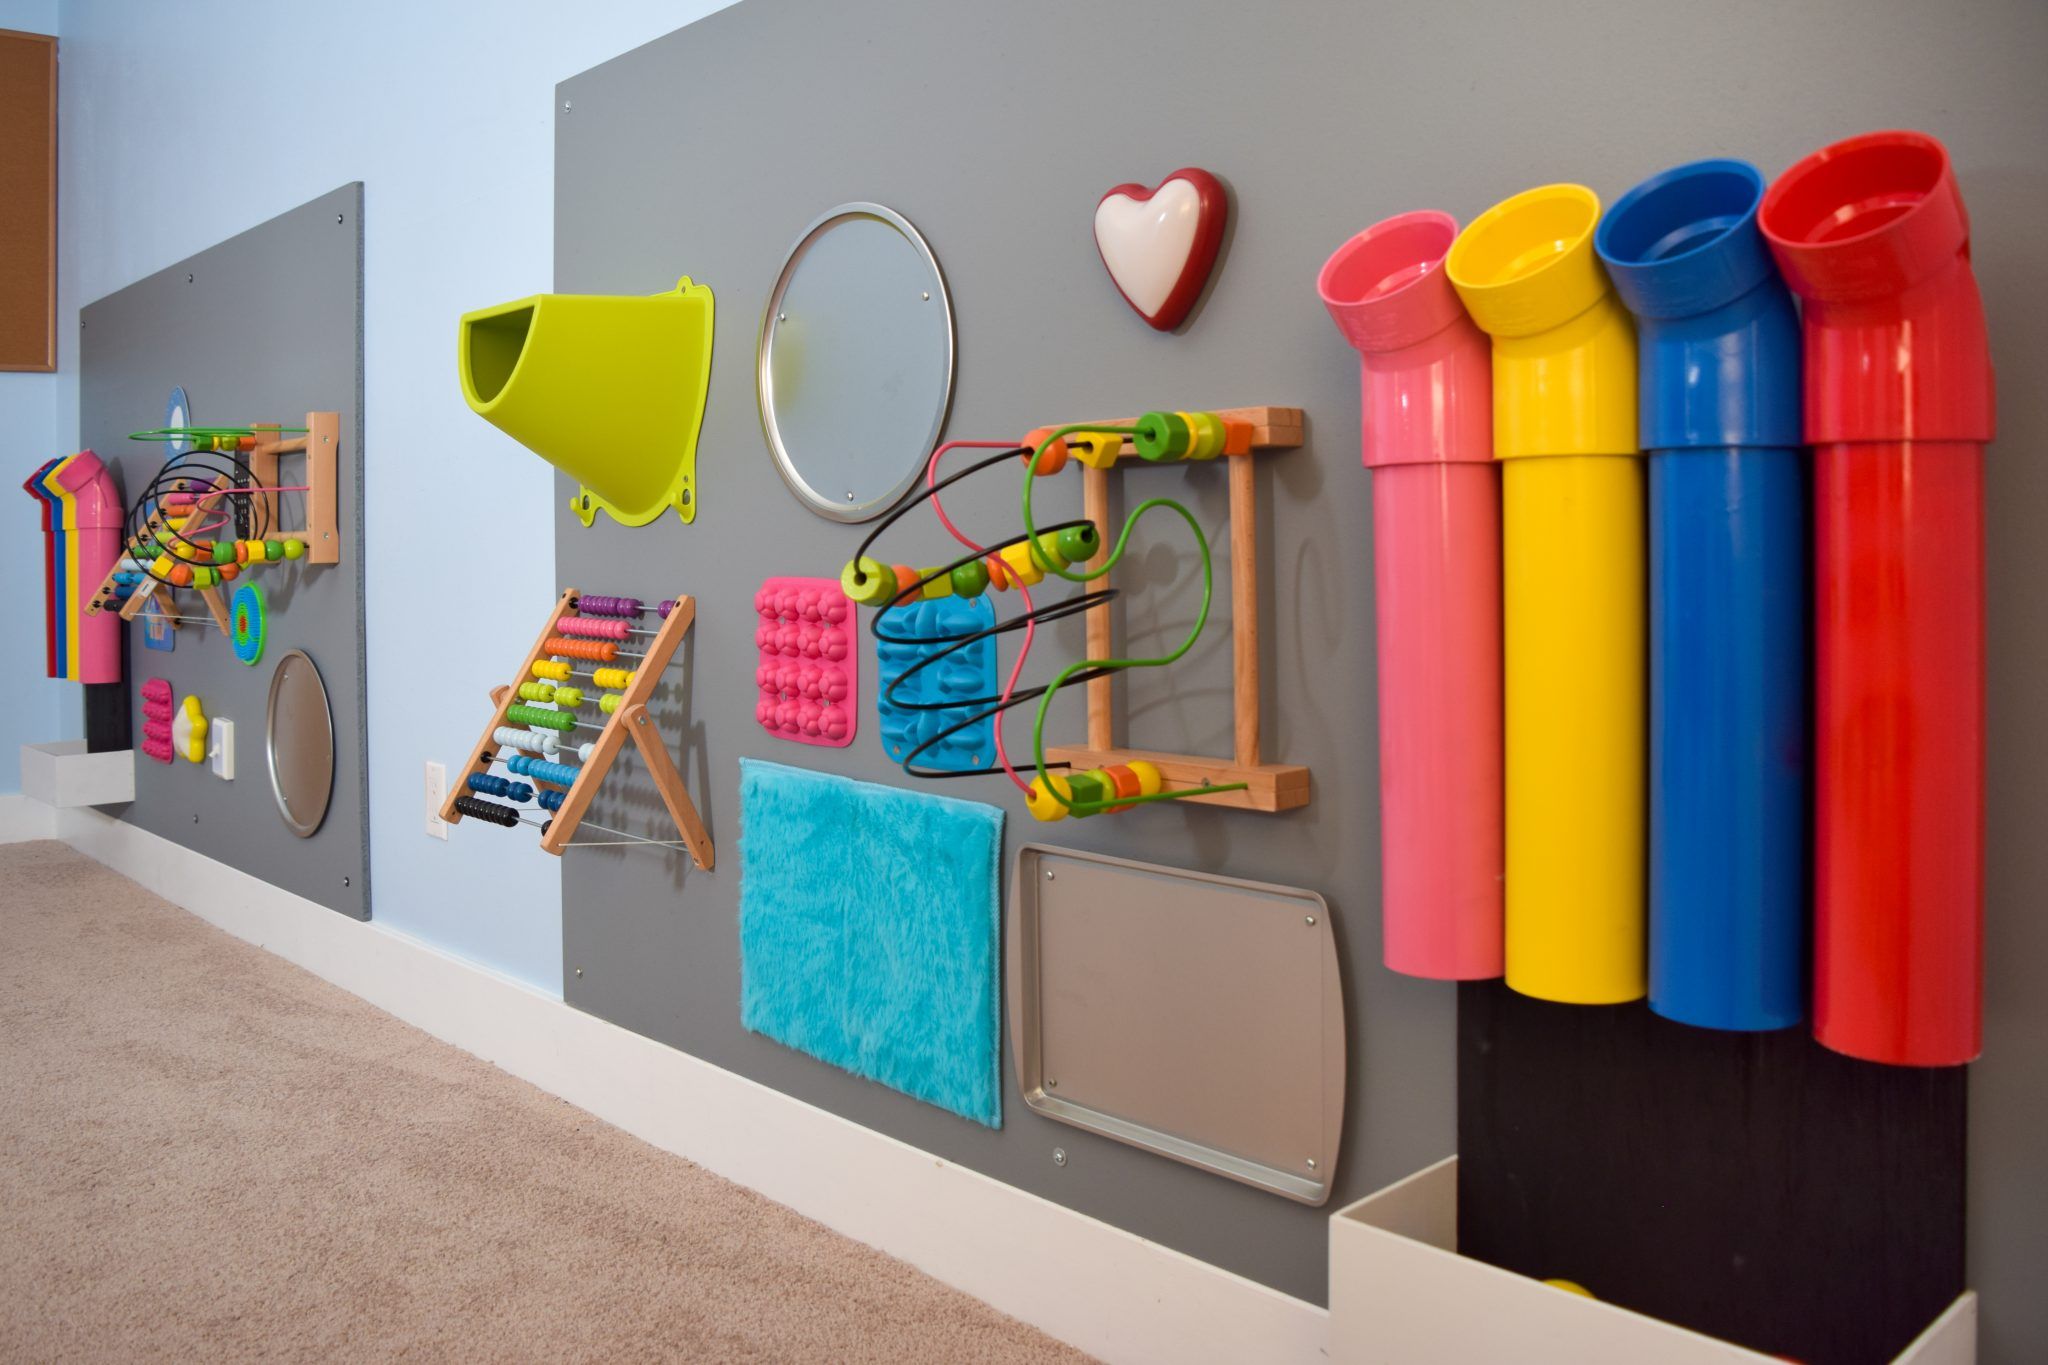
First things first, let’s break it down. A sensory board, also known as a sensory activity board, is an interactive panel full of different textures, shapes, colors, and elements designed to engage a child’s senses—sight, sound, touch, and even smell, in some cases. Think of it as a hands-on experience that’s both stimulating and calming. For children with autism, sensory boards can offer a variety of benefits that support their unique developmental needs.
Why Are Sensory Boards Good for Kids with Autism?
Now, you might be wondering, “Okay, but why should I invest time and energy into making a sensory board?” Great question! Here are a few reasons why sensory boards can be particularly beneficial for children on the autism spectrum:
- Sensory Exploration:
Many children with autism may have sensory processing challenges, meaning they either crave sensory input or are overwhelmed by it. Simply put, sensory boards allow kids to explore different textures, sounds, and visual elements in a controlled manner. This exploration can help them learn to regulate their sensory experiences. - Fine Motor Skills:
Handling different materials on a sensory board encourages the development of fine motor skills. Activities like zipping, snapping, and turning will strengthen their hand muscles, improve dexterity, and prepare them for other daily tasks like writing and tying shoelaces. - Focus and Attention:
A well-crafted sensory board can captivate a child’s attention and help improve their focus. It can serve as a calming tool during moments of heightened anxiety or sensory overload, providing a safe space for them to recenter. - Imaginative Play:
Sensory boards can also encourage imaginative play. As kids interact with the various elements, they can invent scenarios and stories, promoting creativity and social skills. You’d be surprised at how quickly they can turn a simple sensory board into a grand adventure! - Communication Skills:
While engaging with the sensory board, children may express themselves more freely. This can lead to increased verbal communication or non-verbal expression, making it a useful tool for language development.
>>>Read more: Unlock Your Child’s Motor Skills with a Fun Montessori Activity: Pronative and Supination (Squeezing a Sponge)

How to Create Your Own Sensory Board
Alright, let’s get to the fun part—creating your own sensory board! You don’t need to be a crafty expert to pull this off; just some basic supplies, creativity, and a bit of time. Here’s a step-by-step guide to help you get started:
Step 1: Gather Your Materials
The first step in creating a sensory board is gathering your materials. Here’s a simple list to kick things off:
- Base: Use a sturdy piece of wood, cardboard, or a large canvas as the base for your board.
- Textures: Think fabric swatches (velvet, fur, sandpaper), bubble wrap, or textured wallpaper.
- Tactile Items: Items like buttons, zippers, light switches, and various knobs can be great additions.
- Visual Elements: Use colorful papers, glitter, or mirrors to catch their eye and stimulate visual exploration.
- Sounds: Incorporate items that make noise, like bells, rattles, or crinkly materials.
- Adhesives: Grab a strong glue (like hot glue or craft glue) to secure everything in place.
- Other Fun Accessories: Consider adding things like a fishing line with toys to catch or drawing materials to enhance creativity.
Step 2: Plan Your Layout
Before gluing everything down, take some time to plan your layout. This is where you can be as creative as you want! Think about which materials you want to place where. Try to vary the textures and types of items to provide a broad range of sensory experiences. Consider breaking the board into sections, like one for touch, one for sight, and one for sound.
Step 3: Secure Everything
Once you’re satisfied with the layout, it’s time to start securing the materials to the board. Make sure to use enough adhesive so everything stays in place, but be cautious with items that may pose a choking hazard. Depending on the child’s age and capabilities, you might want to leave out small pieces!

Step 4: Personalize
Add your personal touch! You can incorporate the child’s favorite colors, themes, or even images of their favorite characters. This will not only make the board visually appealing but will also encourage them to engage with it more.
Step 5: Test It Out!
Once everything is glued and dried, allow your child to explore the board! Supervise the activity, especially at first, to ensure they’re using the materials safely and engaging with them appropriately. You might find that your little one has their own unique way of interacting with the board!
Tips for Using the Sensory Board
- Supervise and Engage: Initially, it’s a good idea to join in on the fun. Engage with your child, talk about what they’re touching, and ask them questions to promote communication.
- Rotate the Items: To keep things fresh, consider changing out items periodically. This can reignite interest and provide new sensory experiences as your child grows.
- Create Themes: You can make themed boards over time. For instance, a nature-themed board with leaves, flowers, and rocks or a water-themed board with materials that feel wet or squishy.
- Make It a Routine: Incorporate the sensory board into daily routines to enhance its effectiveness. It could serve as a morning activity or a calming tool before bedtime.

Final Thoughts
Creating a sensory board for a child with autism can be one of the most fulfilling DIY projects you embark on. Not only does it serve as a hub of sensory exploration, but it also encourages fine motor skills, creativity, and communication. Plus, it’s fun to make and even more fun to use!
So gather your materials, unleash your creativity, and watch your child delight in their new sensory adventure. What do you think? Are you ready to create your own sensory board? Get crafting, and let the sensory fun begin!
