Chưa được phân loại
3 Crafting Day Ideas to Bond with Kids
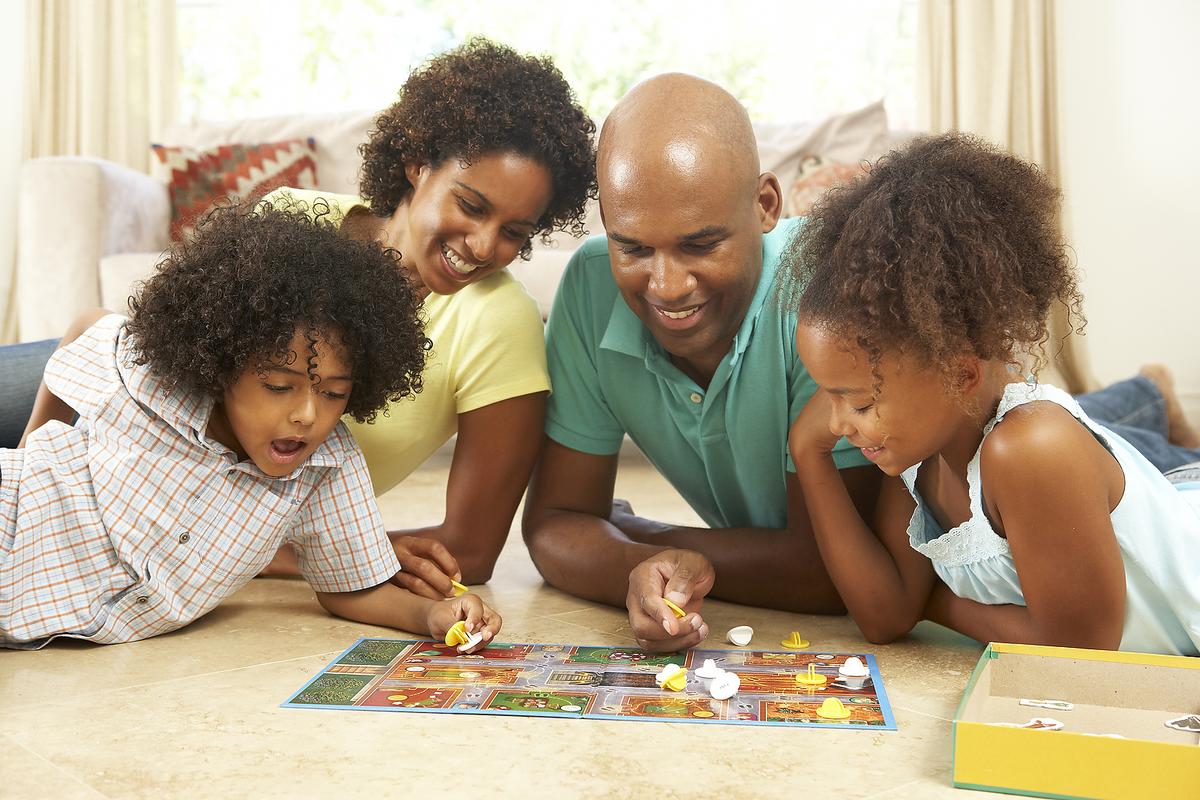
Hey there, fellow craft enthusiasts! If you’re looking for ways to spend some quality time with your kids, craft days are an absolute winner. Not only do they spark creativity and imagination, but they also provide a fantastic opportunity for bonding. So grab your glue sticks, scissors, and an open mind because I’m about to share three fun-filled crafting day ideas that the little ones will absolutely love – including a super engaging DIY sensory board. Let’s dive right in!

- DIY Sensory Board: A World of Touch and Exploration
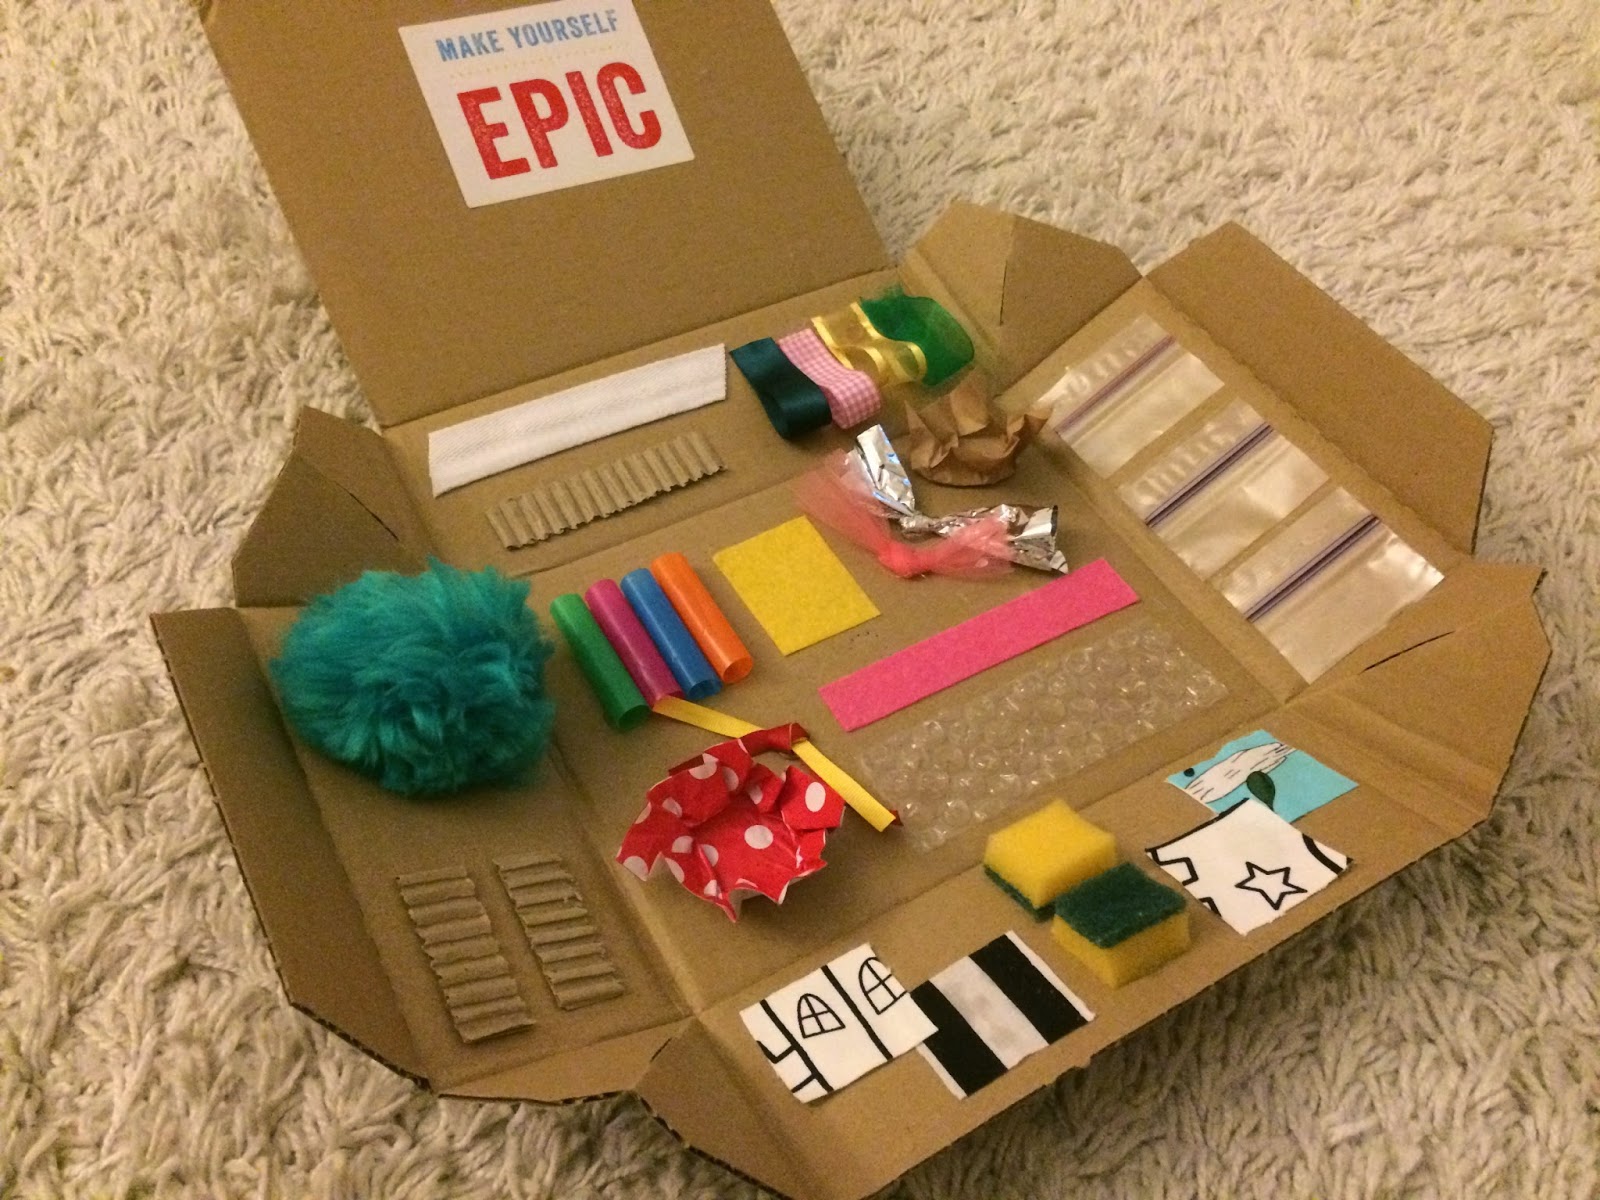
First up is the star of the show: the DIY sensory board! This project is not just fun, it’s also incredibly beneficial for young kids. Sensory boards can stimulate various senses; they help with fine motor skills and can even be calming for little ones. You can customize it to suit your child’s interests and help them explore textures and movements. Here’s how to create one together:
What You’ll Need:
- A large piece of cardboard or plywood: This is the base of your sensory board.
- A variety of textures: Think fabric scraps, sandpaper, bubble wrap, felt, or sponges. Let your kids choose what they’d like!
- Fasteners: Velcro, buttons, zippers, or anything that can create an interactive experience.
- Natural objects: Pinecones, pebbles, or leaves can add a lovely touch.
- Other fun additions: Mirrors, bells, or anything else that captures your child’s attention.
- Craft supplies: Scissors, glue, a hot glue gun (for adult use), and markers for decorating.
Crafting Steps:
- Let the Ideas Flow: Start by discussing with your kids what they’d like to include on their sensory board. Encourage them to think about different textures and sounds.
- Cut and Attach: Show them how to cut the various materials (adult supervision required for sharp items!) and then help them arrange the items on your board. Use glue or the hot glue gun to secure everything.
- Get Creative with Colors: While you’re putting things together, break out the markers and let the kids decorate the board. They can draw designs, patterns, and even write their names!
- Interactive Fun: Once completed, let your kids explore their board! Encourage them to talk about what they feel and discover which textures they like best.
Creating a sensory board allows for endless exploration and can even be adjusted with new items over time as your kids grow and their interests change!
>>>Read more: Unlock Your Child’s Motor Skills with a Fun Montessori Activity: Using a Whisk

- Nature Collage: Bringing the Outdoors Inside
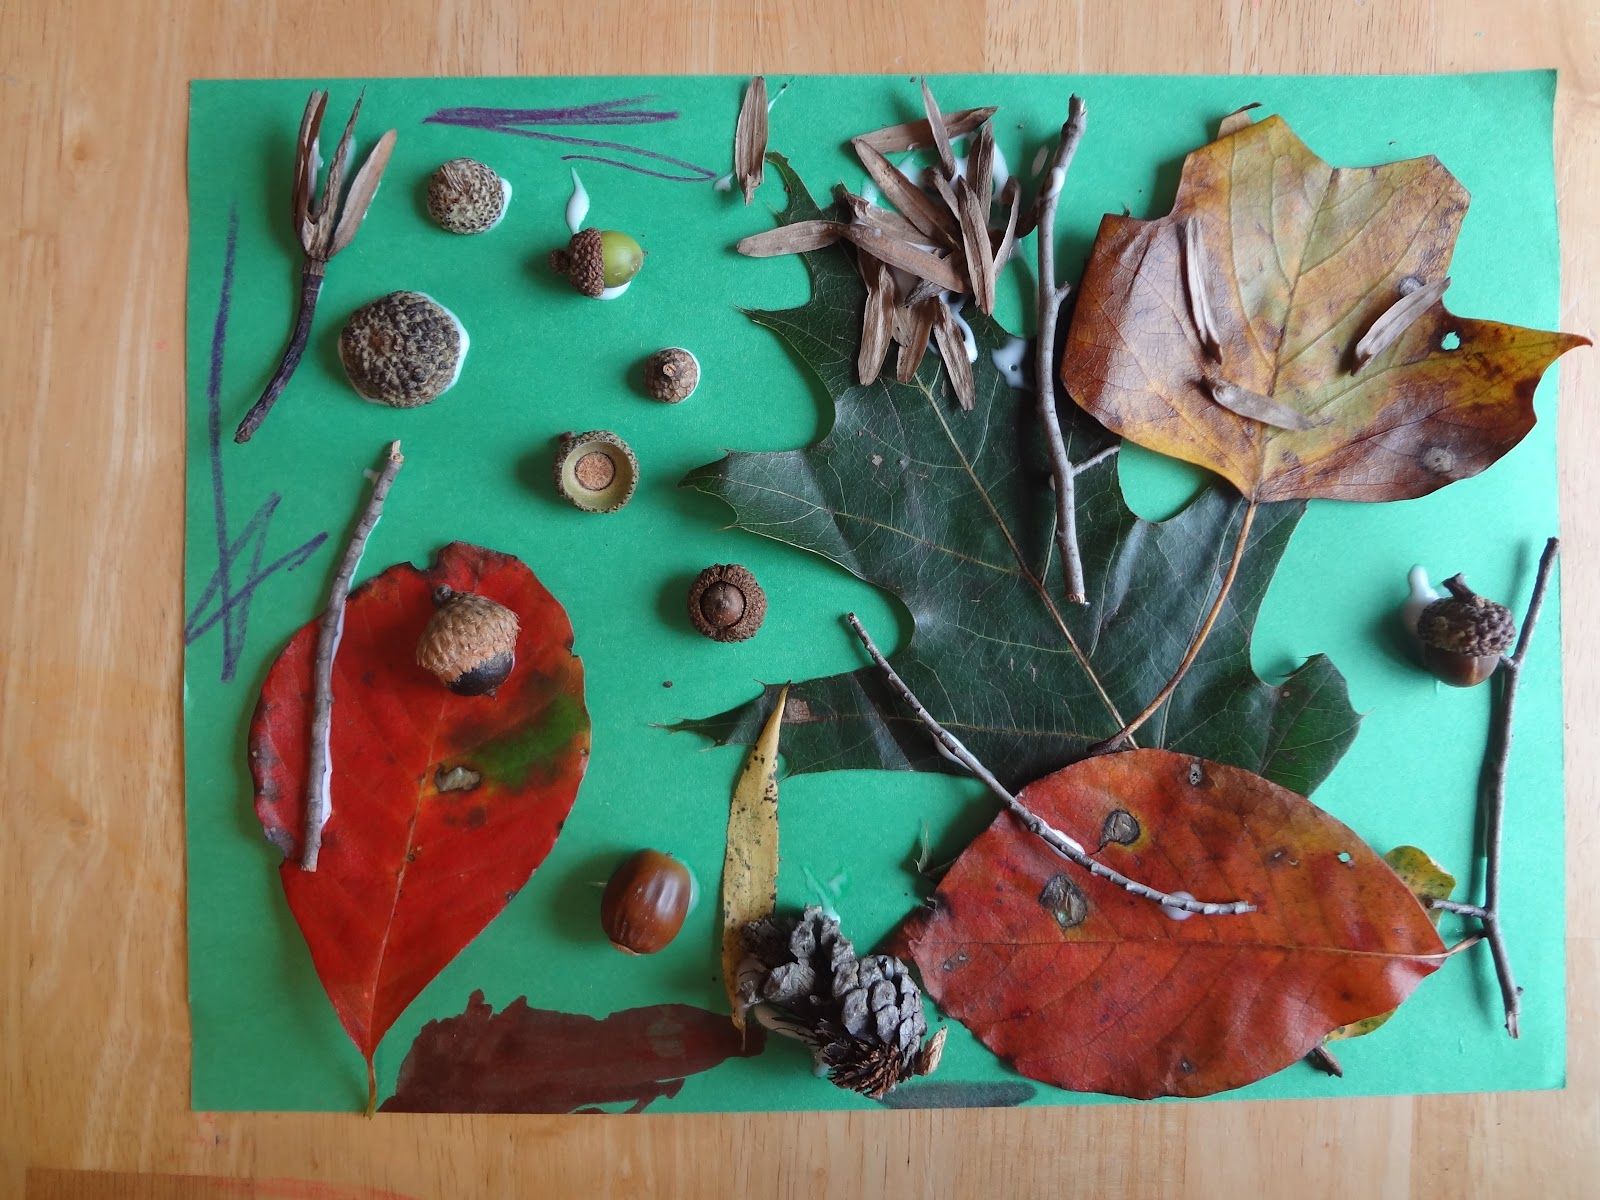
The second idea on our crafting adventure is creating a nature collage. This activity not only promotes creativity but also encourages your kids to appreciate the beauty of nature. Plus, it’s an excellent excuse to head outdoors and soak up some fresh air!
What You’ll Need:
- A large canvas or thick paper: This serves as the backdrop for your collage.
- Nature finds: Leaves, flowers, twigs, petals, etc. Go for a little nature walk around your neighborhood or local park. Bring along a small bag to collect various items.
- Glue, tape, and scissors: For securing your finds onto the canvas.
- Markers and paints: For finishing touches or as backgrounds.
Crafting Steps:
- Go on a Nature Hunt: Head outside with your kids and search for interesting items to include in your collage. Encourage them to look at different shapes and colors. Bring a camera along for a fun photo op too!
- Arranging the Finds: Back at home, lay out the collected treasures on your canvas and let your kids get creative! They can arrange them in a pattern or just place them randomly, whatever feels right.
- Glue Time: Once the layout is perfect, it’s time to glue everything down. You might want to help with the trickier pieces, like twigs!
- Add Some Color: After everything is glued down, bring out the paints and markers. Children can draw around the items or add in their own artistic elements to enhance their nature collage. Maybe even include a little story about the items they found!
- Display Proudly: Don’t forget to hang their masterpiece somewhere visible. It’s the perfect conversation starter and will make your kids feel proud of their work.

- Homemade Greeting Cards: Art with Heart
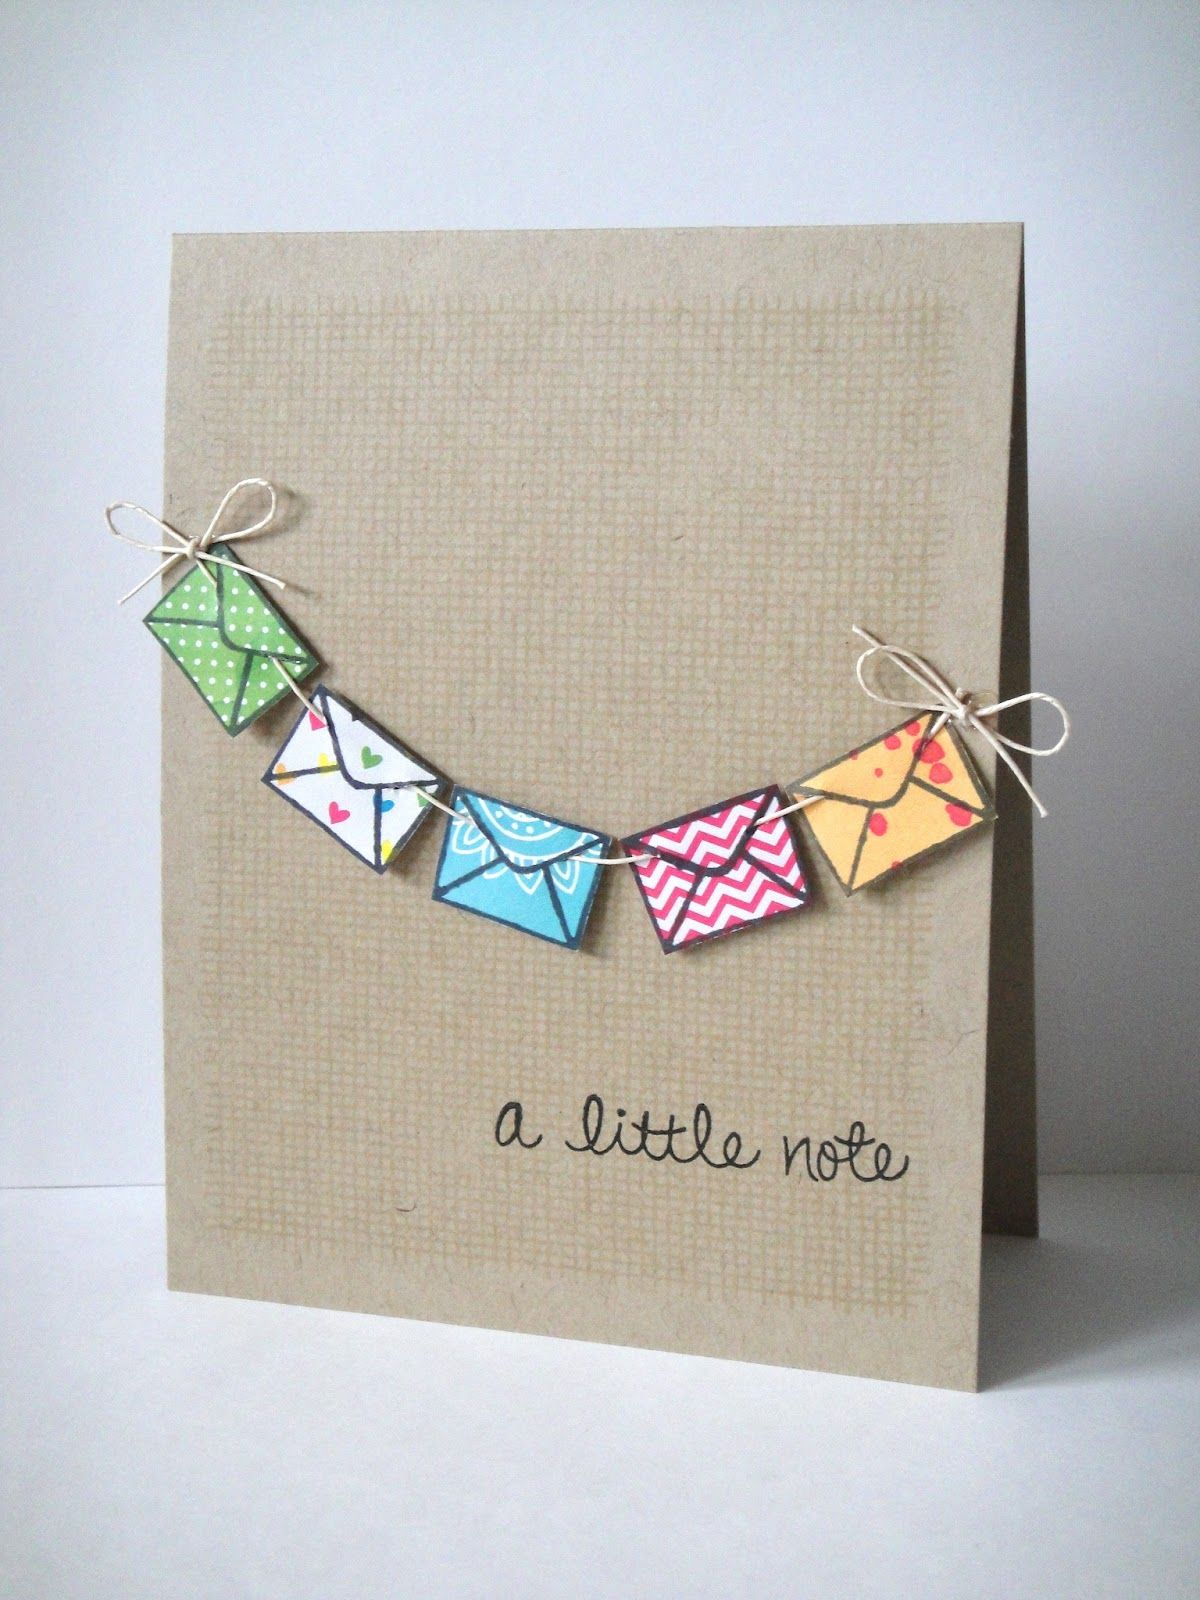
Last but not least, let’s talk about making homemade greeting cards. Whether it’s for birthdays, holidays, or just because, creating and sending cards can be a fun way to connect with friends and family. Plus, it’s a great way to teach kids about the joy of giving!
What You’ll Need:
- Blank cards or cardstock: You can easily cut these into any size.
- Craft supplies: Markers, crayons, paint, stickers, or glitter (because who doesn’t love a little sparkle?).
- Envelopes: To keep your cards safe until delivery.
Crafting Steps:
- Get Inspired: Talk to your kids about the types of cards they want to make. It could be a birthday card for grandma, a thank-you card for their teacher, or just a fun doodle to send to a friend.
- Decorate Away: Once you have your ideas, let the kids go wild with decorating! They can draw, write messages, and add stickers or glitter. This is the time to really let their personalities shine through.
- Personal Touch: Encourage your children to write a little message inside each card. It’s a great chance for them to practice their writing skills and express their feelings, no matter how simple.
- Mail Time: Once your cards are complete, take a trip to the mailbox together to send them off. Kids love knowing that they’ve spread joy through their creations!

Wrapping It Up
Crafting days with kids are a wonderful way to bond while creating memories that will last a lifetime. These activities not only allow for creative expression but also strengthen communication and collaboration skills among family members. Plus, watching a child’s face light up as they see their finished project is priceless.
So, roll up those sleeves, pour some paint, and let the creativity flow. Whether it’s a DIY sensory board, a nature collage, or heartfelt greeting cards, you’ll be sure to create not only tangible art but countless beautiful moments together. Happy crafting! 🎨✂️
