Blog
Unleash Creativity: 3 DIY Busy Board Ideas Using Different Materials
Hey there, crafty friends! Are you looking for a fun and engaging project that not only keeps your little ones busy but also sparks their creativity and enhances fine motor skills? Look no further! Busy boards are the perfect solution. Whether you’re gearing up for a rainy day or just want a unique toy to entertain your kids, making a homemade busy board is an amazing choice. It’s super customizable and can be made from a variety of materials you probably already have lying around your house. So, grab your glue gun and let’s dive into three unique ideas for creating busy boards that are sure to captivate your child’s attention!
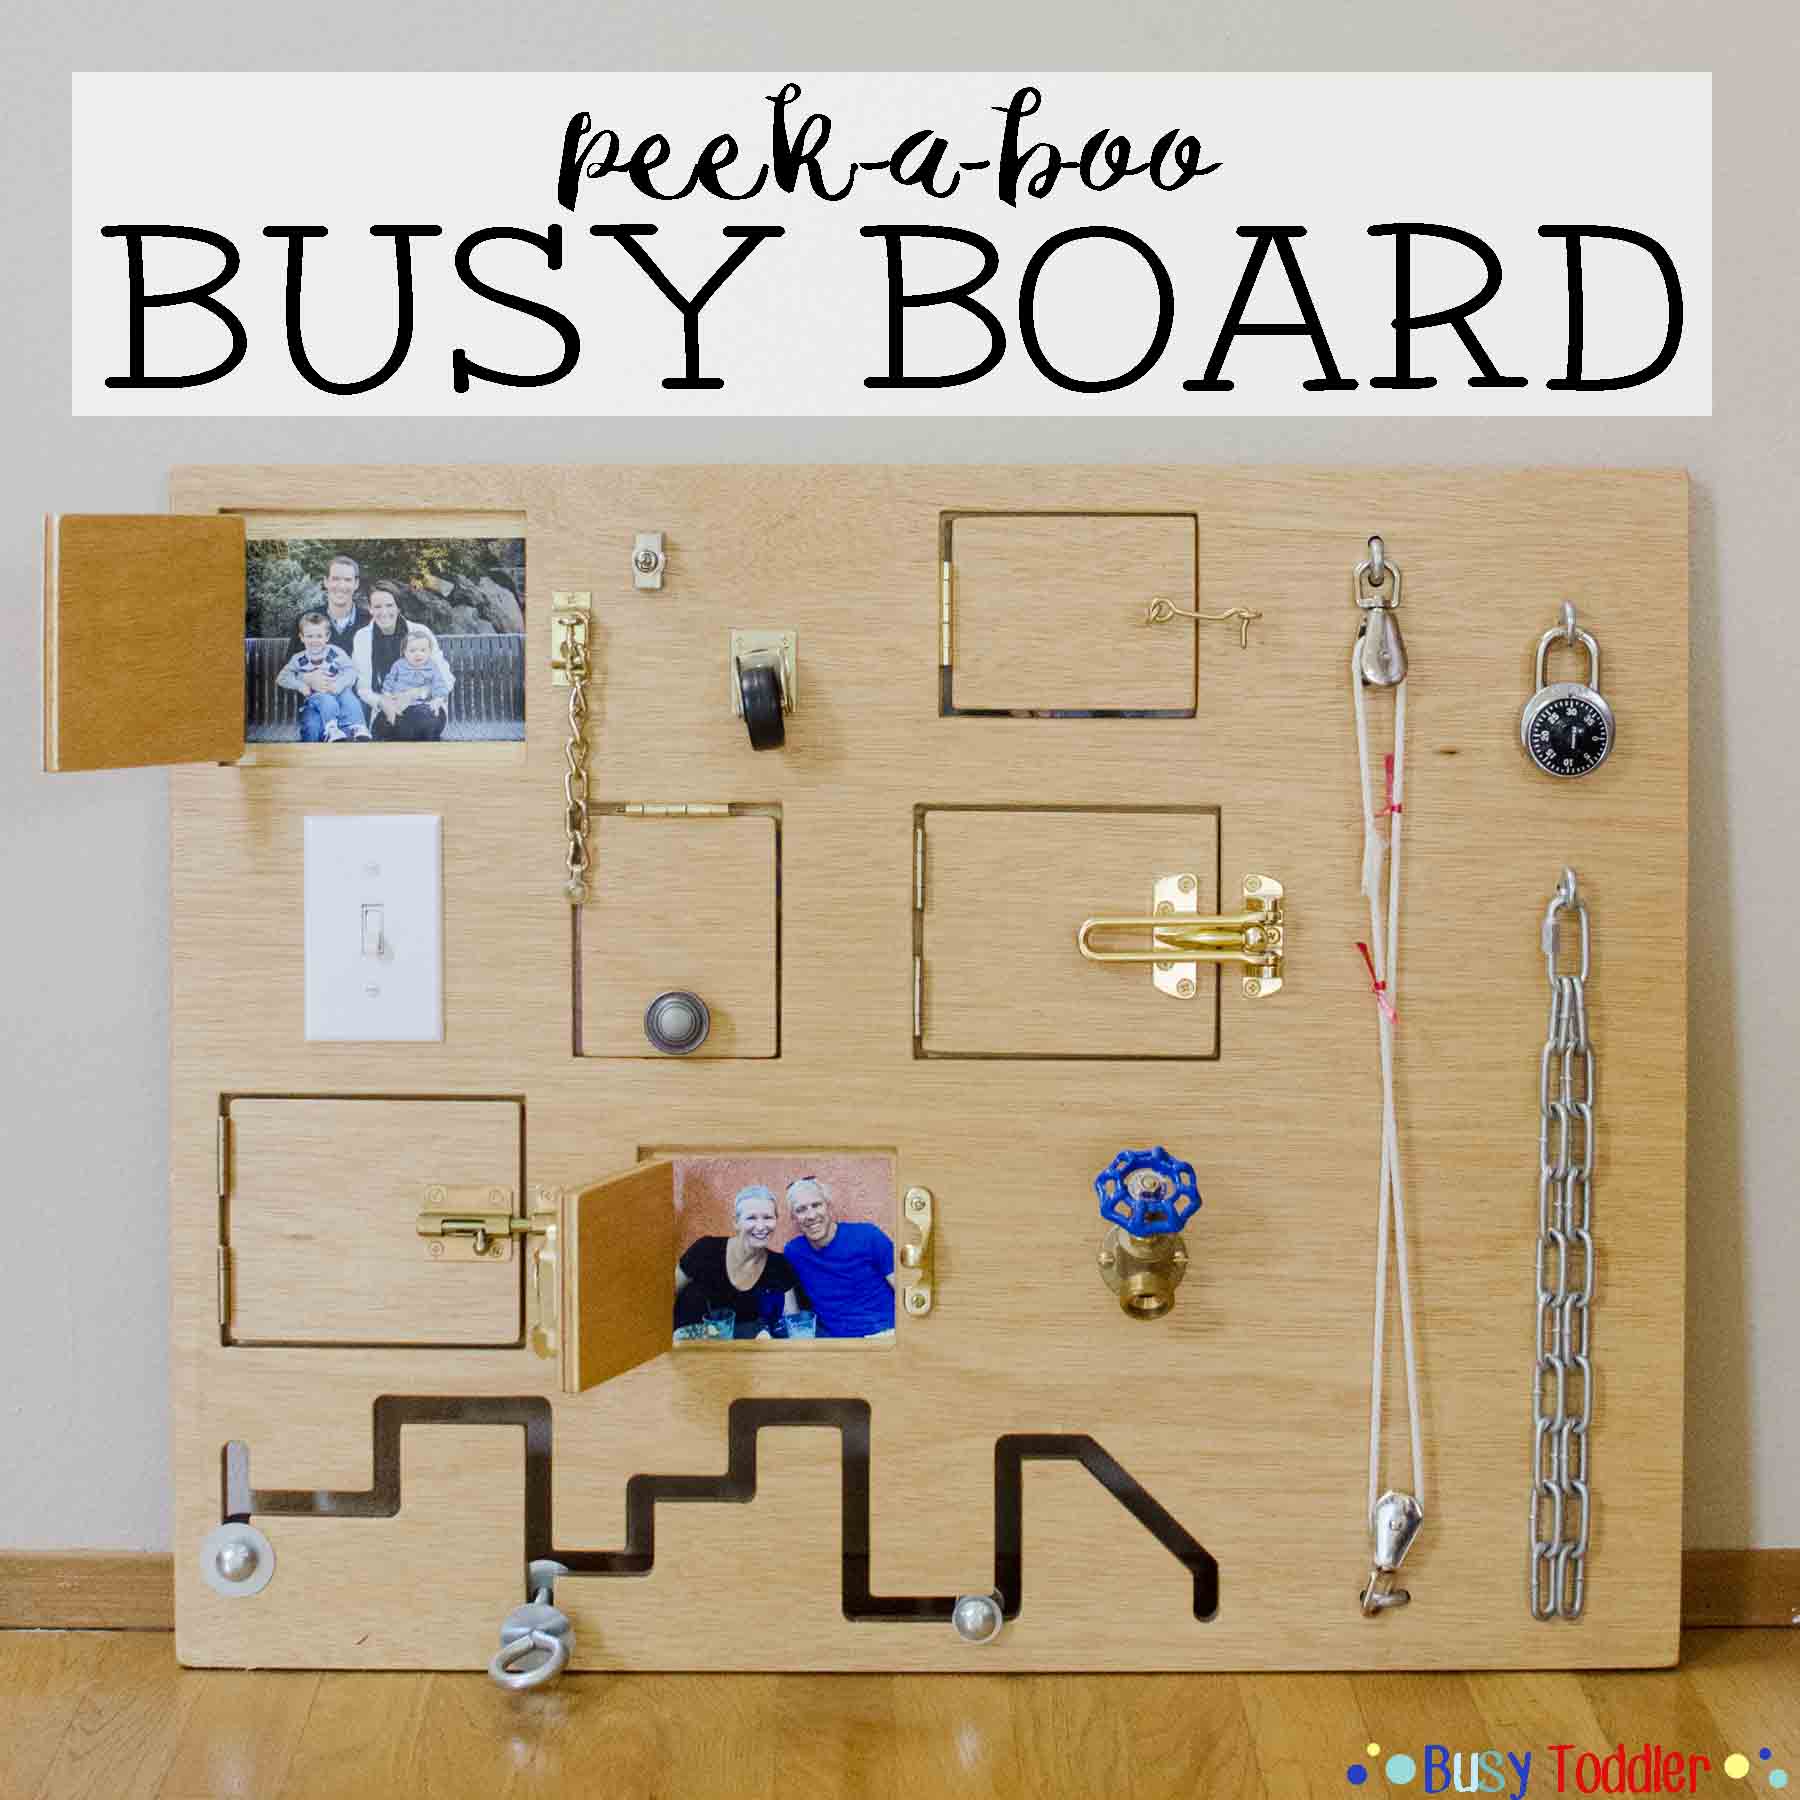
Idea #1: The Classic Wooden Busy Board
Materials Needed:
- Wooden board (around 2ft x 1ft)
- Various latches, knobs, and locks (from the hardware store)
- Sandpaper
- Paint or wood stain (optional)
- Screws and a screwdriver
- Non-toxic glue
How-To:
- Prepare the Board: Start by sanding down your wooden board to ensure there are no rough edges. This step is especially important for kids’ toys to keep them safe while playing. If you want, you can paint or stain the board to give it a nice finish and make it visually appealing. Some bright colors can really add a fun touch!
- Gather Your Fasteners: Visit your local hardware store and gather a variety of latches, knobs, locks, and any other intriguing fasteners. You might also consider old door handles or drawer pulls; these can be fun for kids to twist and turn.
- Attach the Items: Using the screwdriver and screws, start attaching your selected hardware to the board. Space them out evenly, making sure they’re not too close together to prevent frustration while your kid tries to grasp and manipulate each component.
- Add Some Personal Touches: If you have old buttons or toys that you were planning to toss, glue those on as well. Adding familiar items can create a sense of nostalgia for you while giving your child a wonderful sensory experience!
The wooden busy board is a timeless classic that provides endless exploration opportunities. Kids can practice fine motor skills, learn about cause and effect, and just have tons of fun! Plus, it’s super sturdy and built to last.
>>>Read more: Empower Your Child’s Independence with Dressing Frame: Push Buttons (Snaps)
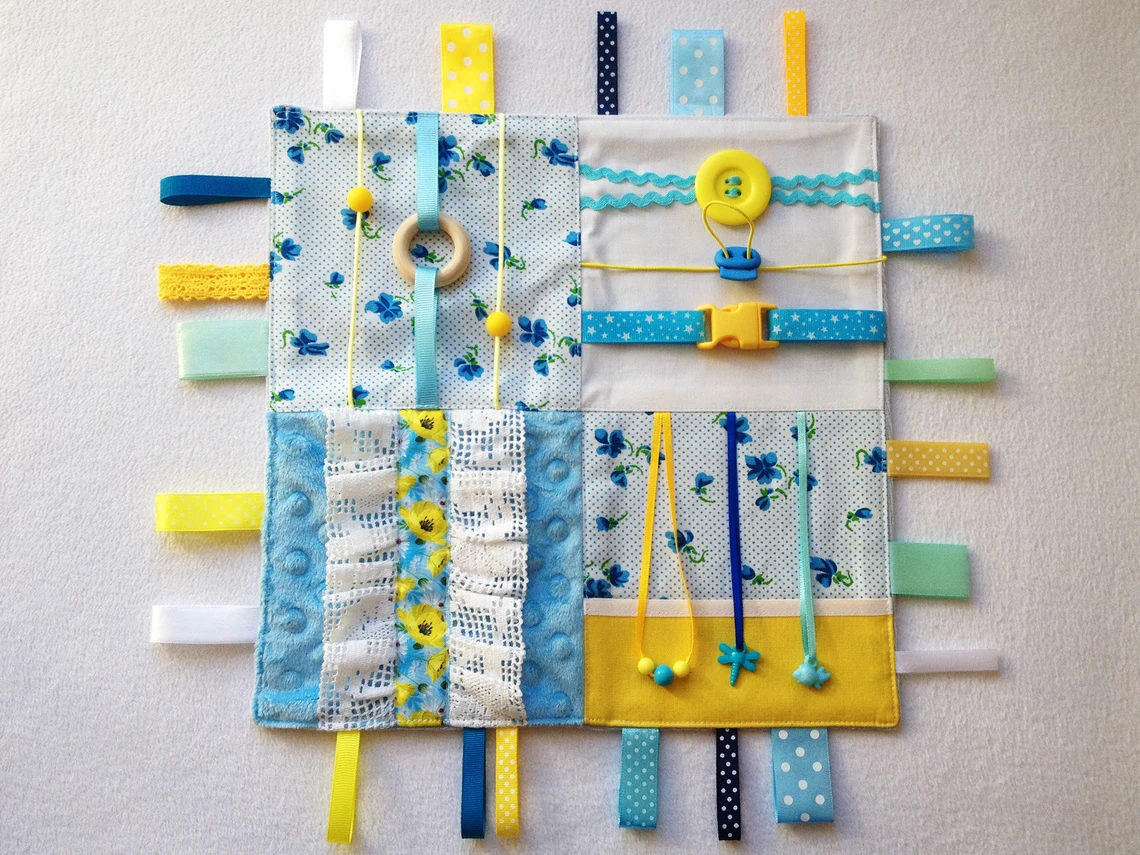
Idea #2: The Sensory Fabric Board
Materials Needed:
- Thick cardboard or a piece of fabric as a base
- Various fabric scraps (soft felt, shiny satin, etc.)
- Buttons, zippers, and ribbons
- Non-toxic fabric glue
- Foam shapes or any small soft toys
How-To:
- Create Your Base: Start with a piece of thick cardboard or a large piece of fabric that will serve as your base. If using cardboard, cut it to a size that feels manageable – around 2ft x 1.5ft is great.
- Choose Your Fabrics: Gather a variety of fabric scraps to make this board a sensory delight! Soft felt, bumpy corduroy, shiny satin, and even burlap can be all mixed together for a textural experience.
- Arrange and Glue: Before sticking anything down, lay out your fabric pieces on the base to find the perfect arrangement. You might want to include swatches that crinkle, items that make sounds, or even pockets that little hands can explore. Once you’re happy with the layout, use the fabric glue to attach everything securely!
- Go Wild with Details: This is where you can really let your creativity shine! Sew or glue on buttons, attach colorful ribbons, or even integrate playful zippers. Adding some foam shapes or soft toys can provide additional textures and surprise elements.
This sensory fabric board will enchant your child with its variety of textures, sounds, and colors. It’s also an excellent way for them to explore their tactile senses.
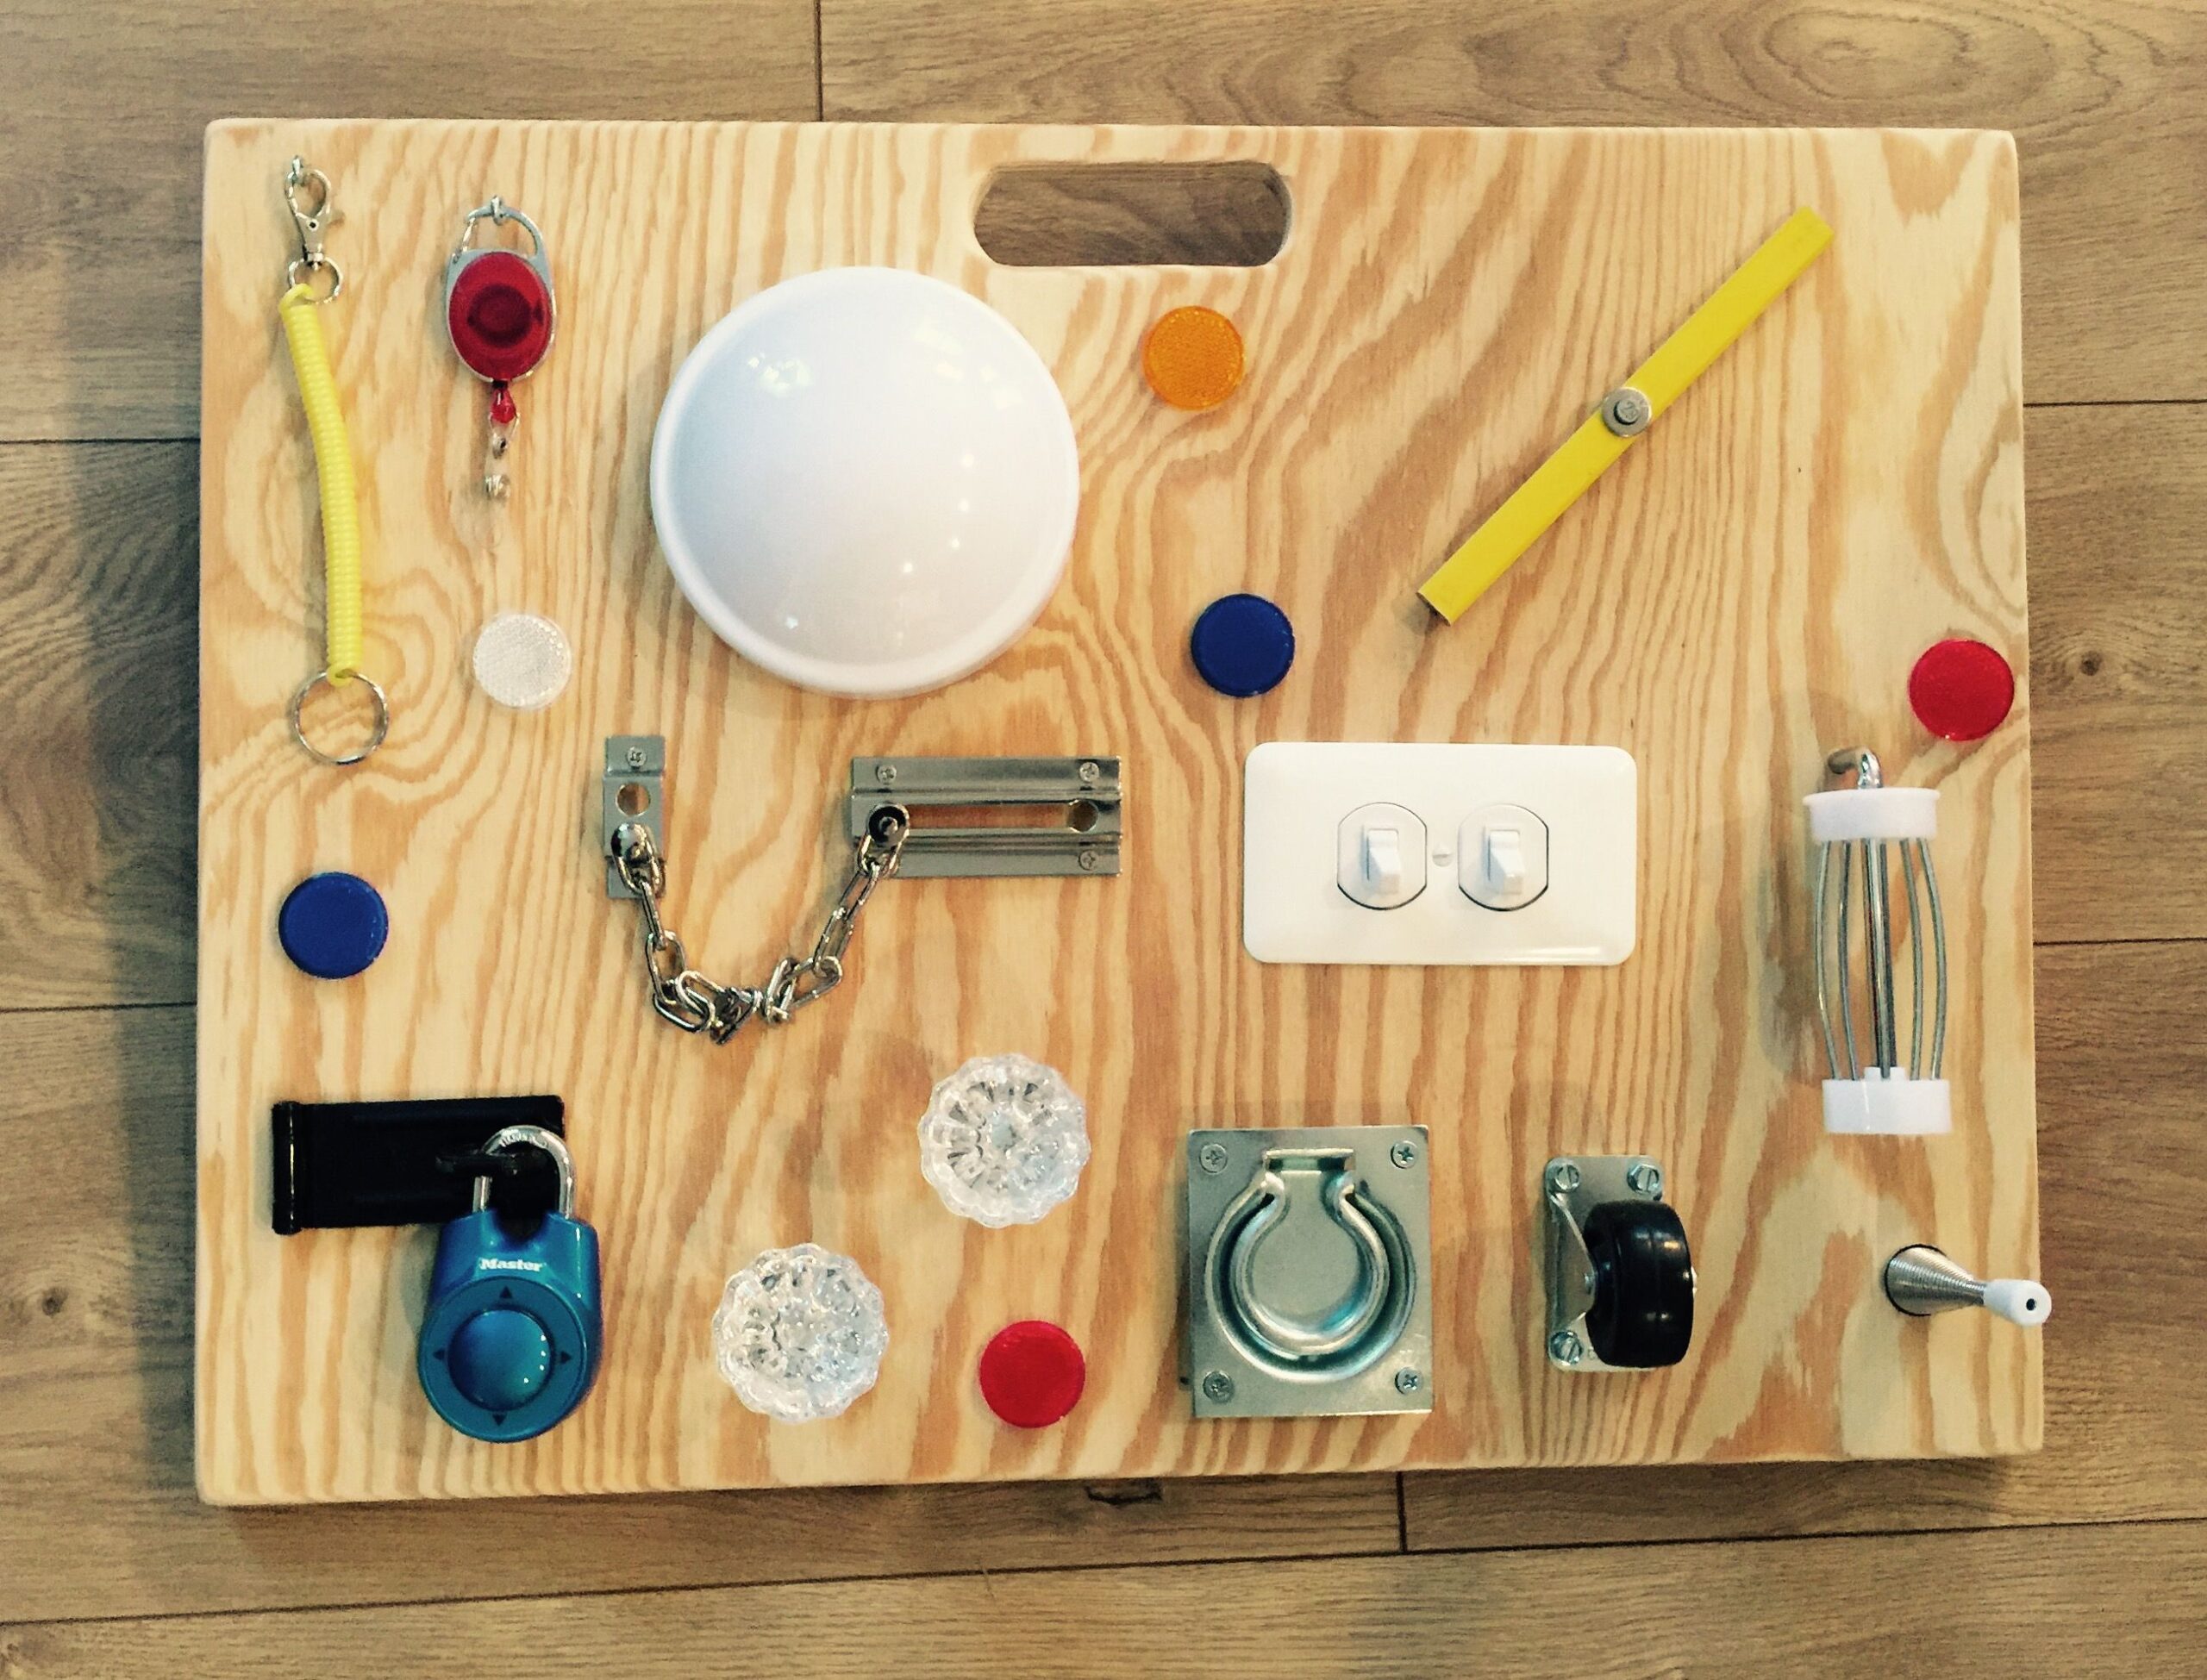
Idea #3: The Funky Upcycled Busy Board
Materials Needed:
- An old baking tray or a framed piece of wood
- Various recycled items (toys, gears, buttons, etc.)
- Non-toxic glue
- Paint (optional)
- Velcro strips or magnets for interchangeable pieces
How-To:
- Select Your Base: Begin with an old baking tray or a framed piece of wood. If you’re using a frame, remove the glass to make it safe for your little ones.
- Scavenge for Items: Raid your drawers, closets, or even your kids’ toy bins! Look for any small toys, gears, buttons, pieces from old games, or any materials that can be safely attached to your busy board.
- Arrange Your Treasures: Lay out all the materials you’ve gathered and start arranging them on your board. A fun idea is to create themed sections: one for turning, one for stacking, one for clicking, and even one for colors!
- Secure the Pieces: Use non-toxic glue to attach everything to the base. For added fun, consider using Velcro strips or magnets to allow for interchangeable pieces. This means your kids can swap items out to create new combinations!
This upcycled busy board not only keeps kids entertained but also teaches them about recycling and creativity. It’s a sustainable approach to play that offers endless variety!
In Conclusion
Creating a DIY busy board at home is not only a fantastic way to keep your little ones occupied, but it also serves as a bonding experience that can spark creativity for both you and your child. With just a handful of materials—many of which you might already have on hand—you can craft something that’s educational, engaging, and totally unique!
Whether you choose the classic wooden board, the tactile fabric experience, or the innovative upcycled version, each busy board will be a wonderful addition to your child’s play area. So, roll up your sleeves, unleash your creative side, and let the fun begin! Happy crafting!