Blog
Make Learning Fun: DIY Montessori Busy Board for Hands-On Development
Hello, fellow parents and educators! Are you looking for a creative way to engage your little ones while boosting their development? Look no further—today, we’re diving into the exciting world of DIY Montessori busy boards! These vibrant, interactive boards are not only loads of fun for children but also serve as fantastic tools for hands-on learning. So, let’s roll up our sleeves and get started on this delightful educational project!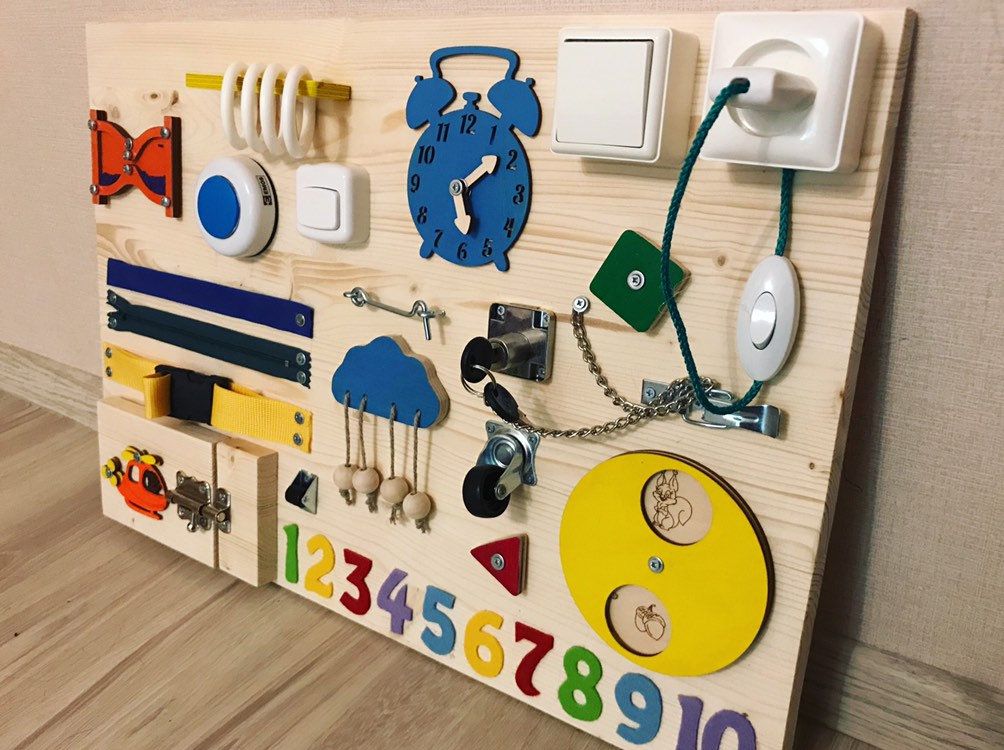
What is a Montessori Busy Board?
First, let’s chat about what a busy board actually is. A Montessori busy board is a sensory-rich activity board filled with various elements that children can touch, manipulate, and explore. These boards encourage fine motor skills, problem-solving, and cognitive development, all while satisfying the natural curiosity of children. Whether it’s buttons, zippers, locks, or latches, each component provides invaluable learning opportunities.
>>>Buy now:
Why Create Your Own Busy Board?
Creating a DIY Montessori Busy Board has endless benefits:
- Customization: You can tailor the board to fit your child’s interests and developmental needs, ensuring it’s engaging and educational.
- Cost-Effective: Buying pre-made busy boards can be pricey! By crafting your own, you save money while adding a personal touch.
- Quality Time: Making a DIY Montessori Busy Board is a perfect opportunity to bond with your child. Involve them in the process and watch their excitement grow!
- Endless Exploration: Once your DIY Montessori Busy Board is complete, your child will have hours of entertainment at their fingertips. It’s the gift that keeps on giving!
How to Make Your Own DIY Montessori Busy Board
Materials You’ll Need:
- A sturdy piece of plywood or a large cardboard box (for a more budget-friendly option)
- Various items to attach (think latches, zippers, buttons, wheels, mirrors, and any other tactile objects)
- Wood glue or a hot glue gun (with adult supervision)
- Sandpaper (if using wood)
- Paint or decorative materials (optional)
Steps to Create Your Busy Board:
- Choose Your Base: Start with a piece of plywood or thick cardboard. Measure and cut it to a size that’s easy for your child to handle—typically around 2 feet by 2 feet works well.
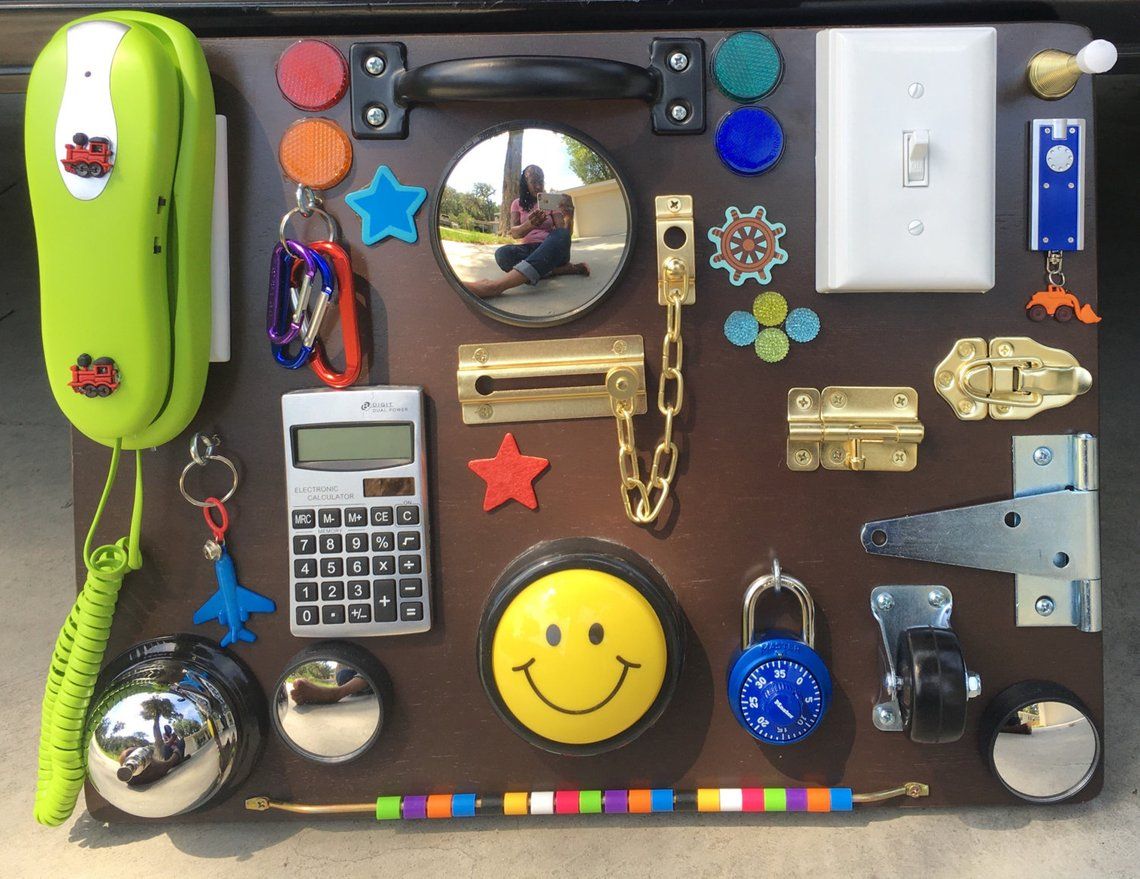
- Select Your Elements: Gather various items that promote fine motor skills and tactile exploration. You can use:
- Old keys and locks
- Zippers and buttons from clothes
- Small wheels or gears
- Mirrors for visual play
- Fabric swatches for different textures
- Prepare the Board: If you’re using plywood, sand down any rough edges to ensure it’s safe for little hands. You can also paint the board with non-toxic paint or cover it with colorful fabric.
- Arrange and Attach: Before gluing, lay out your items on the board to find the best arrangement. Once satisfied, glue them down securely, ensuring they are safe to touch and pull.
- Add Finishing Touches: Consider adding Velcro for interactive elements or adding labels with pictures and words to associate letters or numbers with the actions.
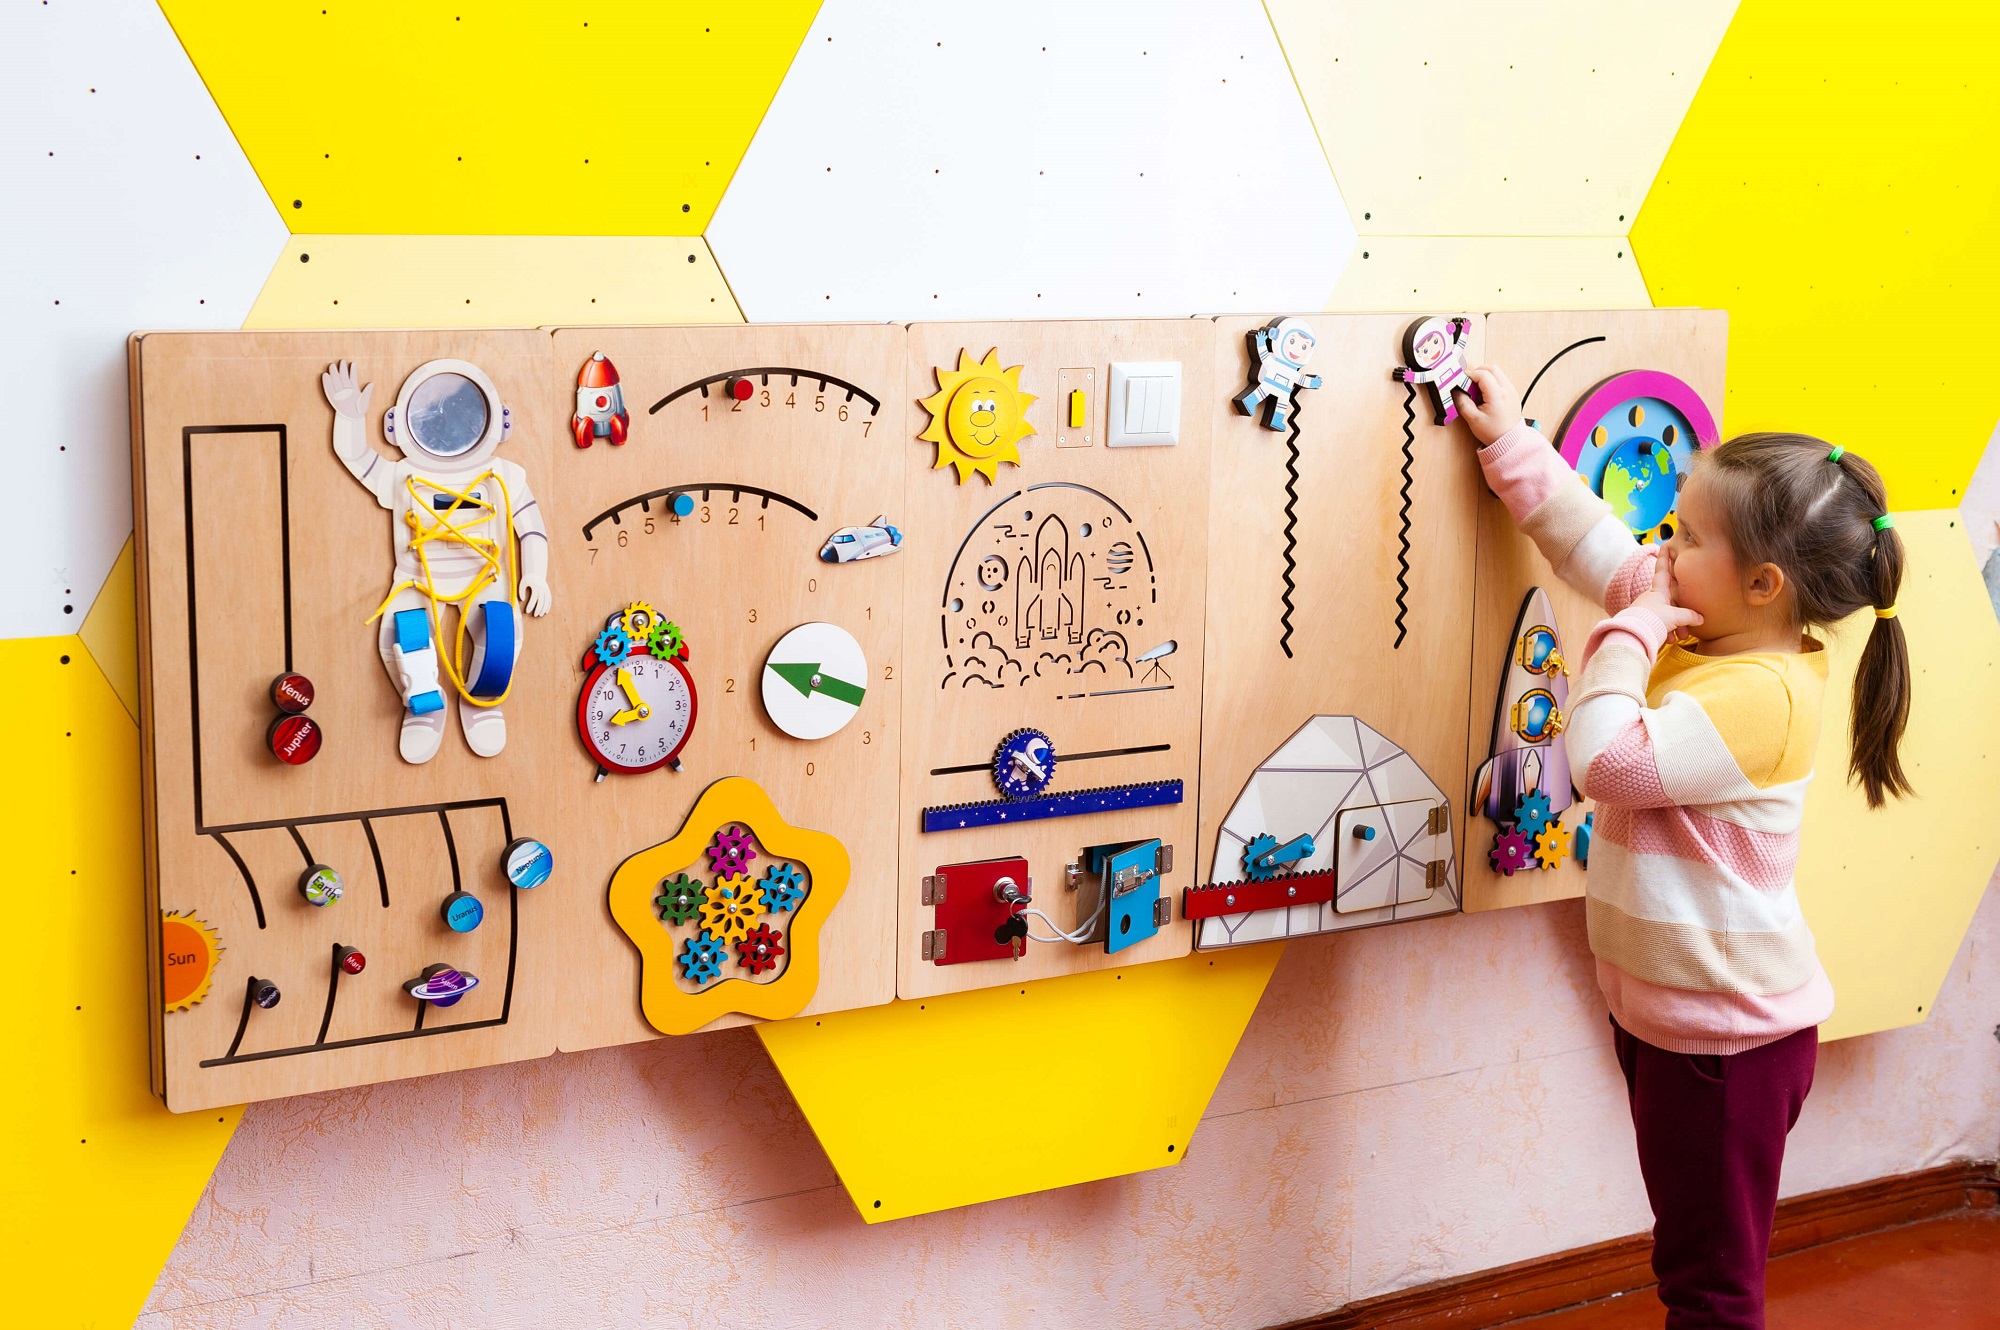
- Engage Your Child: Once everything is dry, introduce the DIY Montessori Busy Board to your child. Encourage them to explore each element and play freely. The more hands-on they are, the better their learning experience will be!
>>>Read more: Teach Your Child Responsibility and Boost Confidence with this Simple Daily Task: Changing the Water of a Flower Arrangement.
The Joy of Learning Through Play
A DIY Montessori busy board is more than just a fun project; it’s a gateway to endless exploration and learning. Children thrive when they can learn through play, and this busy board offers a unique way for them to engage their senses and develop critical skills needed for their growth.
So gather those materials, unleash your creativity, and make learning fun! Your child will build skills while having a blast, and you’ll cherish the moments spent together creating this joyful learning tool. Happy crafting!