Blog
Choosing the Perfect Wooden Board for Your DIY Busy Board
Hello, crafty creators and DIY enthusiasts! If you’ve found your way to this blog post, chances are you’re embarking on a delightful journey into the world of busy boards, or maybe you’re just curious about what all the fuss is about! No worries—we’re here to dive deep into something that might not seem like the star of the show but is absolutely crucial: choosing the perfect wooden board for your DIY busy board!
What is a Busy Board, Anyway?
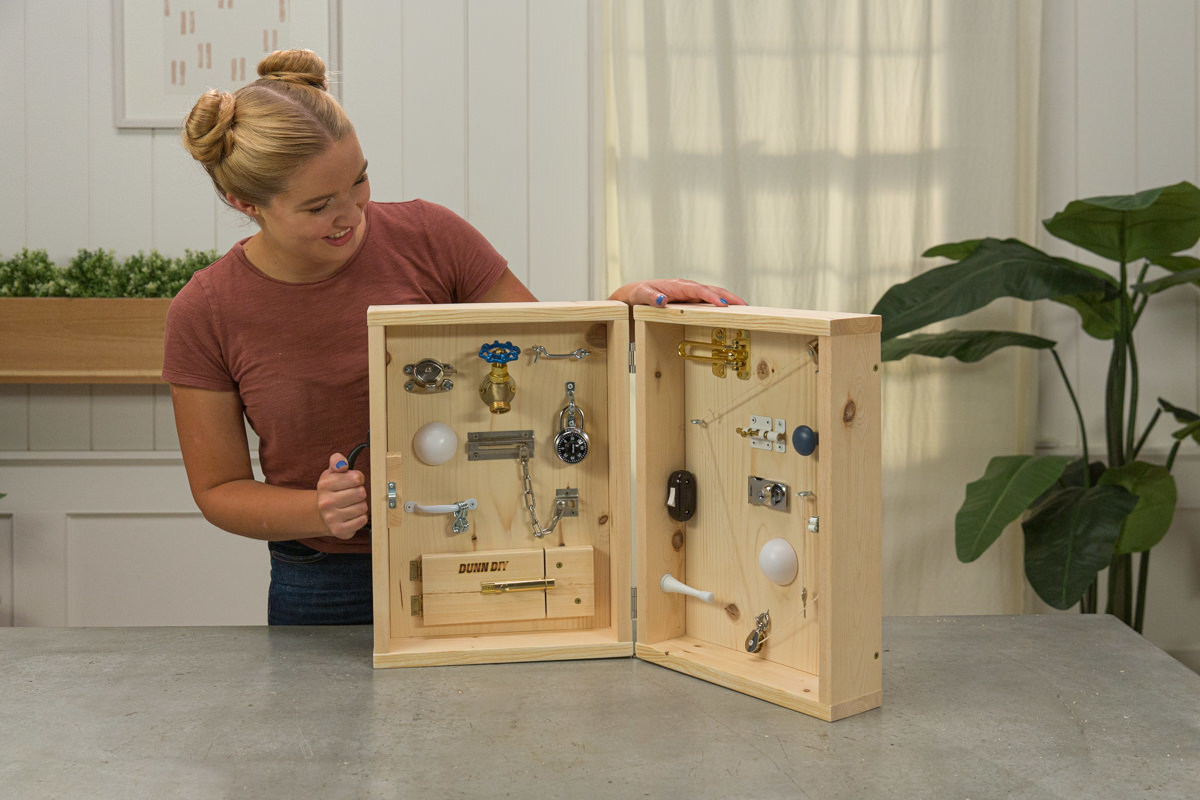
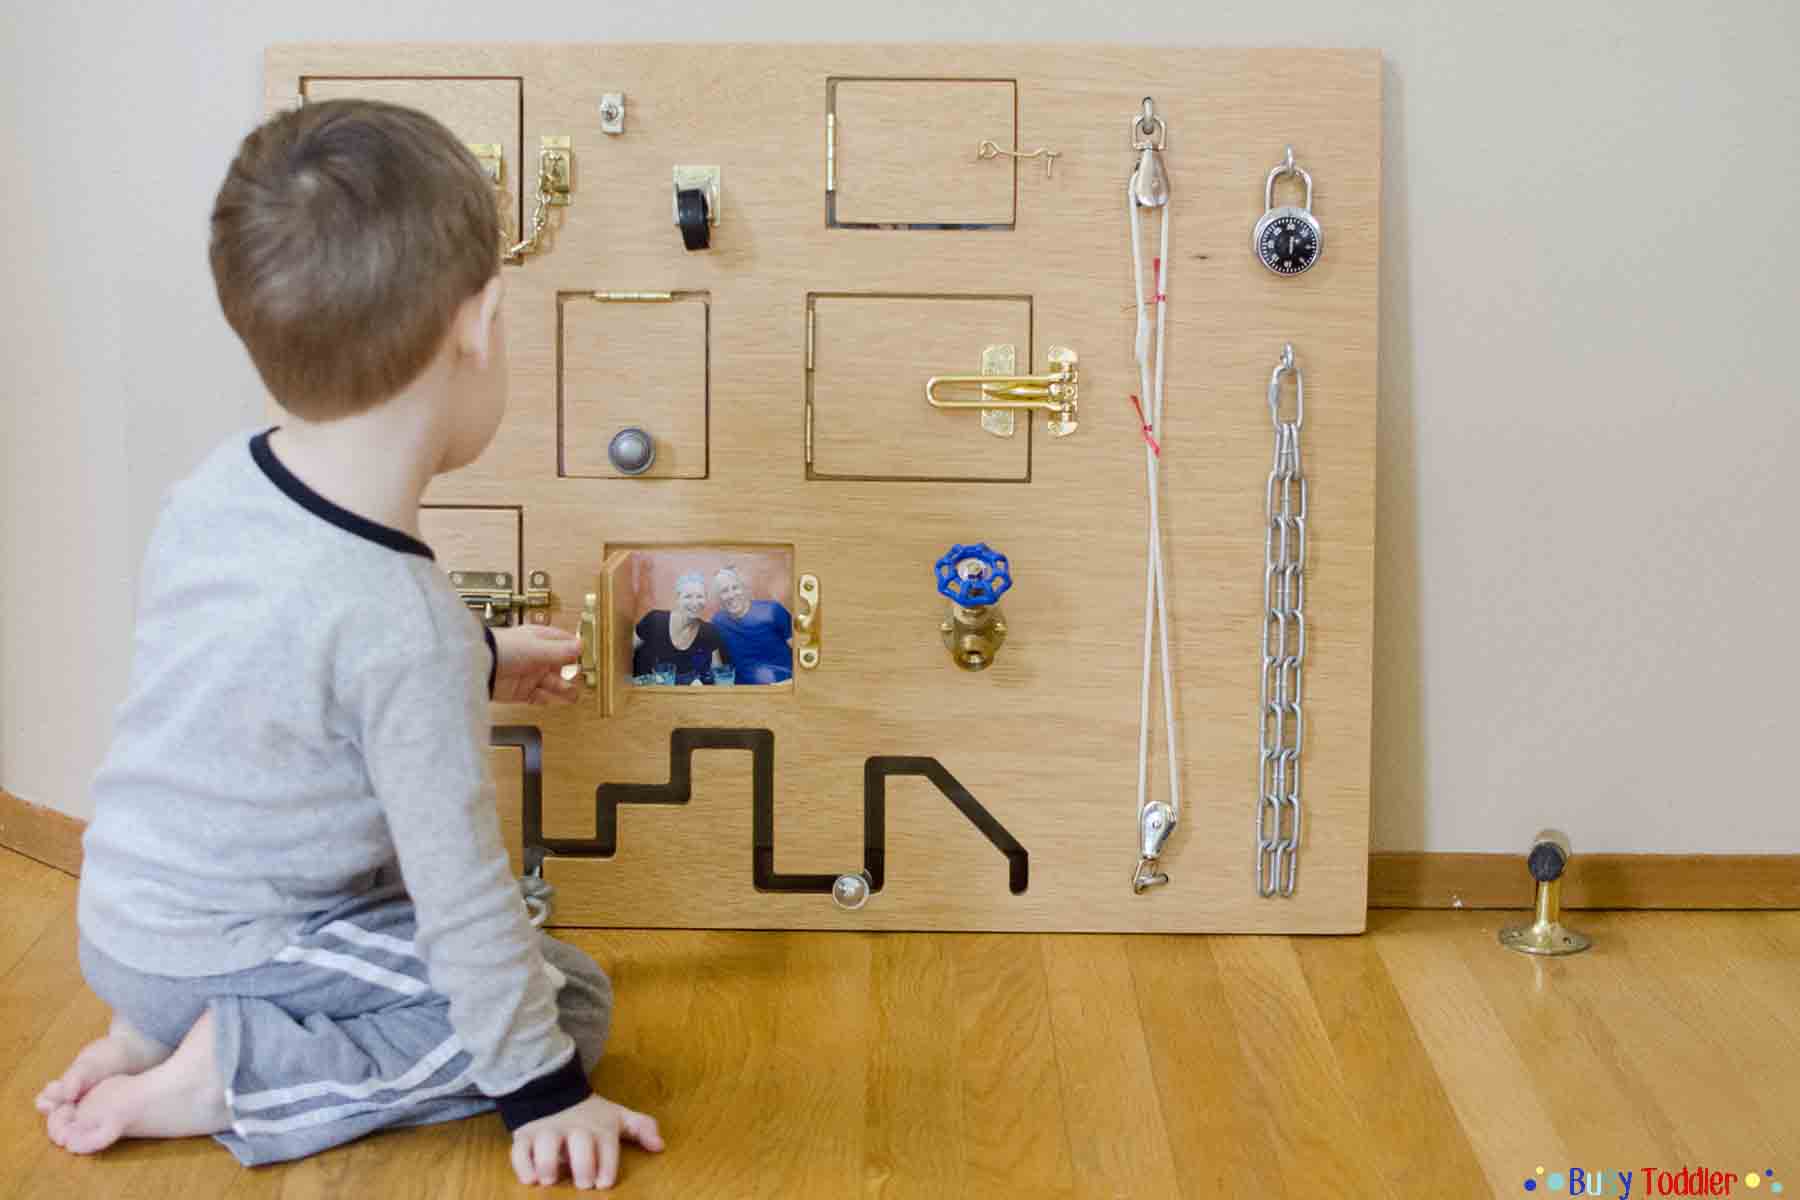
Before we leap into the nitty-gritty of wooden boards, let’s take a moment to clarify what a busy board actually is. A busy board is a tactile, engaging play surface designed for young children. It’s a wonderful tool for helping toddlers develop their fine motor skills, hand-eye coordination, and cognitive abilities through play. Picture this: a board adorned with all sorts of textures, colors, and interactive elements—think knobs, zippers, latches, and more! As each little hand explores this busy board, creativity and discovery take center stage.
>>>Buy now:
So why should the board itself get such close attention? Because the foundation of your busy board is essential for both functionality and aesthetics! Let’s get into the details of how to choose the best wooden board for your DIY masterpiece.
Size Matters: Finding the Right Dimensions
First things first—consider the size of your diy busy board. The dimensions will largely depend on what you envision for your design and how much space you have available. Generally, a board that’s about 2 feet by 3 feet works well for most projects, offering ample room for attachments while still being manageable for little ones to interact with. However, if you have less space or a more minimalist approach in mind, a smaller board might suit your needs just fine.
Think about how you’ll use it: Will it be wall-mounted for easy access, or is it a stand-alone activity board? Visualizing your final project can help you determine the best size and dimensions before you go shopping.

Selecting the Right Wood Type
When it comes to wood species, the options run the gamut—from plywood and pine to birch and oak. Each wood type has its own unique qualities, and you need to consider a few key factors:
- Durability: Kids are curious little explorers, which can sometimes lead to rough handling of their toys! Opt for hardwoods like oak or birch, as they tend to be more durable and can withstand the wear and tear of active play.
- Safety: This is a non-negotiable factor! Whatever type of wood you choose, be sure it is untreated and free from toxic chemicals. Look for wood that is labeled as child-safe, and if you can, choose non-toxic finishes when it comes to sealing and painting.
- Weight: Depending on your design, consider how heavy you want the board to be. Plywood is lighter and more manageable, while solid hardwoods can be heavier but offer stability.
- Aesthetic Appeal: Every creator has their unique style! Think about whether you prefer the natural beauty of wood grain or if you’re excited to paint the board for a splash of color. Choosing a wood type that resonates with your personal style will make the crafting experience all the more enjoyable.
Prepping Your Board: A Smooth Surface for Exploration
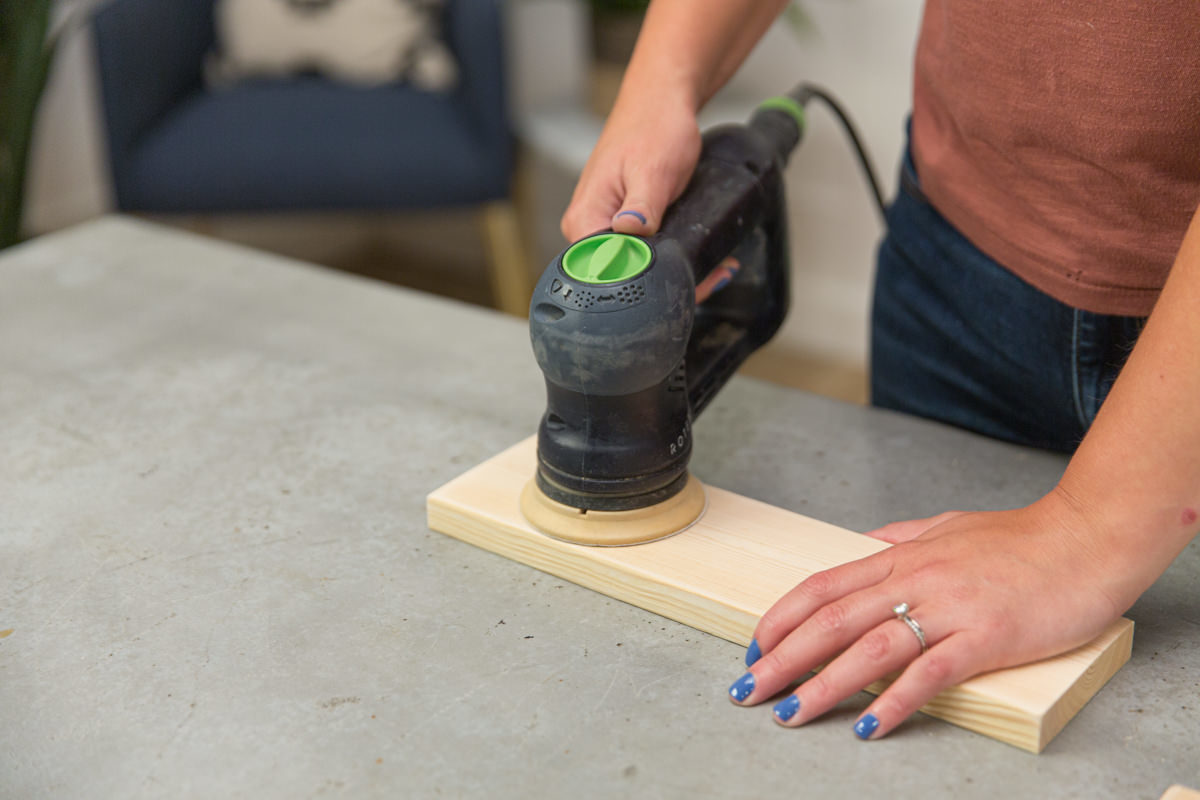
Now that you have your wood selected, it’s time to prepare it! A smooth surface is vital for a safe and enjoyable play experience. Sanding is your best friend here! Use fine-grit sandpaper to thoroughly smooth out edges and surfaces, ensuring there’s no roughness that could snag tiny fingers. It’s all about creating a tactile paradise that begs to be touched and explored!
And if you’re working with larger pieces of wood, don’t forget to sand those edges well. Not only does this prevent splinters, but it also helps in creating a visually appealing finished product. Plus, who doesn’t love the satisfying feeling of running their hands over a beautifully sanded surface?
The Finish: Sealing the Deal
Once your wooden board is prepped, it’s time to consider how you want to finish it! Should you go with a natural wood finish, or are you excited about splashing colors all over your diy busy board?
- Natural Finishes: If you want to maintain the organic look of wood, consider using a natural oil or wax, which not only enhances the wood grain but also serves as a protective layer. Look for non-toxic options that are safe for children and pets.
- Paint: If vibrant colors are calling your name, be sure to use non-toxic, child-safe acrylic paints. This is where you can truly unleash your creativity! Paint shapes, patterns, or even a captivating scene that sparks imagination. Just remember to seal it well afterward!
Adding Elements to Your Busy Board
Now that we’ve covered the board itself, let’s talk about adding all those fun interactive elements! Your diy busy board is the canvas on which you’ll cement delightful activities that will challenge and incentivize little minds. Get creative with objects like:
- Zippers and buttons: Excellent for practicing fine motor skills.
- Knobs and latches: Perfect for fostering problem-solving abilities.
- Mirrors: Add a touch of wonder as kids gaze into their reflections.
- Textures: Consider incorporating different materials (like felt, rope, and sandpaper) to create a sensory extravaganza.
Conclusion: Crafting a Lifelong Treasure
In conclusion, crafting the perfect diy busy board is an incredible project that combines creativity, functionality, and educational value. By carefully selecting your wooden board and elements, you’re not only creating an engaging plaything for young children but also a keepsake that can be cherished for years to come.
So roll up those sleeves, gather your materials, and get ready to create something truly magical! The joy and excitement on a child’s face as they explore your carefully designed diy busy board will be well worth the effort—and who knows, you might just find yourself inspired to create even more! Happy crafting, everyone! 🛠️✨
>>>Read more: Teach Your Child Responsibility and Boost Confidence with this Simple Daily Task: Oiling Wood