Blog
5 Simple Busy Board Ideas You Can Make at Home
Hey there, crafty friends! 🌟 If you’re anything like me, you know the importance of keeping little hands busy—and what better way to do that than with a busy board? Not only are they a fun activity for kids, but they also encourage fine motor skills, problem-solving, and creativity. Today, I’m sharing five simple busy board ideas that you can whip up at home, including my favorite: the button busy board!
What is a Busy Board?
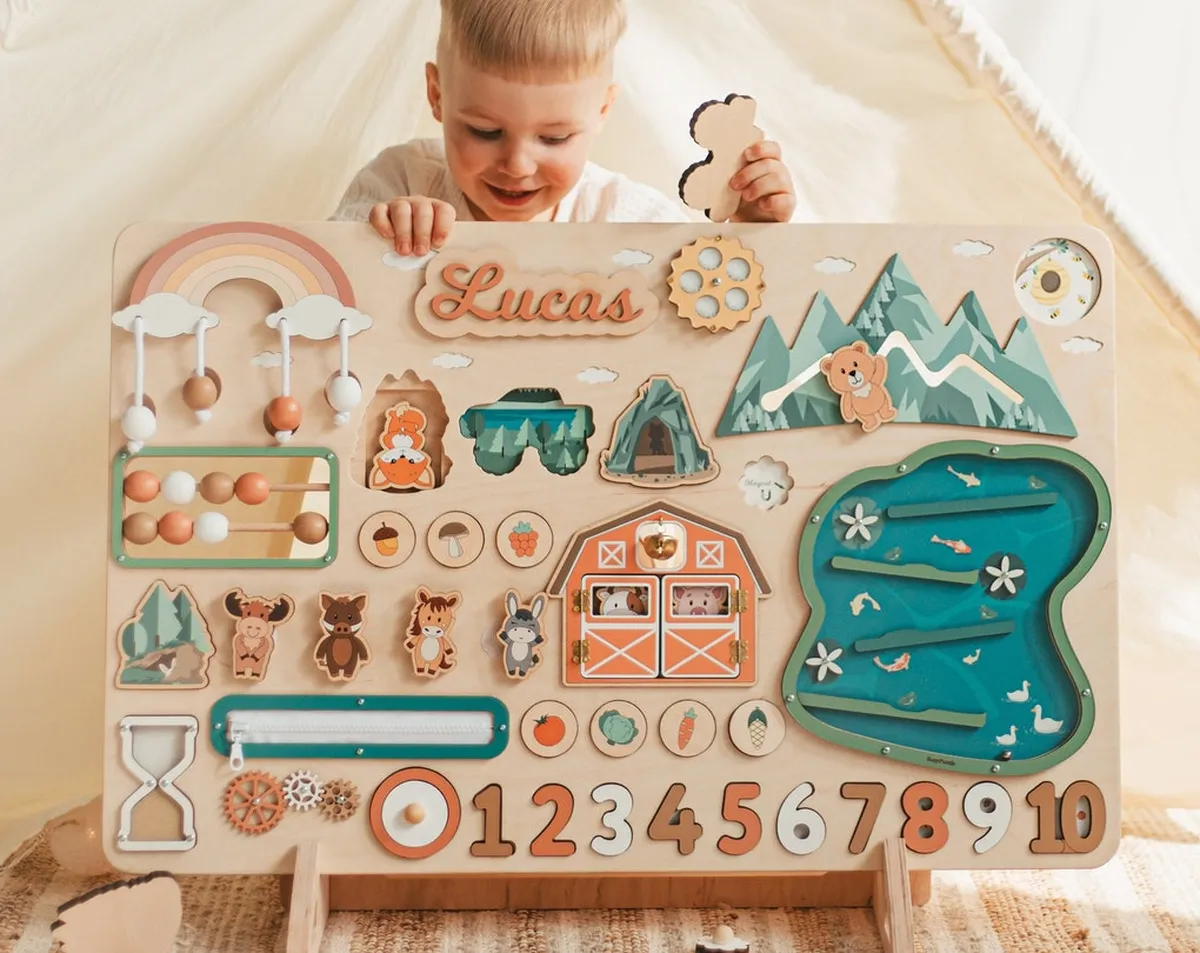
For those of you who might be scratching your heads wondering, “What on earth is a busy board?” let me break it down. A busy board is essentially a compilation of various activities fixed onto a board that keeps children engaged. They often include zippers, buttons, locks, and other interactive elements. These boards are perfect for toddlers and preschoolers, turning idle time into valuable play and learning time!
>>>Read more: How to Keep Your Child Engaged? Try a Montessori Busy Board for Sensory Play!
So, roll up your sleeves, grab your supplies, and let’s dive into these five cool busy board ideas!
- The Classic Button Busy Board
Ah, the button busy board! This one is a favorite in my house because it’s so simple yet offers tons of engagement. Plus, it’s a fantastic way to introduce your little one to the world of buttons without the risk of them unintentionally buttoning up your favorite shirt!
What You Need:
- A wooden board or a thick cardboard piece
- A variety of buttons (big, small, colorful!)
- Strong glue (hot glue works best)
- A couple of loops of sturdy string or elastic bands
How to Make It:
- Start by choosing a board that’s about 18×12 inches—a nice size for little hands to explore.
- Arrange your buttons on the board in different patterns and sections, making it visually appealing.
- Use the strong glue to attach the buttons. You can glue some horizontally, some vertically, or even in fun shapes!
- For added fun, use the string or elastic to create button loops. Kids can thread the buttons onto the loops, enhancing their dexterity.
Now, let your little ones have fun buttoning and unbuttoning to their hearts’ content!
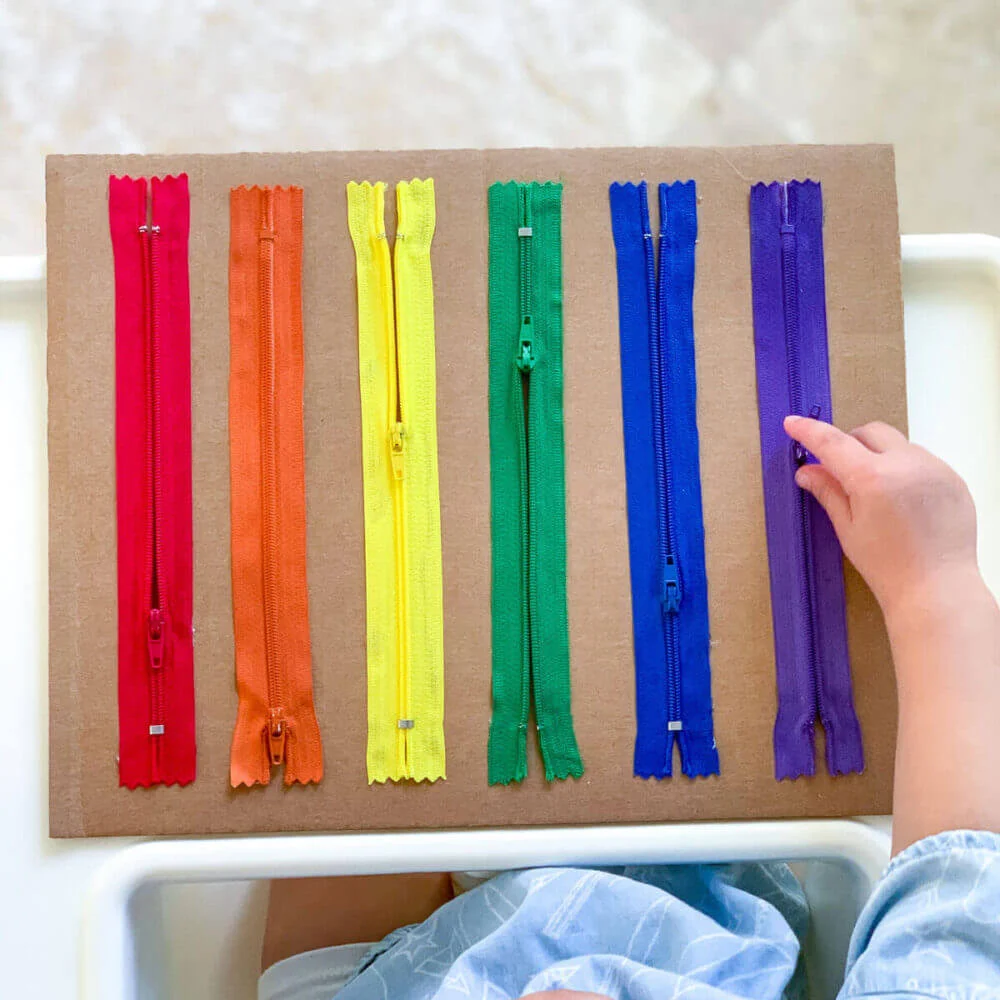
- The Zipper Exploration Board
Zippers are not only a practical feature but also a satisfying sensory element for kids. This board will help them master the art of zipping and unzipping while developing their hand-eye coordination.
What You Need:
- A sturdy board
- Various zippers (from jackets, pouches, etc.)
- Strong glue or a stapler
How to Make It:
- Find a mix of zippers—different lengths, colors, and textures. If you have old clothing or bags, chop off the zippers to give them new life!
- Attach the zippers to the board using glue or a stapler. You can glue some flat, while others can be elevated for an engaging tactile experience.
- Encourage your little ones to experiment with zipping up and down, and ask them to describe the texture of each zipper.
With consistent practice, they’ll be zipping their jackets in no time!
- The Velcro Activity Board
This one is super fun and versatile! The Velcro activity board allows kids to “stick” and “unstick” various shapes and colors, fostering creativity and fine motor skills as they engage in their imaginative play.
What You Need:
- A sturdy piece of board
- Velcro strips (both hook and loop sides)
- Felt or fabric in different colors
- Scissors
How to Make It:
- Cut out various shapes (like circles, stars, or animals) from the felt. You can also use fabric scraps.
- Attach Velcro strips on the board and the shapes—one side for each.
- Stick them on the board and let your little one arrange, move around, and play with them! You can change the shapes regularly for fresh setups.
This one doubles as both a busy board and a learning tool. Ask them to identify colors, shapes, and even do little counting exercises!
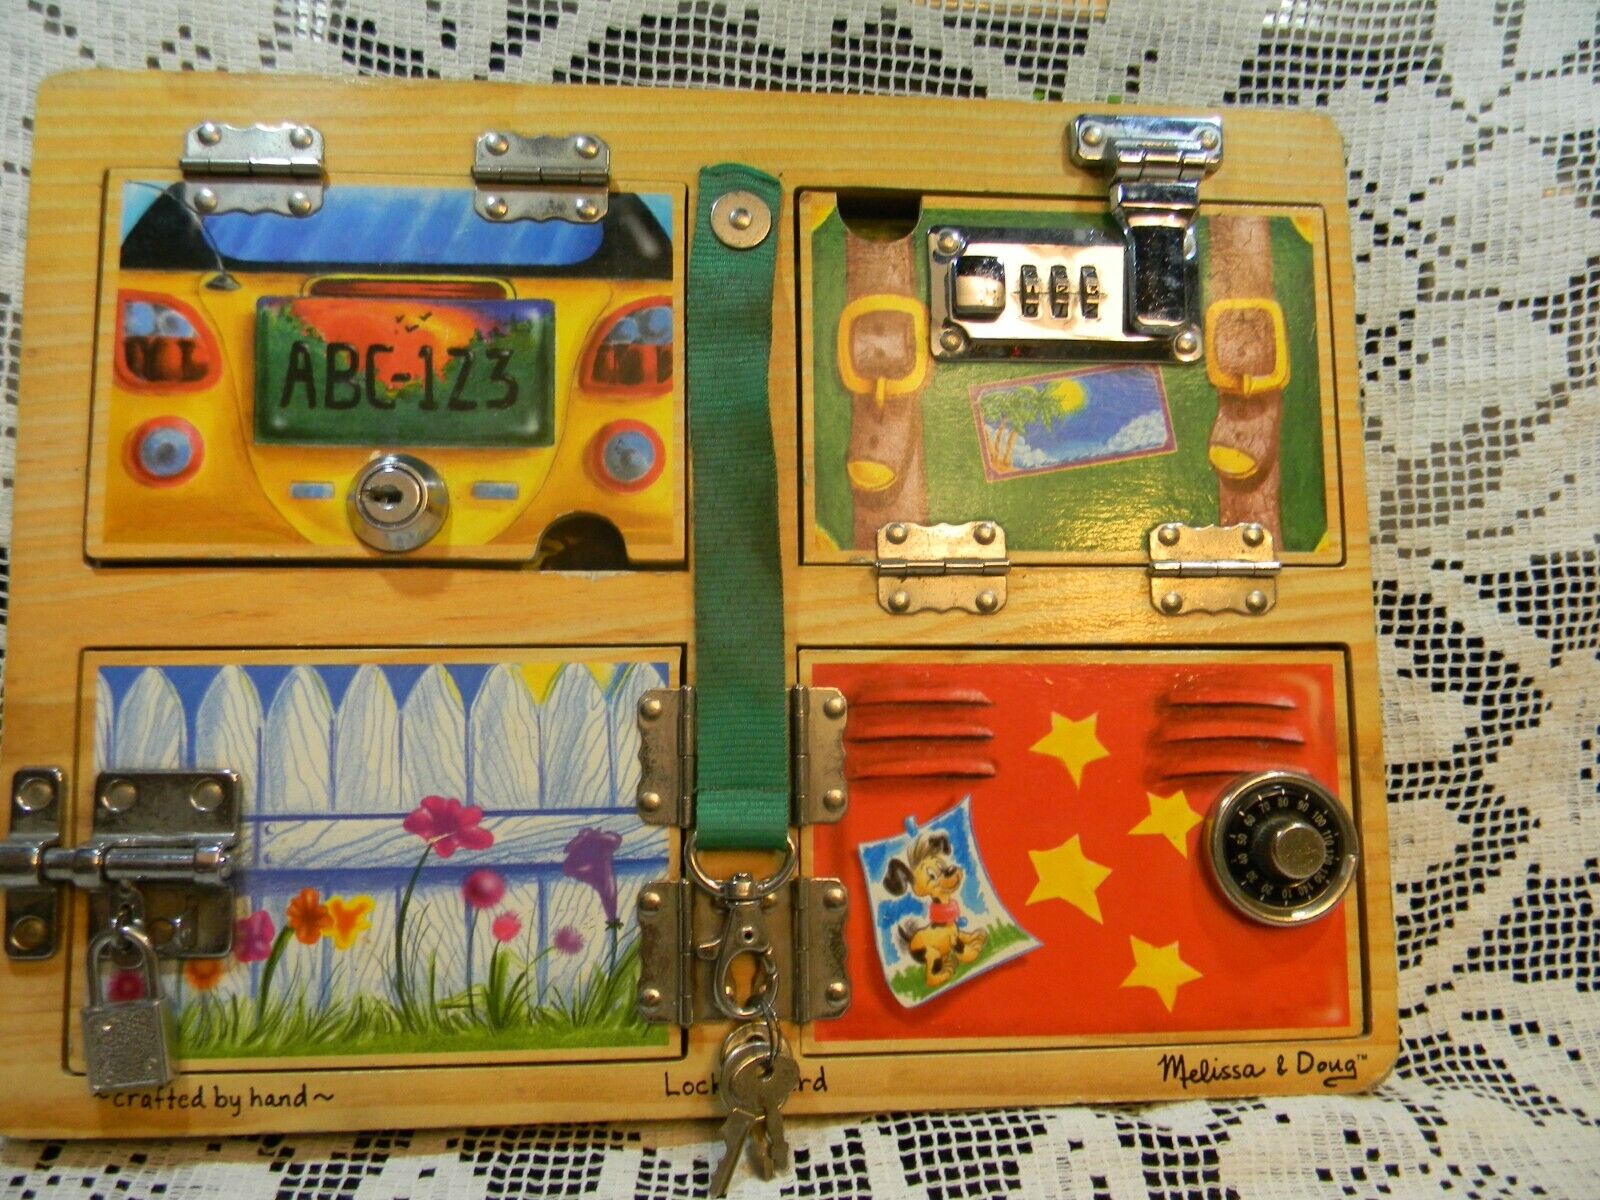
- The Lock and Key Board
Get ready to challenge your child with this lock and key board! It’s like a mini escape room that fits right in your playroom. It helps kids develop patience and problem-solving skills while being totally engaging!
What You Need:
- A flat board
- A set of various locks and their keys (lockable boxes work too)
- Strong glue or screws
How to Make It:
- Gather different types of locks—padlocks, combination locks, and even some simple latch locks.
- Securely attach them to the board using glue or screws so they’re stable.
- If you can, put the corresponding key right next to the lock for your little one to discover.
- Allow your child to experiment with locking and unlocking each item!
This is also a great opportunity to teach them about security and the concept of keys!
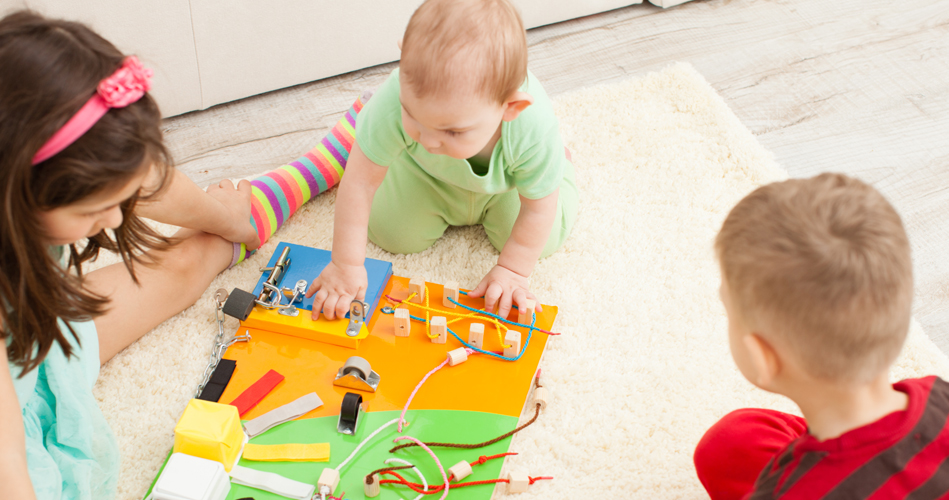
- The Sensory Busy Board
And last but not least, we have the sensory busy board! This idea takes the traditional busy board and enhances it with various textures, sounds, and actions, making it a feast for the senses.
What You Need:
- A larger board (like a piece of plywood)
- Different sensory materials (sandpaper, bubble wrap, felt, metal pieces, etc.)
- Small bells, mirrors, and other small interactive items
- Strong glue
How to Make It:
- Start by drilling holes in your board to attach things like bells.
- Secure your various sensory materials all over the board—this can include textures like a soft fabric, rough sandpaper, shiny mirrors, or even some bumpy foam.
- Allow your little ones to explore each section and talk to them about how different textures feel!
Sensory boards are fabulous for children with sensory processing needs, offering them the chance to explore various stimuli in a safe space.

Wrapping it Up!
And there you have it—five simple and super fun busy board ideas that you can create right at home! They’re not only a fantastic way to keep kiddos busy, but they also provide valuable learning experiences. Plus, you’re recycling materials that might’ve otherwise ended up in the trash.
So, gather your supplies, get creative, and most importantly, have fun! Happy crafting! 🎨🧡