Chưa được phân loại
3 Materials for Making a Soft Sensory Board
Hey there, fellow crafters and parents! If you’re looking for a fun and engaging project that not only sparks creativity but also serves as an awesome learning tool for little ones, you’ve landed in the right spot. Today, we’re diving into the world of sensory boards—a wonderful way to stimulate your child’s senses while keeping them entertained. So roll up your sleeves, and let’s explore three fantastic materials you can use to make your very own soft sensory board!
What is a Sensory Board?
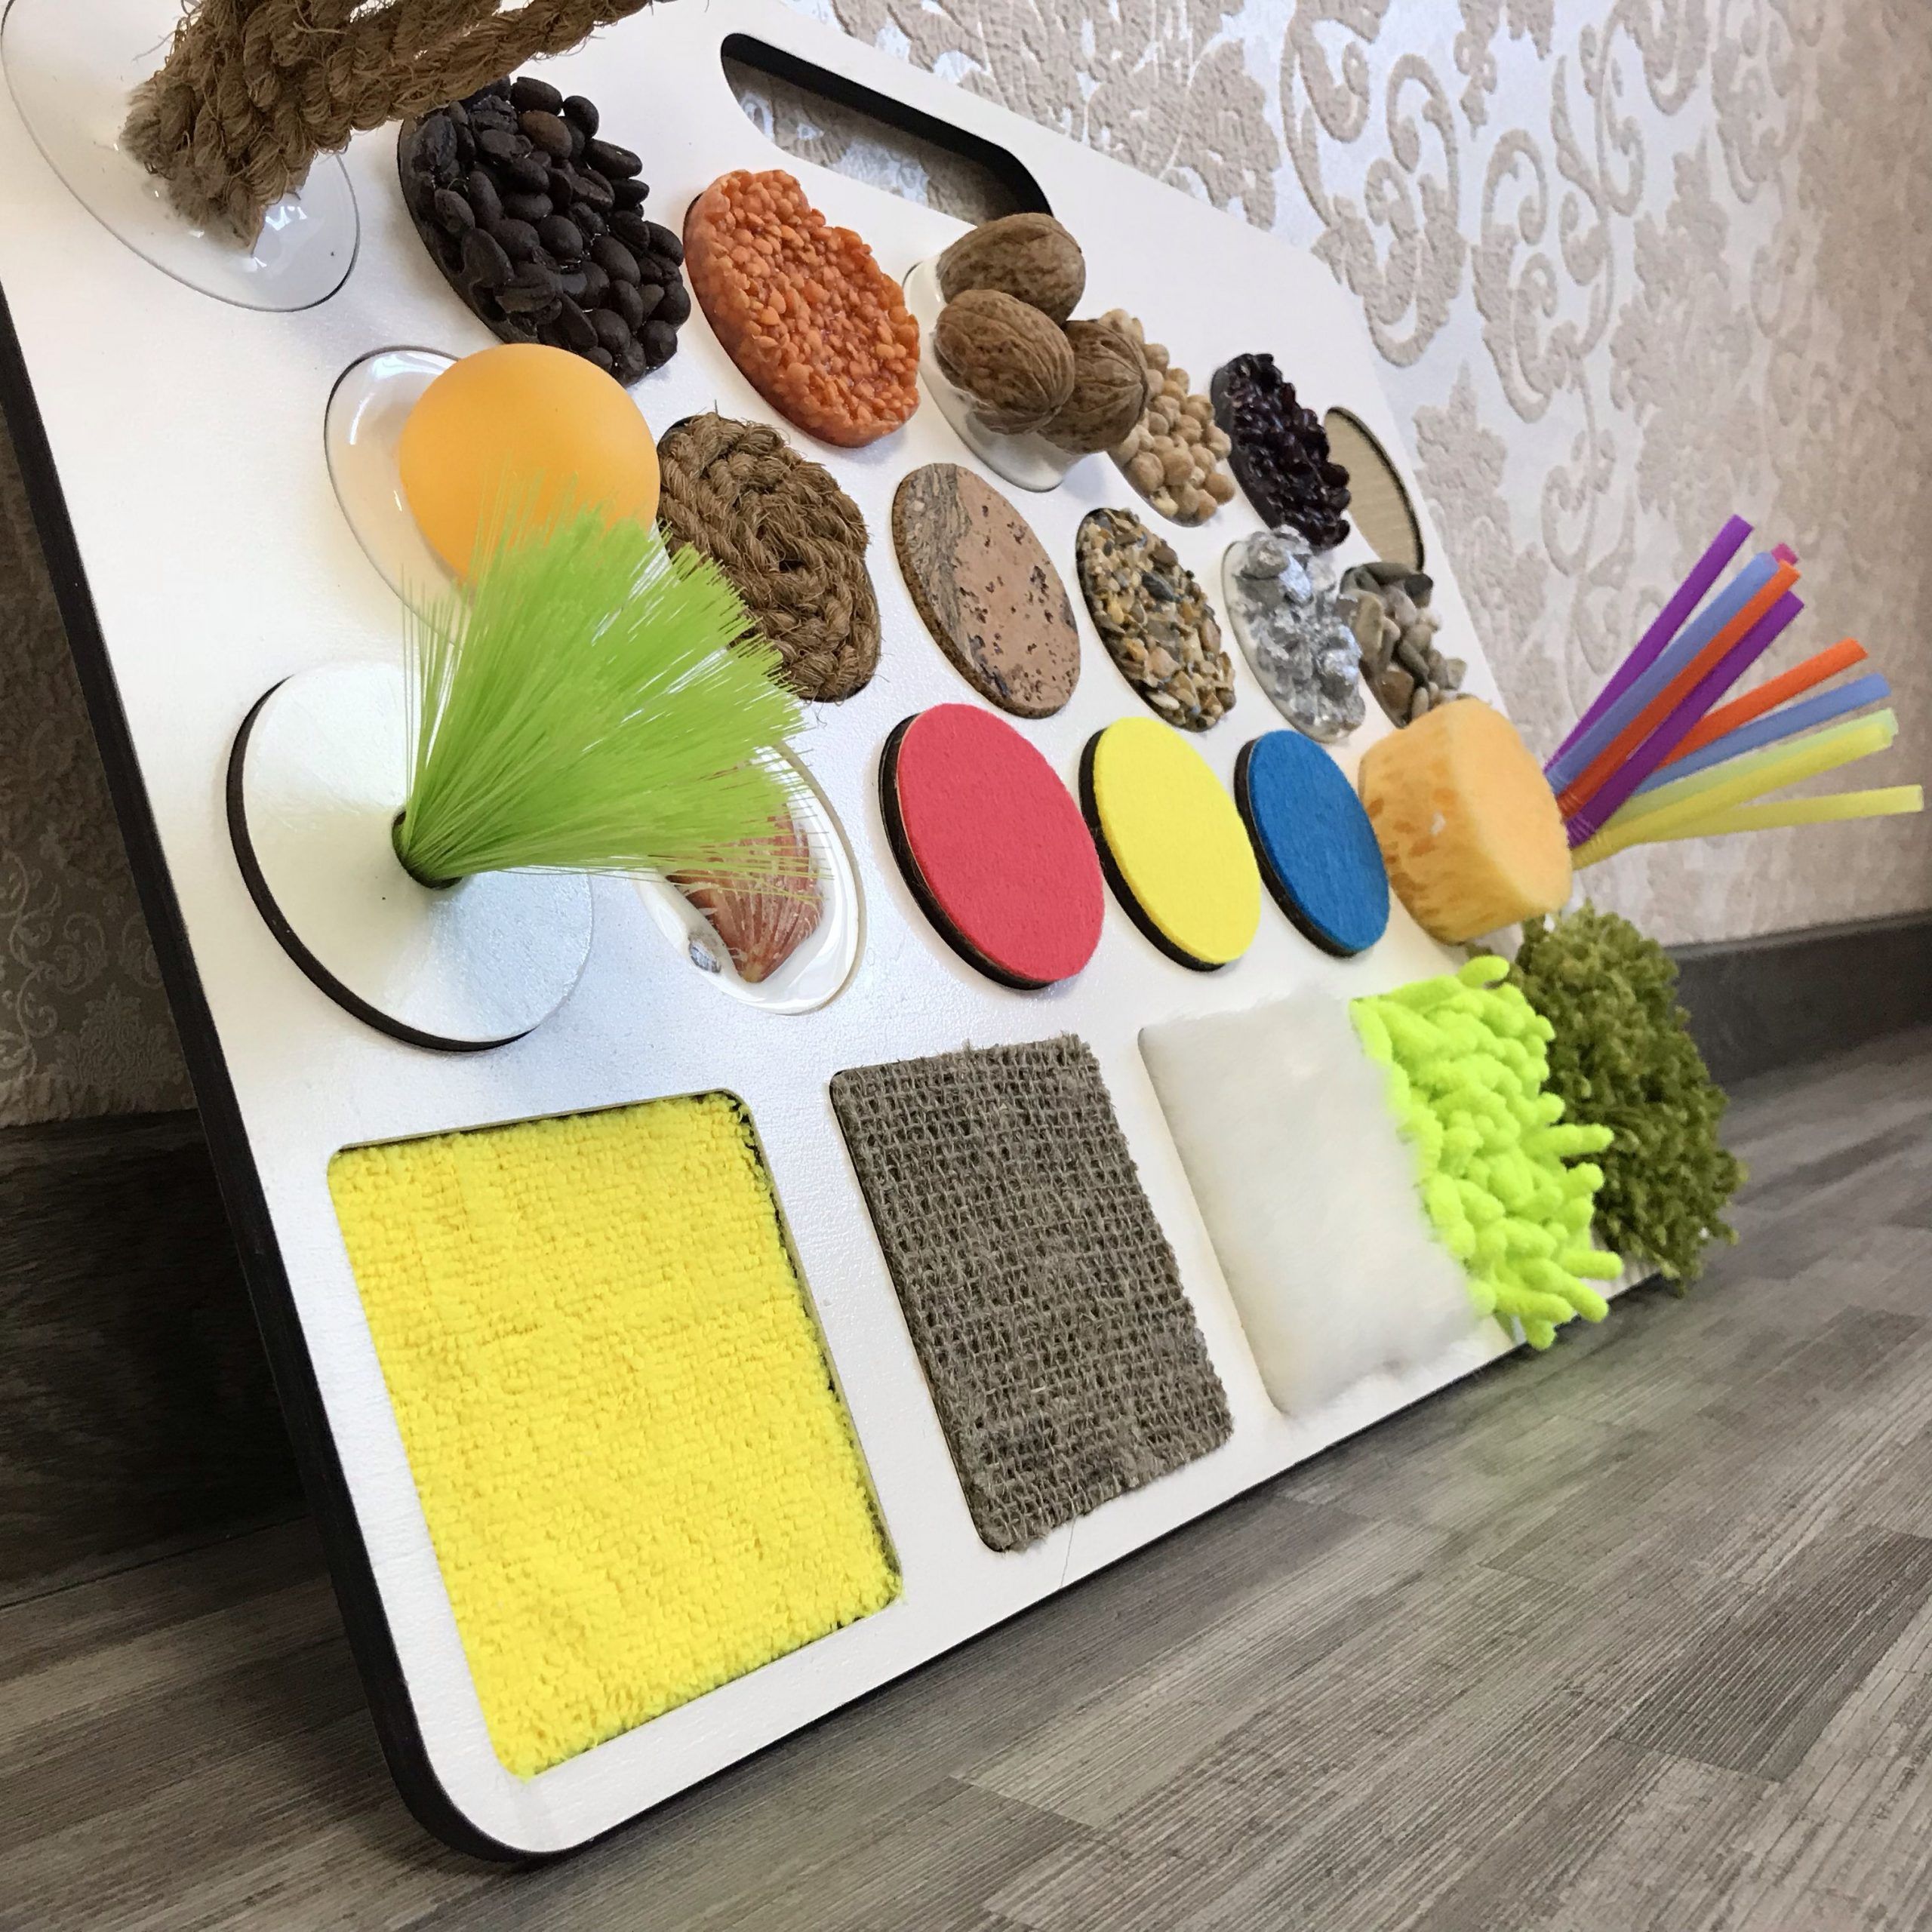
Before we get into the materials, let’s briefly chat about what a sensory board actually is. At its core, a sensory board is a tactile learning tool that encourages exploration and fine motor skills through different textures and interactive elements. It’s typically made up of various materials that your child can touch, squeeze, pull, and experiment with. Not only is it great for babies and toddlers, but sensory boards can also offer a bit of a challenge for older kids, making it a versatile activity that grows with your child.
>>>Read more: Unlock Your Child’s Motor Skills with a Fun Montessori Activity: Boxes with Surprises
Now, without further ado, let’s get into the three materials that can turn your sensory board dreams into reality!
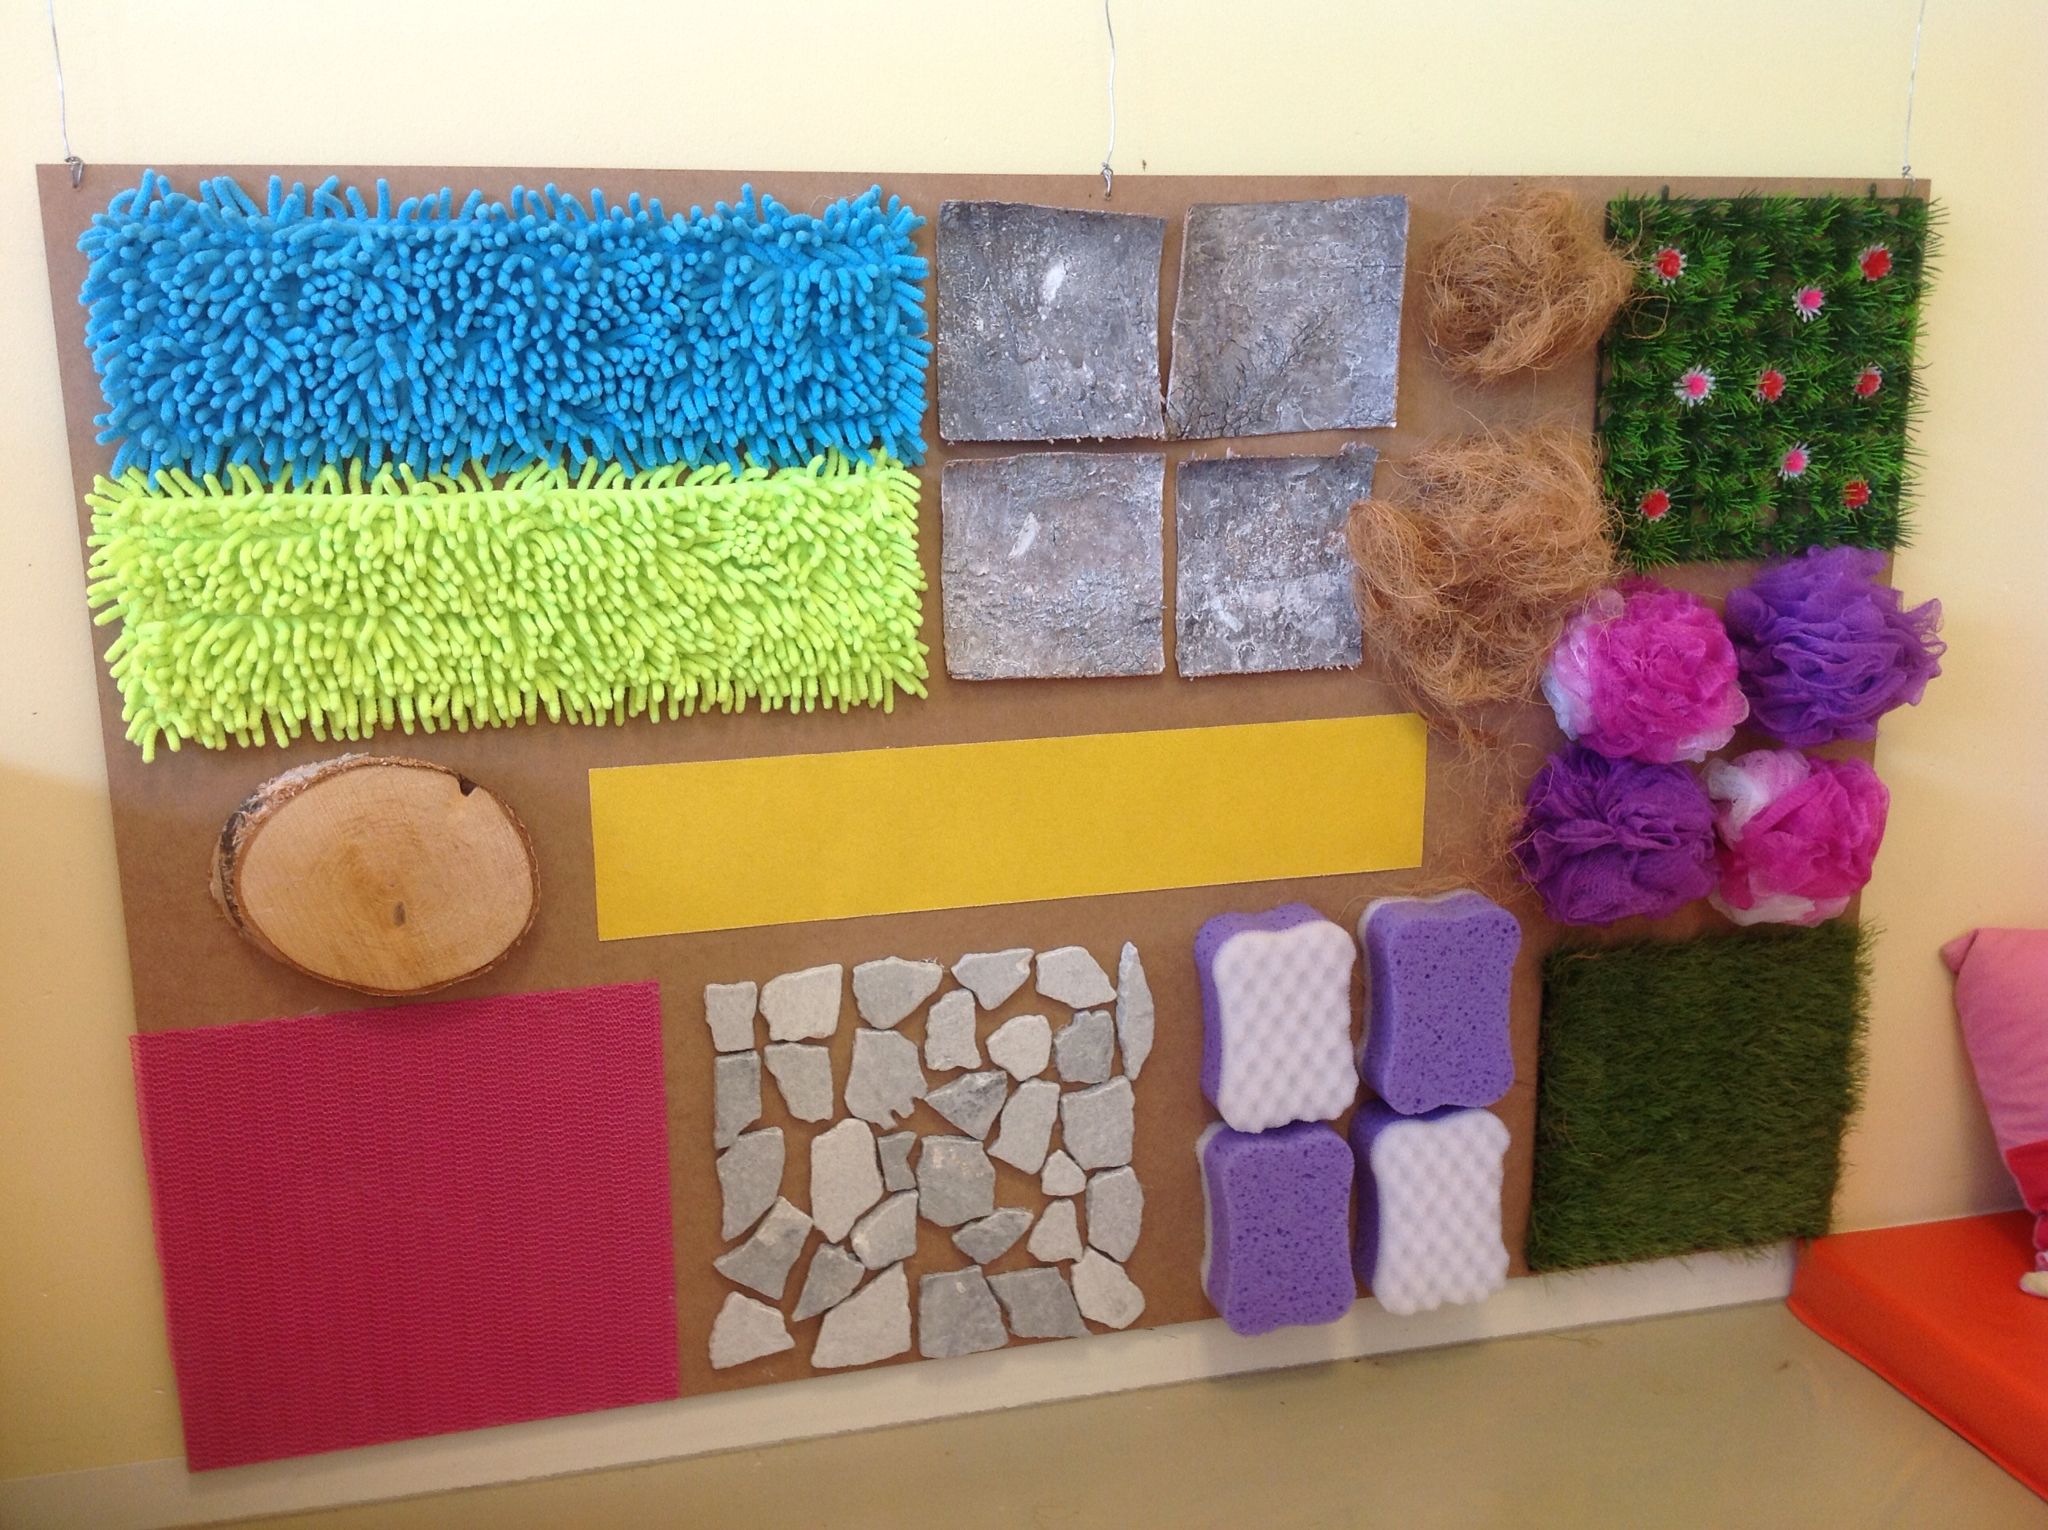
- Fabric Squares
Fabric is easily one of the most versatile materials you can use for a soft sensory board. Think about all the different textures you can find—corduroy, fleece, satin, denim, and even felt! Each type of fabric brings its own unique sensory experience. Here’s how you can use fabric squares effectively:
- Texture Variety: For instance, a soft fleece square can provide a comforting texture, while a rougher burlap square can offer a different tactile experience. The contrast keeps things interesting!
- Colors and Patterns: Grab a bunch of colorful fabrics or patterned prints to create an eye-catching design. Bright colors can grab your child’s attention and inspire curiosity.
- Sewing Elements: If you’re feeling a tad crafty, add some simple sewn elements like pockets or flaps. These encourage little hands to dig in and discover what’s hiding underneath!
- Safety: Soft fabrics are also safe for babies who might want to explore with their mouths, so you don’t have to worry about sharp edges or rough surfaces.
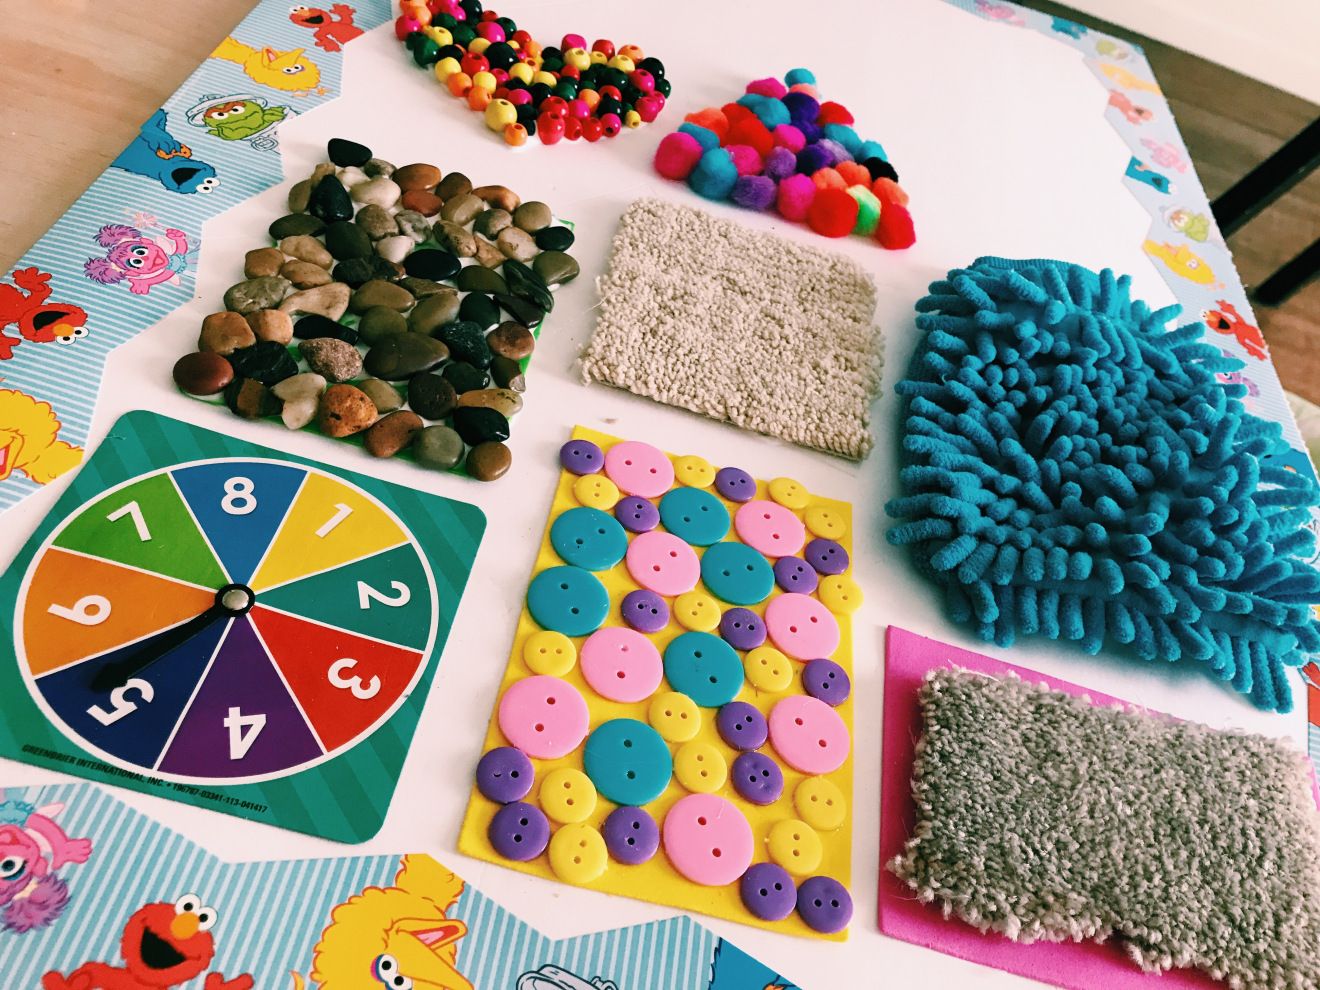
- Buttons and Snap Fasteners
Buttons can add a whole new layer of interaction to your sensory board. They come in varying sizes, colors, and textures, making them an excellent choice for fine motor skill development. Here’s how to incorporate buttons:
- Mix and Match: Use different types of buttons—flat, shank, colorful, transparent, wooden, plastic, you name it! Let your child explore how they feel and what makes each button unique.
- Snap Fasteners: Snap fasteners are fantastic for practicing those fine motor skills. Try sewing them onto the board so your child can practice snapping and unsnapping them.
- Learning Shapes and Sizes: You can also use buttons to create shapes or numbers on your sensory board, which will spark discussions about colors, shapes, and sizes, all while having fun.
- Quiet Play: Buttons can be a great quiet play option, perfect for when you need your kiddo entertained while you tackle other chores. Plus, they’re simple to clean—just a quick wipe down!
- Textured Rubber
Last but definitely not least, textured rubber materials can spice up your sensory board. Rubber provides an entirely different tactile experience than fabric or buttons, and it can be super durable! Here’s how you can get creative:
- Old Yoga Mats: If you have a torn-up yoga mat lying around, why not give it a second life? It often has various textures that can be quite appealing. Cut out different shapes or strips and attach them to your board.
- Bounce Balls: Boil it down to fun! Investing in different types of rubber balls with various textures can make an exciting addition. Consider using soft rubber balls, bouncy balls, or even textured dog toys (make sure they’re clean and safe!).
- Molds and Shapes: You can shape the rubber into animals, numbers, or letters, allowing your child not just to touch but also to recognize and learn!
- Sound Effects: Some rubber materials can make subtle sounds when squished, giving an auditory component to the sensory experience. This combo of texture and sound can be quite engaging!
Putting It All Together
Now that you have these fantastic materials in mind, it’s time to get creative and start building your sensory board. Take the time to plan out what you want to include—think of themes (like colors, textures, or even favorite animals) or mix and match materials to keep things fresh. Depending on your crafty vibe, you can sew, glue, or attach items as you see fit.
And remember, the beauty of a sensory board is that it can grow and change with your child. You may want to swap out elements as they master various skills or just to keep things interesting.
Final Thoughts
Creating a soft sensory board is not just about mixing materials; it’s about building an experience that fosters curiosity and encourages learning through play. Whether your child is an infant discovering the world or an older kid looking for a challenge, sensory boards offer something for everyone.
So gather those materials, unleash your inner DIY guru, and watch your kids explore and learn in the process. Happy crafting, and may your sensory board bring endless joy and creativity to your little one!